

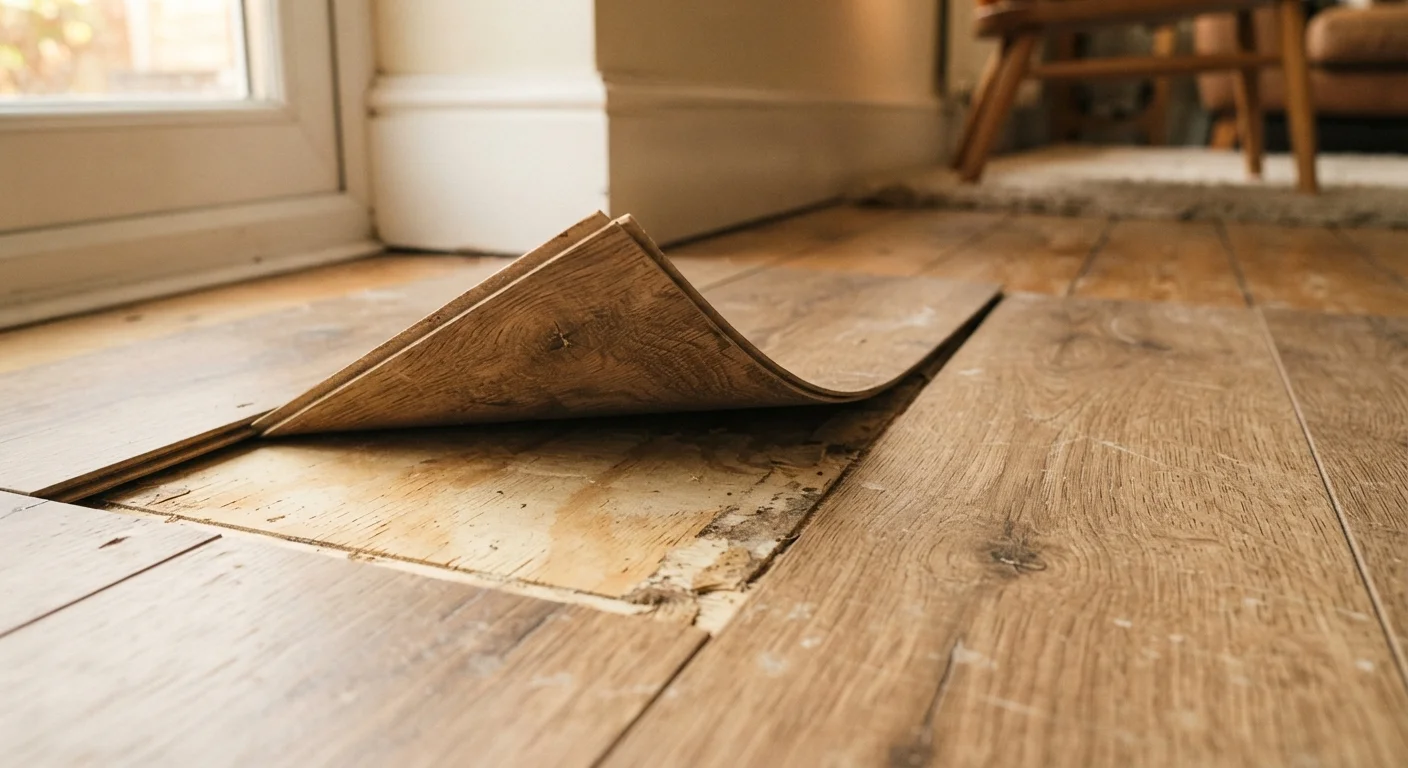
Why Vinyl Plank Lifts, Bubbles, and Peels
Vinyl plank flooring is praised for its durability and water resistance, but those properties don't make it immune to installation or environmental failures. Lifting usually has a clear cause - and understanding it is the first step toward a repair that actually holds.
The most common culprit is moisture. While the surface of luxury vinyl plank (LVP) is waterproof, moisture trapped beneath the plank - from a subfloor that wasn't fully dry, an inadequate vapor barrier, or a slow plumbing leak - can weaken adhesive bonds and cause planks to shift, bubble, or peel upward at the edges.
Temperature fluctuation is the second major cause. Vinyl expands when warm and contracts when cool. Planks installed without adequate expansion gaps at walls, or in rooms that regularly experience extreme temperature swings, can buckle against each other and lift at seams.
Finally, improper subfloor preparation accounts for a significant portion of failures. A dirty, uneven, or contaminated subfloor prevents adhesive from bonding fully, leaving weak spots that eventually give way under foot traffic.
Stop Moisture Before You Repair
Re-adhering vinyl plank over an active moisture problem will fail quickly and can promote mold growth beneath the floor. Before any repair, identify and resolve the moisture source - whether a plumbing leak, condensation, or inadequate vapor barrier. If you suspect a plumbing leak behind a wall or under a slab, consult a licensed plumber before proceeding with flooring work.
Mistakes That Make Vinyl Plank Repairs Fail
Many homeowners attempt a quick fix - press the plank back down, apply some adhesive - only to find the same section lifting again within weeks. The mistakes below are the most common reasons repairs don't stick, and each one is avoidable with a little preparation.
Ignoring the moisture source and re-adhering the plank without fixing the underlying problem.
Why it happens: Homeowners often focus on the visible damage - the lifted plank - rather than investigating what caused it. It feels faster to press the plank back down and move on.
Skipping subfloor cleaning and smoothing before re-bonding the plank.
Why it happens: It's tempting to simply apply adhesive to a lifted plank and press it back without inspecting what's underneath. Existing adhesive residue, grit, or uneven spots go unnoticed.
Using the wrong type of adhesive for the specific vinyl plank product.
Why it happens: Not all vinyl plank is installed the same way. Glue-down, click-lock, and loose-lay formats each have different re-bonding requirements, and many people reach for whatever adhesive is on hand.
Not allowing adequate weight or clamping time after re-adhering the plank.
Why it happens: Homeowners often press the plank down by hand for a minute and assume the adhesive has grabbed. Adhesive needs sustained, even pressure to cure properly.
Failing to acclimate replacement planks before installation, leading to future expansion problems.
Why it happens: When a plank is damaged beyond re-adhering and must be replaced, the urgency to finish often leads people to skip the acclimation step. Vinyl plank expands and contracts with temperature, and planks installed too cold or too warm can buckle or gap.
Addressing these errors in the right order matters. Skipping moisture investigation before subfloor prep, or skipping subfloor prep before adhesive application, compounds the problem at each stage.
Step-by-Step: Re-Adhering a Lifted Vinyl Plank
Once you've confirmed there's no active moisture issue and the subfloor is clean and level, you can proceed with re-bonding. The general process below applies to glue-down vinyl plank; floating click-lock systems may require different techniques at the joint level.
- Gently lift the affected plank - if it's already partially up, work carefully to avoid cracking the plank. Use a plastic putty knife to avoid gouging the subfloor.
- Clean both surfaces. Remove old adhesive residue from the subfloor and the underside of the plank using an appropriate adhesive remover. Let both surfaces dry completely.
- Check for levelness. Run a straightedge across the subfloor. Address any high or low spots before proceeding.
- Apply pressure-sensitive flooring adhesive in a thin, even layer to the subfloor using a notched trowel appropriate for the adhesive's instructions. Follow the open time guidance on the product label - applying too early or too late affects bond strength.
- Set the plank carefully, pressing it firmly from one end to the other to push out air pockets.
- Weight the plank with flat, heavy objects and leave undisturbed for the recommended cure period.
This guidance is general in nature. Always consult the flooring manufacturer's care and repair documentation, as specific products may have different requirements.
Older Vinyl May Contain Asbestos
If your home was built before the mid-1980s and has vinyl flooring that predates current installations, do not sand, scrape, or disturb it without professional testing first. Asbestos-containing vinyl tiles and some adhesives were common in that era. Contact a licensed asbestos abatement professional if you have any doubt about the age or composition of existing flooring materials.
When to Call a Professional
Not every lifting vinyl plank is a straightforward DIY fix. If the lifting affects a large area - multiple planks across a significant portion of a room - the issue may point to a systemic subfloor problem such as structural moisture intrusion or a failing vapor barrier installation. These situations warrant professional assessment.
Similarly, if you discover soft spots in the subfloor when pressing down, or notice a musty smell beneath the planks, stop work and consult a flooring contractor or, if plumbing is involved, a licensed plumber. Mold remediation is also a regulated process in many jurisdictions and should not be treated as a routine DIY task.
For routine small-scale repairs on glue-down vinyl, a prepared and patient homeowner can achieve a durable result by following the correct sequence of steps and not rushing the cure process.
The content on this site is for informational purposes only and is not a substitute for professional advice. Always consult a qualified professional for guidance specific to your situation.