

Why Upgrade Order Matters
When budget is limited, the sequence of home system upgrades matters as much as the upgrades themselves. Spending money on a high-efficiency appliance before fixing air leaks, for example, means that appliance works harder than necessary - and you pay for it monthly. The smartest approach is to treat your home as a system: address the biggest drains on comfort and energy first, then layer in appliance or equipment upgrades once the envelope is tighter.
If you're new to managing your home's energy use, our beginner's guide to energy habits is a helpful starting point before diving into physical upgrades. For a comprehensive look at every lever available to you, the complete home energy efficiency guide walks through behavioral and structural improvements together.
Below, we've ranked the most impactful starting points by their typical cost-to-benefit ratio - so your first dollar works as hard as possible.
Air Sealing: Plug the Leaks First
Air leaks - gaps around windows, doors, electrical outlets, and plumbing penetrations - can account for 25-40% of heating and cooling loss in a typical home, according to the U.S. Department of Energy. Sealing them with caulk and weatherstripping is among the lowest-cost interventions available, often requiring only a few hours and basic materials.
Focus first on the attic floor, basement rim joists, and any visible gaps where walls meet floors or ceilings. These areas tend to have the largest cumulative leakage. For a deeper look at how insulation and air sealing work together, explore the Home Insulation hub.
Air leaks can account for up to 40% of heating and cooling loss - and sealing them costs very little.
Attic Insulation: High Impact, Moderate Cost
Heat rises, which means an under-insulated attic is one of the fastest routes for conditioned air to escape your home. Adding or upgrading attic insulation is frequently cited by energy auditors as the single most cost-effective upgrade for homes built before the 1980s, and many built before 2000 still fall short of current recommendations.
The DOE recommends attic insulation levels between R-38 and R-60 for most U.S. climate zones. If your attic has less than 11 inches of fiberglass batts or 8 inches of blown-in insulation, it's likely worth topping up. This is a DIY-accessible project for blown-in insulation using rental equipment, though attics with older wiring or suspected moisture issues should be assessed by a professional first.
Topping up attic insulation is one of the most cost-effective upgrades for homes with inadequate existing levels.
Programmable or Smart Thermostat: Low Cost, Consistent Savings
Replacing an old manual thermostat with a programmable model is a straightforward upgrade that requires no structural changes and minimal technical skill. By automatically reducing heating or cooling when you're asleep or away, a programmable thermostat can meaningfully reduce HVAC runtime without sacrificing comfort.
Smart thermostats go a step further by learning your schedule and adjusting automatically, and some utility companies offer rebates that significantly offset their cost. Installation typically involves disconnecting and reconnecting a handful of low-voltage wires - but if your system uses a heat pump or has more than five wires, consult the manufacturer's compatibility guide or a licensed HVAC technician before purchasing.
A programmable thermostat reduces HVAC runtime automatically - no behavior change required after setup.
HVAC Filter and Maintenance: Protect What You Have
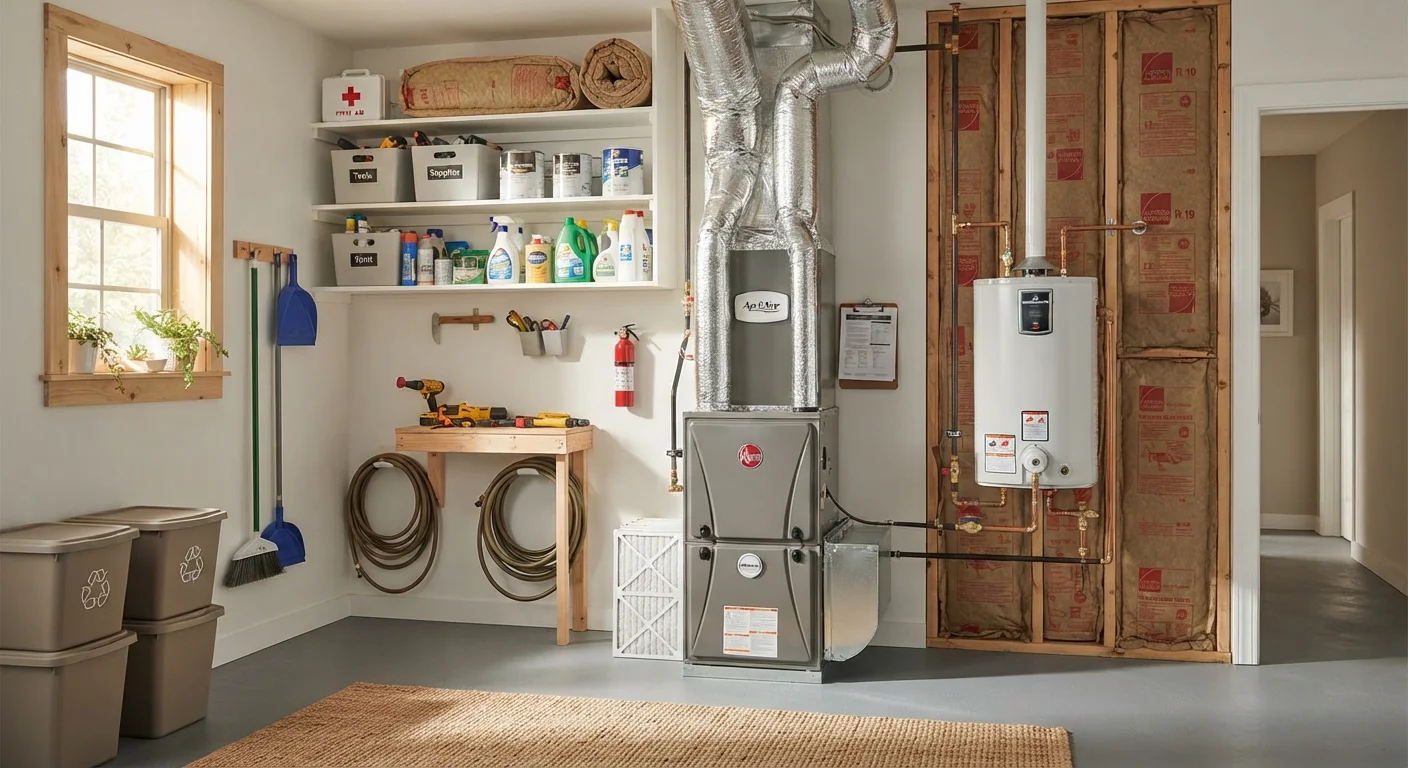
A clogged air filter forces your HVAC system to work harder, consuming more energy and shortening equipment life. Replacing filters on schedule - typically every 1-3 months depending on filter type and household conditions - is the simplest maintenance task a homeowner can perform and costs just a few dollars per filter.
Beyond filters, an annual professional tune-up for your furnace or air conditioner typically costs between $80 and $150 and can catch small issues before they become expensive repairs. Cleaning evaporator and condenser coils, checking refrigerant levels, and ensuring proper airflow are tasks best left to a licensed HVAC technician. For a systematic view of how HVAC fits into overall home efficiency, see our complete walkthrough of major home systems.
Regular filter changes and annual HVAC tune-ups protect equipment life and keep efficiency from quietly degrading.
Water Heater Efficiency: An Overlooked Energy Drain
Water heating typically accounts for around 14-18% of a home's total energy use, making it the second or third largest energy expense for most households. Before replacing an aging unit, two low-cost measures are worth trying: insulating the first few feet of hot and cold water pipes connected to the heater, and turning the thermostat down to 120°F if it's set higher.
If your water heater is more than 10-12 years old and showing signs of inefficiency or corrosion, replacement may be worth budgeting for - particularly if you can access utility rebates or federal tax credits for qualifying heat pump water heaters. Replacement involves gas or electrical connections and should be handled by a licensed plumber or HVAC technician.
Lowering your water heater to 120°F and insulating supply pipes costs almost nothing and reduces standby heat loss.
Window and Door Upgrades: Know When They're Worth It
New windows are frequently marketed as a top energy upgrade, but the reality is more nuanced. Full window replacement carries a high upfront cost, and payback periods through energy savings alone can stretch to 20 years or more for moderately inefficient windows. In most cases, air sealing and insulation deliver better value first.
That said, if windows are visibly damaged, have broken seals (indicated by fogging between panes), or are single-pane in a cold climate, targeted replacement makes sense. Adding interior or exterior storm windows to existing single-pane frames is a lower-cost middle ground. For weekend-scale projects that deliver lasting value, see weekend projects that add long-term value.
Window replacement rarely pays back through energy savings alone - fix air leaks first, then evaluate windows.
Making Your Upgrade Budget Go Further
Once you've identified which systems need attention, cost is the next hurdle. Before purchasing materials, check whether your utility provider offers rebates for insulation, smart thermostats, or HVAC tune-ups - many do. Federal tax incentives under the Inflation Reduction Act also cover certain weatherization and efficiency upgrades for qualifying homeowners; the IRS and DOE websites publish current eligibility details. For sourcing materials affordably without cutting corners, the Materials & Savings hub has practical guidance.
Request a Home Energy Audit First
Before spending anything, consider requesting a home energy audit from your utility company - many offer them free or at reduced cost. An auditor uses tools like a blower door test and thermal imaging to pinpoint exactly where your home is losing energy most. This takes the guesswork out of prioritization and can save you from spending on the wrong upgrade first.
Finally, keep in mind that some upgrades - particularly anything involving electrical panels, gas lines, or structural modifications - require permits and licensed contractors. Always verify local code requirements before starting work, and don't skip inspections. The goal is lasting, safe improvement, not a quick fix that creates a bigger problem later.
This article is for informational purposes only. Energy savings vary by home, climate, and usage patterns. Consult a licensed professional before undertaking any work involving electrical, gas, structural, or other regulated systems.
The content on this site is for informational purposes only and is not a substitute for professional advice. Always consult a qualified professional for guidance specific to your situation.