

Choosing and Preparing Your Botanicals
The quality of your finished display depends almost entirely on what happens before the frame. Select specimens at their visual peak - flowers just past full bloom tend to press better than fully open ones, which are more likely to brown at the edges. Thin-petaled varieties like pansies, cosmos, violas, and Queen Anne's lace press beautifully. Thick, succulent specimens such as roses require extra preparation: carefully split the bloom in half or remove petals individually to reduce bulk.
Harvest botanicals in the morning after dew has dried but before afternoon heat wilts them. Gently blot away any surface moisture with a soft cloth. Avoid bruised, bug-damaged, or overripe specimens - imperfections magnify under glass.
What you will need
Drying Methods: Book Pressing vs. Silica Gel
Traditional book pressing - sandwiching specimens between sheets of absorbent paper inside a heavy book - remains the most accessible method. Use unbleached parchment or blotting paper rather than newsprint, which can transfer ink. Stack additional weight on top and change the paper every 48 hours for the first week to draw out moisture evenly. Expect a 2-4 week drying window depending on specimen thickness.
Silica gel drying is faster (typically 1-2 weeks) and preserves color more faithfully because moisture is absorbed rather than pressed out. Bury specimens completely in a container of silica gel crystals, seal with a lid, and check every few days. The indicator crystals change color when saturated - replace or recharge them in an oven before reusing.
Whichever method you use, specimens must feel completely papery and rigid before framing. Any residual moisture inside a sealed frame will cause mold.
Avoid High-Humidity Display Locations
Bathrooms and kitchens expose pressed botanicals to moisture fluctuations that cause rehydration, mold, and warping - even inside a sealed frame. Choose a climate-controlled interior wall in a living room, bedroom, or hallway for the longest display life. If you notice condensation inside the frame, remove the piece immediately and re-dry the contents before reframing.
Framing and Mounting for Lasting Display
Once dried, your botanicals are fragile. Work on a clean, dry surface and handle specimens with soft tweezers rather than bare fingers. The oils from skin can cause discoloration over time.
Prepare your acid-free backing
Cut foam-core or mat board to fit your frame's interior dimensions. Use acid-free materials only - standard cardboard or chipboard contains lignin that releases acids over time, yellowing both the backing and your specimens. Lay the backing flat on your work surface.
Arrange specimens before adhering
Using soft tweezers, gently position your dried botanicals on the backing in your desired composition. Work from largest specimens down to the smallest accent pieces. Take a photo of the arrangement before gluing - you'll want a reference if anything shifts during adhesion.
Adhere specimens to the backing
Apply a tiny amount of acid-free PVA glue to the underside of each specimen using a fine brush or toothpick. Press gently and hold for 10-15 seconds. Alternatively, use archival photo corners for specimens you may want to swap out later without disturbing the backing. Allow the adhesive to cure fully - at least one hour - before framing.
Clean and assemble the UV-protective frame
Wipe the interior surface of your UV-filtering glass or acrylic with a lint-free cloth before assembly - any dust trapped inside is permanent once sealed. Place the glazing in the frame first, followed by the mounted backing with botanicals facing the glass. Secure the backing with the frame's hardware or archival tape along the edges.
Seal the frame back and hang
Run a bead of acid-free framing tape along the seam between the backing and frame to create a dust and moisture barrier. Attach appropriate hanging hardware for your wall type - D-rings with braided wire distribute weight more evenly than single sawtooth hangers on larger frames. Hang on an interior wall away from direct sunlight, heating vents, and exterior-facing windows.
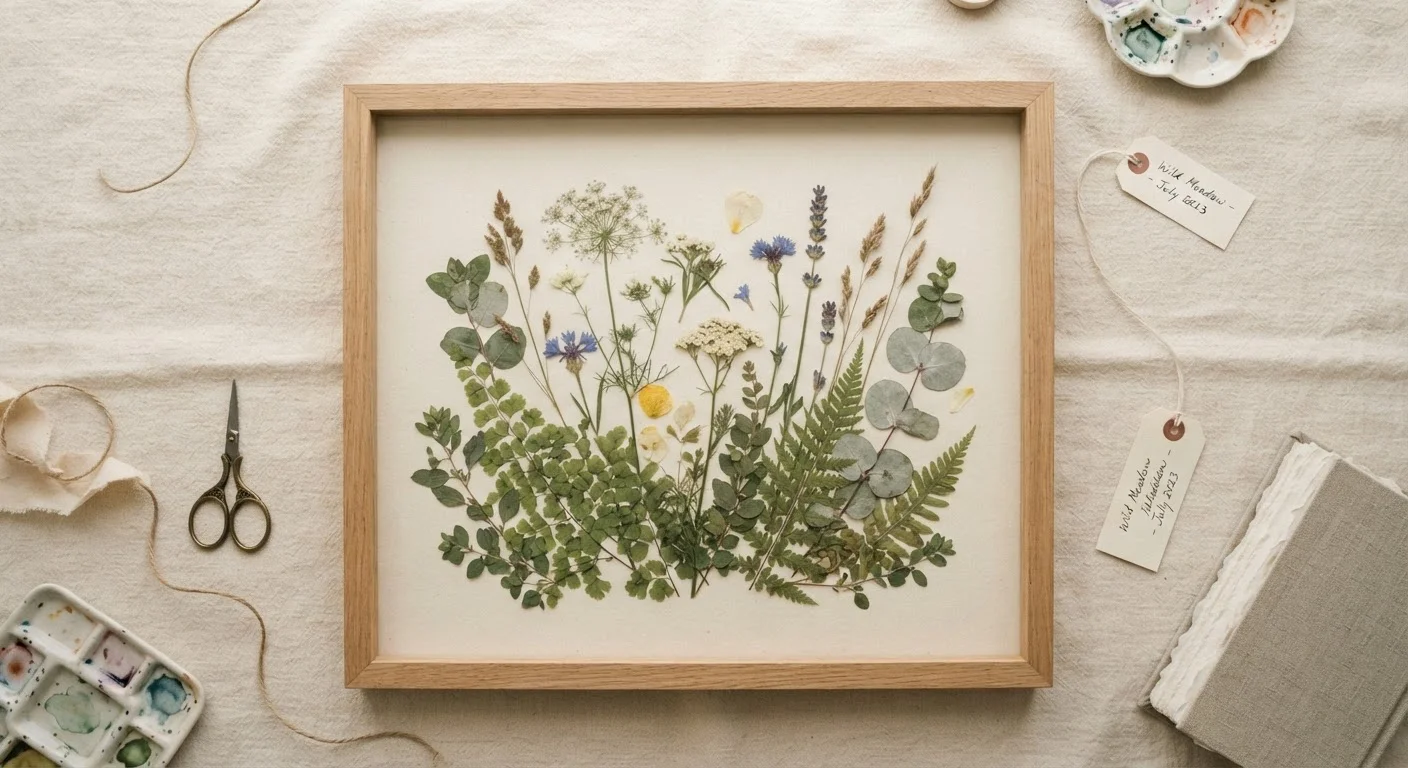
For a polished finished look, keep the arrangement within the inner third of the frame's mat opening - white or cream mat board creates a clean gallery effect, while kraft or black mat board suits a more rustic or botanical-illustration aesthetic.
Mix Textures for Visual Depth
Combining fine-stemmed flowers, broad leaves, and delicate grasses in a single frame creates natural visual rhythm. Arrange your specimens on paper before committing to adhesive - photographing the layout lets you experiment freely without damaging fragile petals. Odd-numbered groupings tend to feel more organic and balanced than symmetrical arrangements.
Long-Term Care and Troubleshooting
Even well-framed botanicals need occasional attention. Dust the exterior glass gently with a dry microfiber cloth - avoid wet cleaners near frame edges where moisture could seep in. Inspect frames annually for signs of warping, pest activity, or color shift. If a specimen fades noticeably, it can often be replaced without dismantling the whole piece.
Color shift toward brown or tan typically signals UV damage or residual moisture. Yellowing of the backing paper indicates acid migration - a sign that non-archival materials were used. Reframing with acid-free mat board and UV glass can slow further damage even after the fact.
Pressed botanicals displayed with proper materials in a stable environment can remain vibrant and structurally sound for 20 years or more. The investment in archival-quality supplies at the outset pays dividends across decades of display.
UV Exposure Fades Botanicals Quickly
Direct sunlight is the fastest way to destroy pressed botanical color. Even indirect natural light causes gradual fading without UV-protective glazing. Always use UV-filtering glass or acrylic in your frame, and avoid hanging finished pieces on walls that receive strong afternoon sun. No sealant or spray alone compensates for inadequate UV protection.
The content on this site is for informational purposes only and is not a substitute for professional advice. Always consult a qualified professional for guidance specific to your situation.