

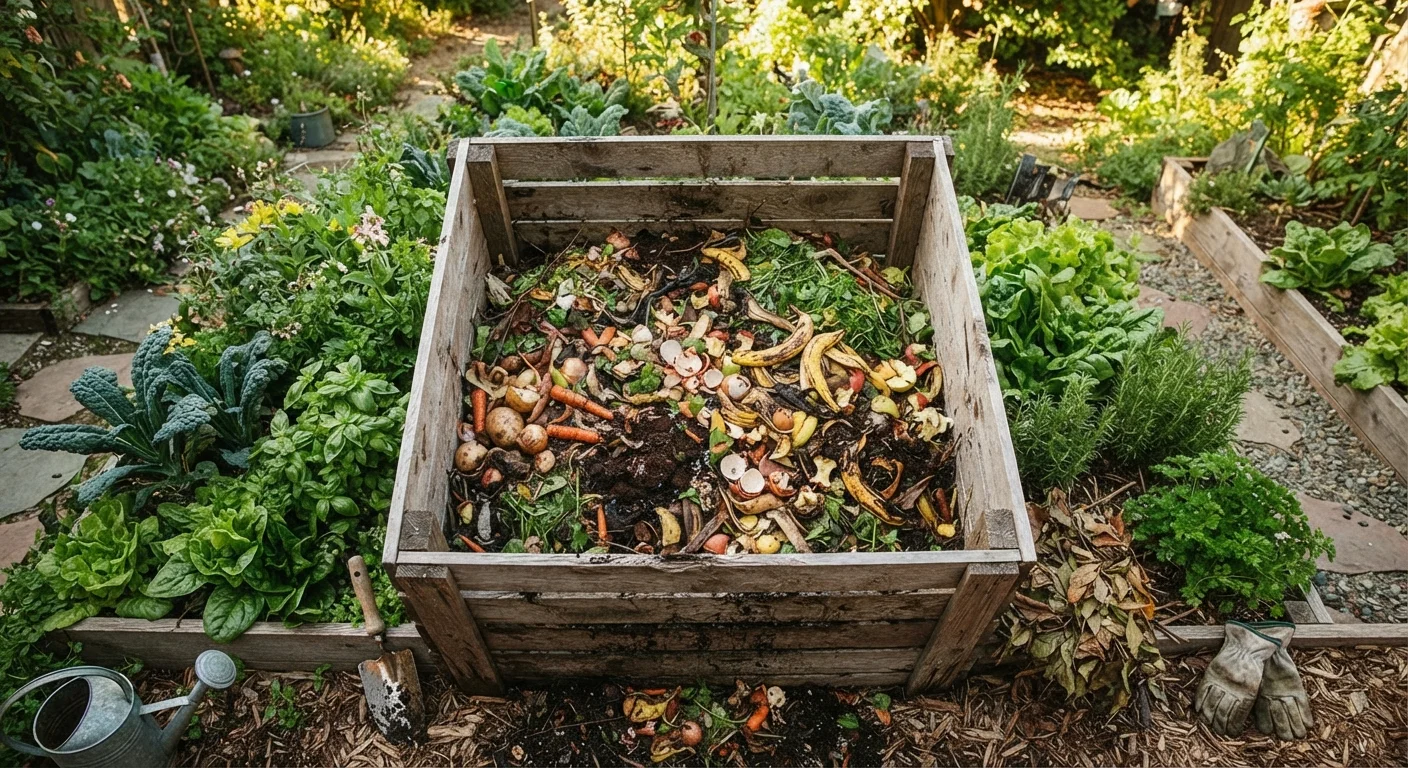
Why Composting Is Worth the Effort
Compost is often called 'garden gold' for good reason. Adding it to your soil improves structure in both sandy and clay-heavy ground, supports beneficial microbial life, and slowly releases nutrients that plants can actually use. Unlike synthetic fertilizers, compost builds lasting soil health rather than providing a short-term boost.
Beyond garden benefits, composting diverts a significant portion of household waste from landfill. Food scraps and yard trimmings make up a large share of what most households throw away - composting turns that waste stream into a productive resource without any specialized equipment or expertise.
It's worth understanding what composting can and can't do. It is not a complete fertilizer replacement for heavy feeders, and finished timelines vary considerably. But as a long-term soil-building practice, it's one of the most impactful and low-cost habits a home gardener can develop. Before diving into setup, it also helps to separate composting fact from fiction - our garden myths guide addresses some common misunderstandings about soil amendments.
Never Compost These Materials
Avoid adding meat, fish, bones, dairy products, oily foods, pet waste, or diseased plant material to a home compost pile. These items attract pests, create odors, and can introduce pathogens. Stick to plant-based kitchen scraps and untreated yard waste to keep your bin healthy and your neighbors unbothered.
Setting Up and Managing Your Compost System
The steps below walk you through everything from choosing the right setup for your space to harvesting finished compost and applying it where it does the most good. Whether you're working with a small urban yard or a larger suburban garden, the fundamentals are the same.
What you will need
Compost Bin or Tumbler
Contains the composting materials, retains heat and moisture, and keeps pests out.
Garden Fork or Pitchfork
Used to turn and aerate the compost pile regularly to accelerate decomposition.
Countertop Kitchen Scrap Collector
Holds daily kitchen scraps conveniently before transferring them to the outdoor bin.
Garden Hose or Watering Can
Used to add moisture to the pile if it dries out.
Compost Thermometer
Measures internal pile temperature to confirm active decomposition is occurring.
Choose and Position Your Composting System
Select a composting method that fits your space and volume of waste. A simple open pile works on larger properties; a purchased or DIY bin suits smaller yards; a tumbler is ideal when pest pressure is a concern. Place your bin in partial shade to help regulate moisture - full sun can dry the pile out too quickly in warm climates, while full shade slows heating.
The base should sit directly on soil where possible, allowing earthworms and beneficial microbes to migrate up into the pile naturally.
Understand the Browns-to-Greens Ratio
Successful composting depends on a rough balance of carbon-rich 'browns' and nitrogen-rich 'greens.' Aim for approximately two to three parts browns for every one part greens by volume.
- Browns: dry leaves, cardboard (torn into pieces), newspaper, straw, wood chips, paper bags
- Greens: vegetable and fruit scraps, coffee grounds and filters, tea bags (remove staples), fresh grass clippings, plant trimmings
Too many greens without browns leads to a slimy, smelly pile. Too many browns and decomposition slows to a crawl. Keep a bag of dry leaves or torn cardboard near the bin to balance each addition of kitchen scraps.
Build Your Initial Pile in Layers
Start with a four-to-six-inch base layer of coarse browns - wood chips, straw, or dry leaves - to allow airflow at the bottom. Add a layer of greens on top, then cover with another layer of browns. Lightly moisten each layer as you build so the pile feels like a wrung-out sponge throughout.
This layered approach is especially useful when starting a new bin, but once the pile is established you can simply mix new additions in rather than layering precisely.
Maintain Moisture and Aeration
Check your pile every week or two. Squeeze a handful of material - it should feel damp but not dripping. If it's dry, water it lightly. If it's soggy, add more browns and turn it to restore airflow.
Turning the pile - moving material from the outside edges toward the center - reintroduces oxygen that aerobic microbes need to break down organic matter. Turn a hot, active pile every one to two weeks; a slow cold pile can be turned monthly.
Recognize and Harvest Finished Compost
Finished compost looks dark brown, crumbles easily, smells earthy (like forest floor), and shows no recognizable original materials. Depending on your management level and climate, this takes two to six months for an actively managed hot pile, or six to twelve months for a slower cold pile.
To harvest, stop adding new material and let the pile finish. Screen it through a half-inch mesh if you want a finer texture, returning any unfinished chunks to the bin for another cycle.
Apply Compost to Your Garden
Spread one to three inches of finished compost over garden beds and work it lightly into the top few inches of soil before planting. For established beds, use it as a top-dressing or mulch layer. For containers, blend compost into your potting mix at roughly 20-30% by volume to improve moisture retention and fertility - our container gardening on patios guide covers how soil mix choices affect plant performance.
For vegetable beds, applying compost before each new season works well alongside a crop rotation plan - see our crop rotation guide for home gardeners to pair these practices effectively.
Chop or Shred Before Adding
Smaller pieces break down significantly faster than whole scraps. Run a knife through vegetable trimmings, tear up cardboard, and shred fallen leaves before adding them to the pile. This one habit can cut weeks off your composting timeline without any extra effort.
Once you have a composting habit in place, integrating it into your seasonal garden routine becomes straightforward. At the end of the growing season, compost is one of the best soil conditioners to apply before closing beds down for winter - our end-of-season garden closedown checklist includes composting as part of a complete autumn soil care plan.
The content on this site is for informational purposes only and is not a substitute for professional advice. Always consult a qualified professional for guidance specific to your situation.