

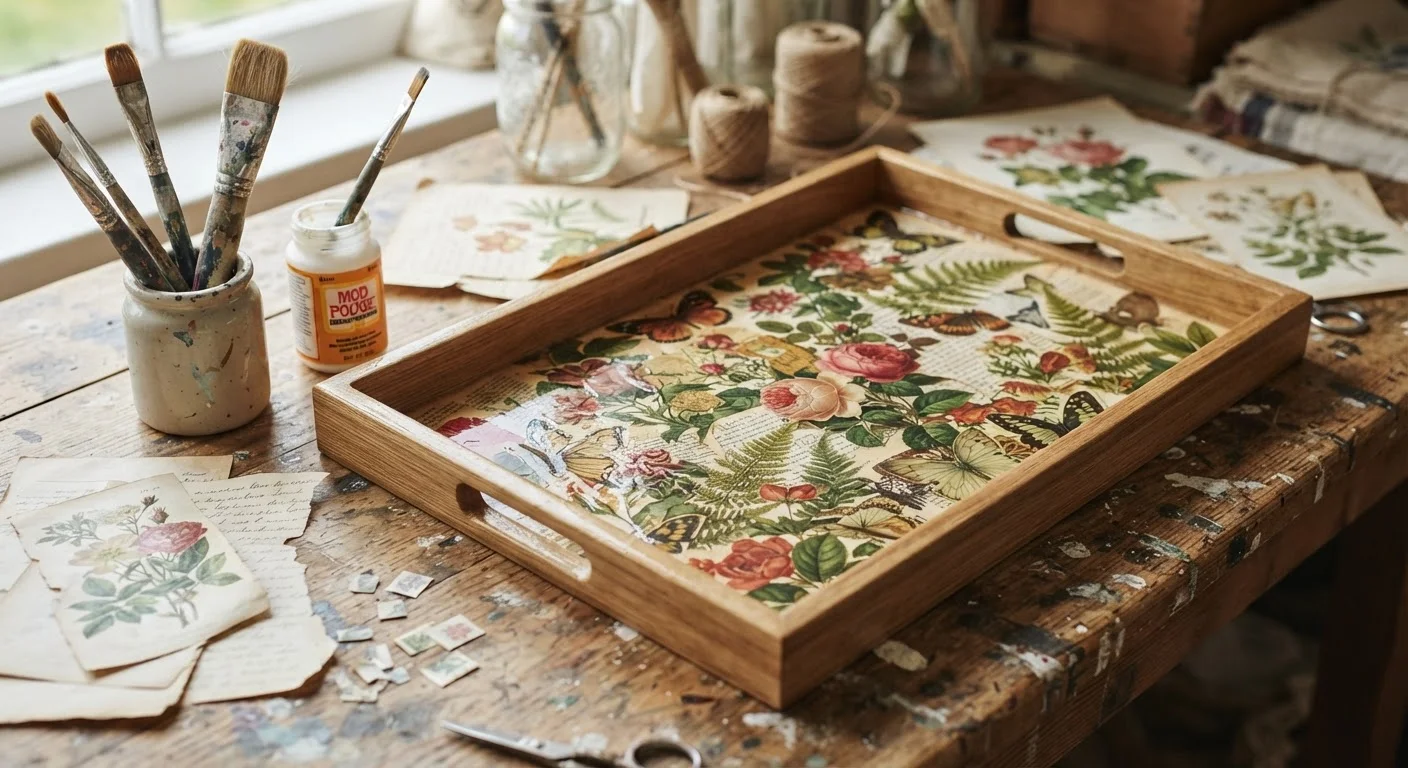
A Brief History of Decoupage
Decoupage has roots stretching back to 17th-century Europe, where craftspeople layered paper cutouts onto furniture to simulate the look of expensive lacquerwork imported from Asia. The technique became fashionable among European aristocracy and spread widely during the 18th century as a parlor art form. By the Victorian era, decoupage had become a popular hobby for women of leisure, who applied elaborate chromolithograph scraps to boxes, screens, and trays.
Far from a relic, the craft has evolved continuously. Today it encompasses everything from delicate tissue-paper layering to bold mixed-media collage, and it remains one of the most accessible and affordable ways to personalize home decor objects. For a broader understanding of the adhesives and substrates involved, the DIY Decor Toolkit offers helpful context on materials that appear across most craft projects.
Choosing the Right Paper and Medium
Paper selection is one of the most consequential decisions in any decoupage project. Thin, semi-transparent papers - such as tissue paper, napkin layers, and rice paper - integrate almost invisibly into the surface, creating a smooth, almost painted effect. Heavier papers like magazine pages or cardstock remain more visually distinct and are better suited to projects where defined imagery is the goal.
Match Your Medium to Your Vision
Before buying a decoupage medium, decide on the final look you want. Matte finishes suit farmhouse and vintage styles beautifully, while gloss works best when you want rich, saturated color. If you're working on something that will be handled frequently - like a tray or box lid - choose a formula marketed for hard-wear surfaces and apply extra topcoats for added protection.
The medium controls both adhesion and finish. Common options include:
- Matte medium - softens the look; ideal for vintage or rustic aesthetics
- Gloss medium - intensifies color and creates a lacquer-like sheen
- Satin medium - a middle ground with a subtle sheen
- Outdoor-formulated medium - adds moisture resistance for pieces exposed to humidity
Applying the medium in thin, even coats - allowing each to dry fully - is what separates a polished finish from a lumpy, peeling one.
Surfaces, Preparation, and Technique
Surface preparation is what makes a decoupage project last. Wood should be lightly sanded and wiped free of dust. Glass and metal benefit from a wipe-down with rubbing alcohol to remove oils that would prevent adhesion. Porous surfaces may need a base coat of paint or primer to create an even foundation before any paper is applied.
17th century
Origins of decoupage as a decorative craft
Historians trace the widespread adoption of decoupage technique to European furniture makers mimicking Asian lacquerwork in the 1600s.
2-4 coats
Recommended protective topcoats for durability
Most decoupage practitioners recommend applying between two and four finishing coats to achieve a smooth, long-lasting sealed surface.
Under $20
Typical material cost for a basic decoupage project
A starter decoupage project - surface, medium, and paper - is widely regarded as one of the most budget-friendly home decor crafts available to DIYers.
The basic technique follows a simple sequence: coat the surface with medium, lay the paper piece, smooth out bubbles, then apply medium over the top. Repeat, building up layers gradually. Edges and seams are your biggest challenge - pressing them down firmly with a brush while the medium is still wet is the most reliable way to keep them flat. Once all layers are in place and fully dry, finish with two to four protective topcoats, sanding lightly between coats with fine-grit sandpaper if you want an especially smooth result.
Curved surfaces - like vases or bottles - require smaller paper pieces to avoid wrinkling. Overlapping tears rather than clean cuts also helps the paper conform more naturally to three-dimensional shapes.
Creative Applications Around the Home
Decoupage is remarkably versatile when it comes to home decor. Consider these applications:
The technique also pairs well with other DIY approaches. A plain thrifted frame, a terra cotta planter, or an old side table can each become a cohesive decorative piece without significant investment. Because the materials involved are low-cost and widely available, decoupage is an excellent starting point for crafters who want to experiment with surface decoration before committing to more complex or expensive techniques.
Frequently Asked Questions
Decoupage works well on wood, glass, ceramic, metal, cardboard, and even some fabrics. Porous surfaces like raw wood tend to bond most reliably. Smooth surfaces like glass require a bit more patience with adhesion but are absolutely achievable with the right medium and technique.
Mod Podge is one well-known brand of decoupage medium, but it is not the only option. Decoupage medium is a broader category that includes PVA glue mixtures and other sealant-adhesive formulas. Many crafters also dilute plain PVA craft glue with water to achieve a similar effect.
Apply a base coat of medium to the surface first and let it become slightly tacky before placing your paper. Smooth each piece from the center outward using a soft brush or your fingertip to push air toward the edges. Thinner papers are more forgiving and less likely to trap air.
Standard decoupage mediums are not designed for outdoor exposure and will deteriorate with moisture and UV light. If you want to use the technique on outdoor pieces, choose a medium specifically formulated for exterior use and always add a weatherproof topcoat as a final layer.
Most projects benefit from two to four topcoats applied after all paper layers are in place. Each coat should dry fully before the next is added. More coats create a thicker, more durable finish and help flatten any visible paper edges.
The content on this site is for informational purposes only and is not a substitute for professional advice. Always consult a qualified professional for guidance specific to your situation.