

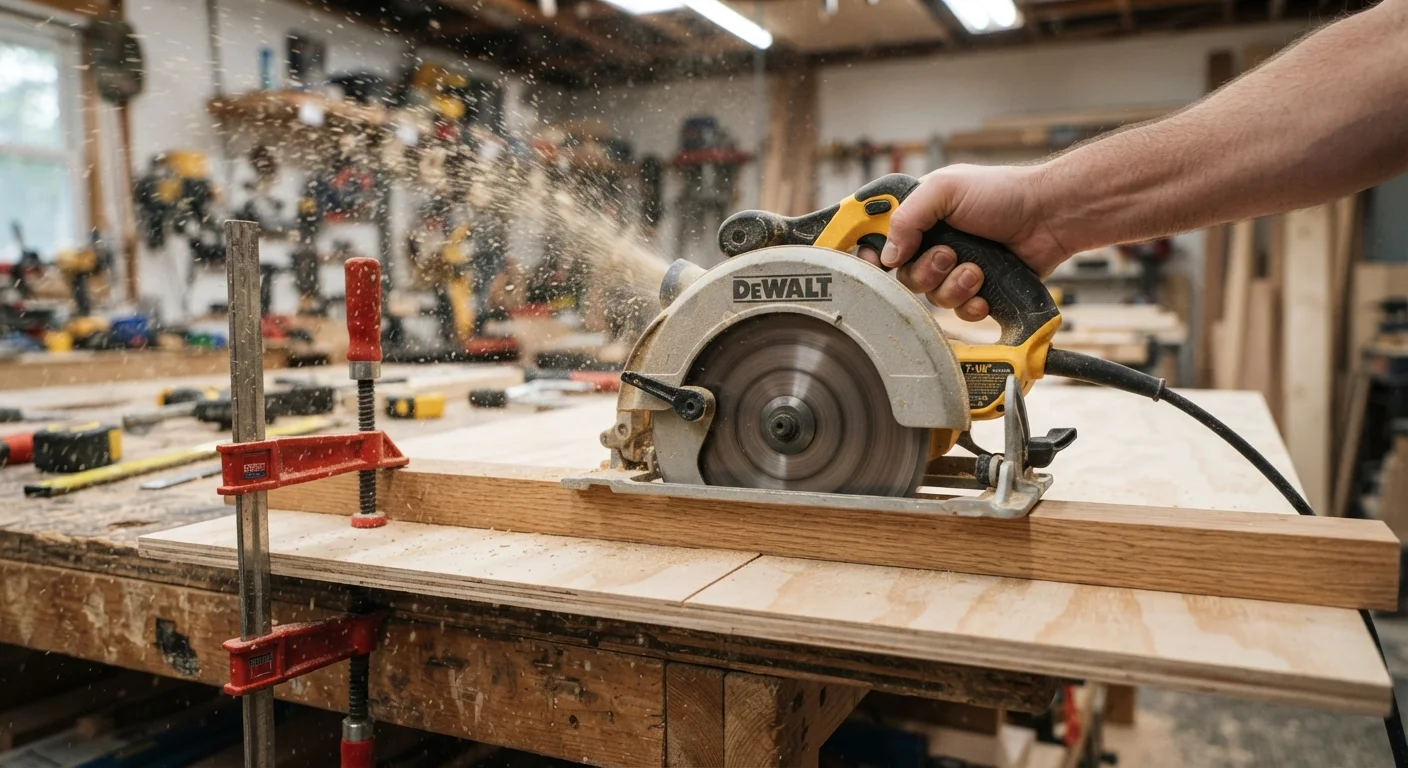
Why a Track Isn't Always Necessary
Track systems produce beautiful results, but they come with a real cost - both in money and in setup time. For most crosscuts and rip cuts on plywood or dimensional lumber, a straightedge clamped to the workpiece does the same job when you understand the geometry of your saw.
The foundation of this technique is something called the offset distance - the measurement from the edge of your saw's base plate (the flat metal foot) to the near edge of the blade. Every circular saw has this offset, and once you know yours, you can position a guide accurately every time. If you're new to circular saws or want to understand when a different tool is a better fit, see our comparison of circular saws and jigsaws before you start.
Below, you'll find everything you need - the tools, the setup, and the technique - to make a straight, clean cut without specialty hardware.
What you will need
Setting Up and Making the Cut
Good preparation is what separates a frustrating, wandering cut from a clean line. Work through the steps below in order and don't rush the measuring phase - a minute spent checking your numbers saves a wasted piece of material.
Find your saw's offset distance
Set the saw on a scrap piece of material. Measure from the left edge of the base plate to the near edge of the blade. Write this number down - it's your offset. Most saws fall between 1.5 and 2 inches, but always measure yours directly rather than assuming.
Mark your cut line on the workpiece
Use a tape measure and pencil to mark the cut location at both ends of the board. Connect the two marks using a straightedge. If squareness matters, confirm the line with a combination square before moving on.
Position and clamp the guide
Measure your offset distance away from the cut line - on the waste side - and position the straightedge there. This is where the base plate edge will ride. Clamp both ends of the straightedge firmly to the workpiece. Give the guide a firm tug to confirm it won't move.
Support the workpiece and set blade depth
Place support boards or foam underneath the full length of the workpiece - on both sides of the cut line - so the cut-off piece doesn't drop and pinch the blade. Adjust blade depth so the blade extends no more than 1/4 inch below the material. A shallower blade is safer and produces a cleaner cut.
Make the cut with consistent contact
Start the saw before the blade touches the wood. Press the base plate firmly against the straightedge guide and feed the saw at a steady, unhurried pace - let the blade do the work. Keep light but consistent lateral pressure toward the guide throughout the entire cut. At the end of the cut, hold the saw steady until the blade stops fully before lifting it away.
Kickback is the primary risk with circular saws
Kickback happens when the blade binds in the kerf - most often because the cut-off piece drops and pinches the blade, or the guide shifts mid-cut. Always support the workpiece on both sides, clamp the guide securely, and stand to the side of the saw's path, never directly behind it. If the saw feels like it's straining or slowing, stop, switch off, and identify the cause before continuing.
The content on this site is for informational purposes only and is not a substitute for professional advice. Always consult a qualified professional for guidance specific to your situation.