

Summary
18 items · 20-45 minutes
Why So Many Patched Walls Still Look Wrong After Painting
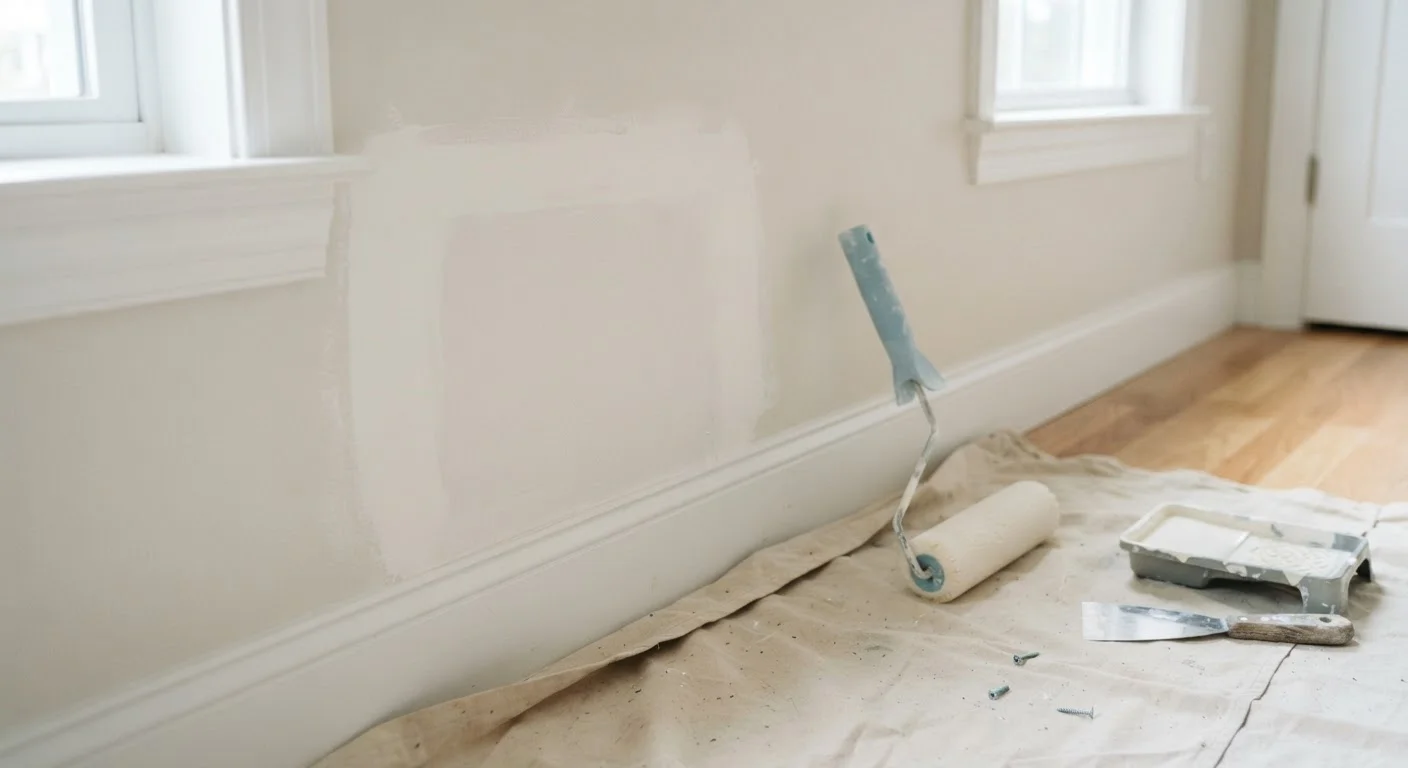
Painting over a drywall patch seems like the finish line - but for many DIYers, it's where the frustration starts. The paint goes on, dries, and the patch is still visible: a dull halo, a faint ridge, a texture that doesn't quite match. These outcomes are nearly always caused by skipping or rushing the steps that happen between the last coat of compound and the first coat of paint.
Understanding why those steps matter makes them easier to do consistently. Joint compound is porous in a way that drywall face paper is not. Primer locks down that porosity. Feathering eliminates the raised edge that catches light. Texture matching ensures the surface reads the same as the wall around it. Miss any one of these, and the patch announces itself.
If you've run into problems like bubbling tape or compound that cracked as it dried, our article on common drywall repair mistakes explains the causes behind each so you can troubleshoot before moving to paint.
Curing Time Isn't Optional
Applying paint - or even primer - over compound that hasn't fully cured can cause cracking, bubbling, and adhesion failure. Color is not a reliable indicator on its own; always combine the visual check with a firm press test. If conditions are humid or temperatures are low, add extra drying time rather than guessing. Rushing this step often means stripping everything back and starting over.
How to Use This Checklist
Work through each group in order - cure and dryness first, priming last. Each item you skip is a specific risk, not just a vague best practice. The checklist is designed so that completing every "must" item gives you a surface that should accept paint without flashing, ridging, or telegraphing the repair beneath.
If you're painting an entire room and want to align your patch prep with broader painting decisions, the room prep and color decision checklist covers the wider scope - color testing, light assessment, and surface preparation for unpainted rooms.
Sanding sponge or sandpaper (120-grit and 220-grit)
Used to feather patch edges smooth and final-sand the primed surface before painting.
Straight edge or wide putty knife
Used to detect high spots and ridges across the patched surface before sanding.
Tack cloth or microfiber cloth
Used to remove all sanding dust from the patched area prior to priming.
PVA drywall primer-sealer
Seals porous joint compound so topcoat paint absorbs evenly and does not flash.
Texture spray or texture compound
Used to replicate existing wall texture on the patch before priming.
Dehumidifier or fan
Improves airflow and reduces humidity to accelerate compound curing in damp conditions.
Cure and Dryness
Surface Smoothness and Feathering
Texture Matching
Surface Cleaning
Priming
After the Checklist: What a Good Result Should Look Like
Once primer is dry and you've done a final light sand, run a work light parallel to the wall surface (raking light). This harsh side angle reveals imperfections that flat overhead lighting hides. If you see ridges or texture mismatches at this stage, address them now - it's far easier than fixing them after topcoat is applied.
When you do paint, apply at least two topcoat coats and allow full drying between them. A single coat rarely provides enough opacity to fully conceal the primed patch area against the existing painted wall. If the repaired surface still reads differently after two coats, the cause is almost always an inadequate prime coat or compound that wasn't fully cured - not the paint itself. Our article on why a freshly painted room still looks dull walks through these post-paint issues and their fixes.
Don't Skip Primer - Even for Small Patches
Painting directly over bare joint compound - even with a high-quality paint - almost always results in a dull, flat spot called flashing. The compound is far more porous than the surrounding drywall face paper, so it pulls moisture out of the paint at a different rate. A PVA primer equalizes the surface so your topcoat behaves consistently. Skipping this step is one of the most common reasons a patched wall still looks patched after painting.
This article provides general educational guidance for DIY wall repair and painting preparation. Results will vary based on materials, conditions, and skill level. For structural wall damage or work that may require permits, consult a qualified professional and verify local building requirements.
The content on this site is for informational purposes only and is not a substitute for professional advice. Always consult a qualified professional for guidance specific to your situation.