

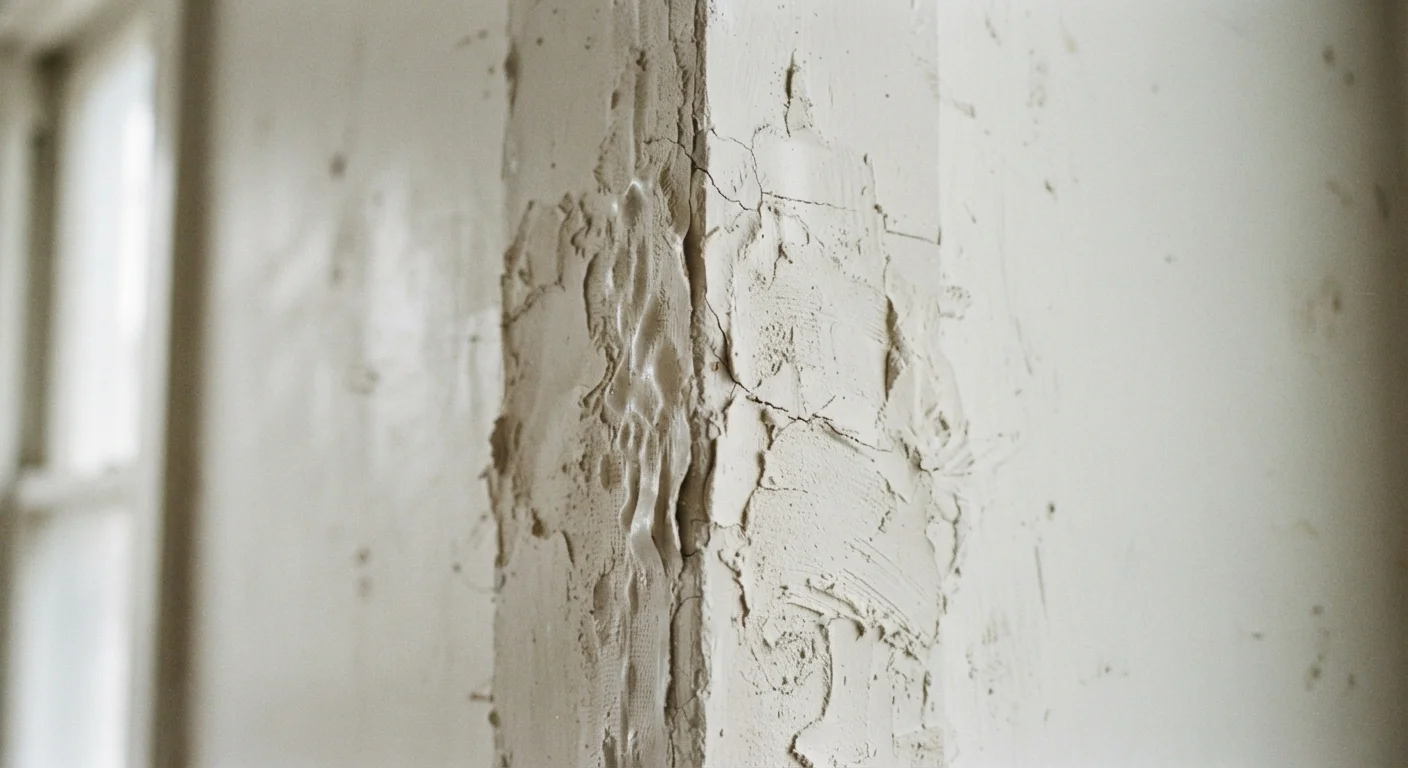
Why Drywall Repairs Fail More Often Than They Should
A drywall repair looks straightforward until you step back, let the paint dry, and notice a ridge, a bubble, or a crack running right through the middle of your patch. These outcomes are frustrating - but almost all of them trace back to a small number of repeatable, preventable errors. Understanding what causes each problem is the fastest path to avoiding rework.
For a broader look at how different types of damage should be approached before you pick up any tools, see our guide covering the full spectrum of drywall damage. Once you know your damage type, the mistakes below become much easier to dodge.
Applying joint compound in one thick coat rather than multiple thin ones.
Why it happens: It feels efficient to fill a depression in a single pass. Thicker compound seems like it should do the job faster.
Using mesh tape on flat joints where paper tape should be used.
Why it happens: Mesh tape is self-adhesive and easier to handle, so many DIYers reach for it on every joint without distinguishing between joint types.
Feathering the compound edges too close to the patch, leaving a visible ridge.
Why it happens: Working with compound for the first time, most people focus on filling the hole rather than blending the surrounding area into the wall.
Sanding before the compound has completely dried.
Why it happens: Dry-looking compound on the surface can still be wet underneath, especially in humid conditions or when applied thickly. Impatience is natural after spending hours on a repair.
Skipping primer before painting over a repaired area.
Why it happens: When the repair looks smooth and the color match seems right, primer feels like an optional step rather than a necessary one.
Not addressing the underlying cause before repairing the surface damage.
Why it happens: Surface damage is visible and the cause often isn't. It's easier to patch what you can see than investigate what's behind the wall.
The Prep and Finishing Mistakes That Haunt You Later
Most visible flaws in a finished repair aren't application mistakes - they're prep and finishing mistakes. Choosing the wrong tape for a joint, skipping primer before painting, or failing to feather compound edges wide enough all produce defects that only reveal themselves under paint or certain lighting.
Tape selection deserves particular attention. Paper tape vs. mesh tape is a genuine debate, but using mesh tape over flat butt joints - where paper tape is far more appropriate - is one of the most reliable ways to produce a crack in your repair within months. Similarly, not priming before painting is what causes that telltale dull patch, called flashing, that stands out even when your color match is perfect. Our pre-paint checklist walks through every step to confirm a repair is truly ready.
Cool Compound Isn't Dry Compound
Joint compound that appears white on the surface can still hold significant moisture inside - especially in thick or multi-layered applications. Pressing the back of your hand against the compound is a simple test: if it feels noticeably cooler than the surrounding wall, it hasn't fully cured. Sanding or recoating at this stage compromises adhesion and often causes the top layer to crack or peel as drying continues underneath.
If your compound looks dry on the surface but still feels cool to the touch, it hasn't fully cured. Applying another coat or sanding too early traps moisture inside the layer, leading to cracking or adhesion failure later. Patience at this stage protects every hour of work that came before it.
Also consider whether moisture is the underlying cause of recurring damage. Hidden water intrusion can cause walls to fail repeatedly no matter how skillfully the surface is repaired - recognizing moisture damage before it spreads is an essential skill before committing to any significant wall repair.
The content on this site is for informational purposes only and is not a substitute for professional advice. Always consult a qualified professional for guidance specific to your situation.