

Why Finish Levels Exist - and Why They Matter to DIYers
When you hang drywall, the bare panels are just the beginning. Before any paint goes on, the surface needs to be finished - and the industry has standardized exactly what that means through a numbered system from 0 to 5. Understanding these levels helps you work smarter: you avoid over-finishing a utility space, and you avoid under-finishing a living room wall that ends up showing every tape ridge under sunlight.
For DIYers tackling wall repairs or full room installs, the level system also gives you a clear target. Rather than guessing when the wall is "smooth enough," you can match your work to a defined benchmark. This article is part of a broader look at working with gypsum board - for foundational knowledge, see our complete drywall introduction before diving into finishing levels.
Levels 0 Through 2: Rough, Utilitarian Surfaces
Level 0 means no finishing whatsoever - panels are hung, and that's it. This level applies only during temporary construction phases or when the finishing specification hasn't been decided yet. You'll never paint over a Level 0 surface.
Level 1 adds a single coat of joint compound to taped seams and angles, with excess compound wiped off. Fastener heads are left unfinished. This level is appropriate for concealed spaces - inside attic hatches, above fire-rated ceilings, or in plenum areas above suspended ceilings. It meets basic fire-code requirements without visual refinement.
Level 2 builds on Level 1 with a thin coat of compound applied over the tape and fastener heads. Surfaces are flat but not sanded smooth. This is the right choice for areas that will receive tile, heavy texture, or other materials that will hide the underlying drywall - such as kitchen backsplash zones or water-resistant board in shower surrounds.
Test Your Light Before You Finish
Before committing to a finish level, hold a work light close to the wall at a sharp angle - this is called raking light. It reveals imperfections that would otherwise only appear after painting. If you can see ridges or dimples at this stage, the surface needs more work. Doing this test before applying final coats saves significant rework later.
Levels 3 and 4: The Standard for Painted Interior Walls
Level 3 adds a second coat of compound over the tape and fasteners, followed by sanding. It creates a reasonably smooth surface that can accept heavy or skip-trowel textures and medium-to-heavy paint finishes. However, Level 3 is not recommended for flat paint or smooth-finish applications - the tape lines and fastener dimples can telegraph through under close inspection.
Level 4 is where most residential interior walls and ceilings land. It requires three separate coats of joint compound - a tape coat, a fill coat, and a finish coat - each sanded before the next is applied. Fastener heads receive two coats. Once sanded, the surface is primed with a drywall primer before painting. Level 4 handles most standard paint sheens (satin, semi-gloss) and moderate lighting conditions without revealing underlying work.
If you're patching a damaged wall section, your goal should almost always be Level 4 - blending seamlessly with surrounding surfaces and ready for standard interior paint.
Level 4
Most common residential wall finish
Industry guidance from the Gypsum Association identifies Level 4 as the standard for most interior painted walls and ceilings in residential construction.
3 coats
Compound coats required for Level 4
A proper Level 4 finish involves a tape coat, a fill coat, and a finish coat - each allowed to dry and sanded before the next is applied.
6 levels
Total standardized finish grades (0-5)
The Gypsum Association's GA-214 document defines all six finish levels used by contractors, architects, and inspectors across the US.
Level 5: When Nothing Less Than Perfect Will Do
Level 5 adds one more step on top of a completed Level 4 surface: a thin skim coat of joint compound - or a specialty high-build primer - applied across the entire surface. This fills any remaining surface porosity and creates a genuinely uniform plane. The result is a wall that holds up under flat paint, high-gloss paint, or direct raking light from windows and fixtures without showing any variation.
Level 5 is not overkill for living spaces with large windows, open floor plans with strong directional lighting, or any room being finished in flat or matte paint. Flat paint in particular is unforgiving - it doesn't reflect light the way satin does, which means surface inconsistencies become highly visible.
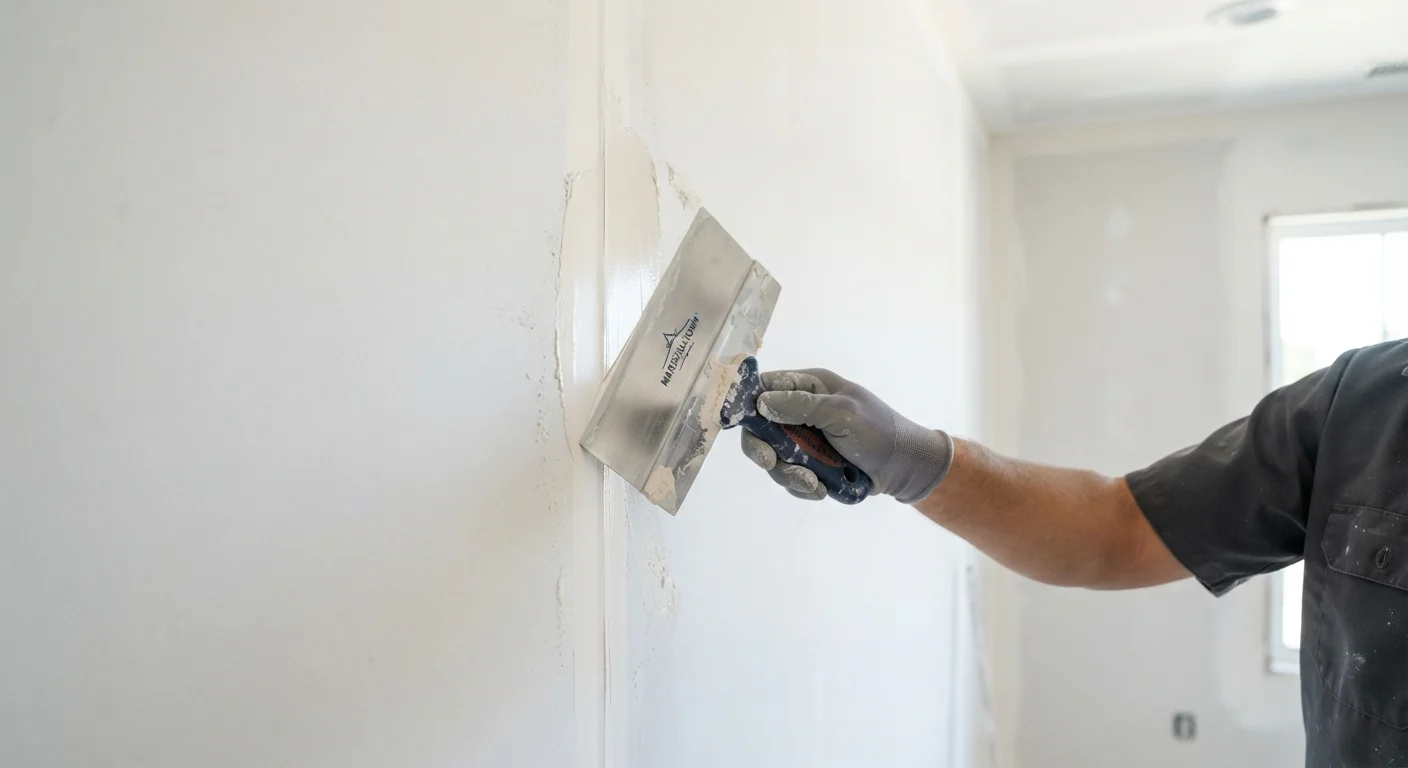
For DIYers, achieving Level 5 is absolutely possible with practice. The skim coat needs to go on thinly and evenly, using a wide finishing knife (10-12 inches) or a squeegee blade. Work in sections, feather your edges, and expect light sanding once dry. Primer follows before any topcoat.
Matching Finish Level to Your Project
The right level depends on three factors: the room's purpose, the lighting conditions, and the final paint or surface treatment. A quick guide:
- Garage, utility room, hidden plenum: Level 1 or 2
- Textured finish or tile-covered wall: Level 2 or 3
- Standard painted interior walls: Level 4
- Flat or eggshell paint, strong directional light, or high-gloss paint: Level 5
One common mistake is finishing a wall to Level 3 and assuming it's ready for flat paint. The result is typically visible tape lines and uneven sheen once painted. Spending the extra time to reach Level 4 - or Level 5 when warranted - saves the frustration of repainting or skim-coating after the fact.
Grading systems like this exist in other building material contexts too. If you're sourcing structural materials for the same project, understanding ratings can save money - much like knowing how lumber grades work before buying framing stock.
This article provides general educational guidance on drywall finishing levels. Actual results depend on application technique, materials, and surface conditions. Verify any code or inspection requirements with your local building authority.
Frequently Asked Questions
Level 4 is the standard finish for most residential interior walls and ceilings that will be painted. It involves three coats of compound, sanding, and priming. It handles most lighting conditions and paint sheens well.
Level 5 is recommended whenever flat or low-sheen paints are used, or when walls face strong directional light such as side windows or recessed fixtures. It involves applying a thin skim coat of joint compound over the entire surface for a truly uniform appearance.
Yes, though it requires practice and patience. The skim coat must be applied very thinly and evenly, then sanded smooth. Many DIYers achieve good results with proper tools, quality joint compound, and a willingness to do multiple passes.
You may see taping ridges, fastener dimples, or texture variations once the paint dries - especially under bright or raking light. The rougher the sheen or the stronger the light, the more obvious the imperfections will be.
Priming is included as a requirement in Level 4 and Level 5 but is distinct from the compound coats. A drywall primer (also called high-build primer or PVA primer) seals the surface and helps paint absorb evenly before topcoats are applied.
Level 1 or Level 2 is typically sufficient for garages, utility rooms, and concealed spaces where aesthetics are not a priority. These levels address basic fire and structural code needs without time-consuming surface refinement.
The content on this site is for informational purposes only and is not a substitute for professional advice. Always consult a qualified professional for guidance specific to your situation.