

Start here
What Drywall Actually Is
Next
Choosing the Right Sheet Type
Then
Essential Tools and Materials
When you're ready
Cutting, Hanging, and Finishing Basics
Before you begin
Common First-Timer Mistakes to Avoid
What Drywall Actually Is
Drywall - also called gypsum board, wallboard, or by common brand-derived nicknames - is the standard material used to create smooth interior walls and ceilings in most American homes. It consists of a gypsum plaster core pressed between two layers of paper. The gypsum provides fire resistance and dimensional stability, while the paper facing gives it a paintable surface and structural integrity.
Understanding what's inside the panel helps explain why working with drywall behaves the way it does. Gypsum is relatively soft and brittle, which is why drywall cuts easily - but also why it dents, cracks, and crumbles at seams when installed carelessly. The paper face is what holds everything together during installation, so protecting it matters. Visit the Drywall & Walls hub for a full library of techniques once you have the basics down.
Joint compound
A plaster-like paste (often called "mud") used to cover screw holes, embed tape, and fill seams between drywall panels to create a smooth surface.
Feathering
The technique of spreading joint compound so its edges blend gradually into the wall surface, preventing visible ridges under paint.
Stud
A vertical framing member inside a wall, typically wood or metal, that drywall panels are screwed directly into for support.
Corner bead
A metal or vinyl strip applied to outside wall corners to protect the edge and give joint compound a clean, straight line to follow.
Setting compound
A powder-based joint compound that hardens through a chemical reaction rather than drying - it sets faster and shrinks less than pre-mixed compound, but requires more experience to work with.
Dimple
The slight indentation left when a drywall screw is driven just below the surface without tearing the paper face, creating a small hollow that gets filled with joint compound.
Choosing the Right Sheet Type
Not all drywall is the same, and picking the wrong type for a space can create problems down the road. Here's what's commonly available and where each type fits:
- Standard (whiteboard): The go-to for living rooms, bedrooms, hallways, and any dry interior space. It comes in 1/2-inch thickness for most walls and 5/8-inch for ceilings and fire-rated assemblies.
- Moisture-resistant (greenboard or purple board): Designed for areas with elevated humidity, such as bathrooms and laundry rooms. It is not a tile backer and should not be used directly behind tile in wet areas like shower surrounds.
- Cement board: The correct choice behind tile in wet zones. It's heavier and harder to cut than standard drywall but holds up to prolonged moisture exposure.
- Type X (fire-rated): Required in garages, stairwells, and other areas where building codes mandate fire separation. Contains glass fibers to slow fire spread.
If your project involves insulating before hanging drywall, see our first-timer's guide to home insulation to understand how the two systems work together.
Essential Tools and Materials
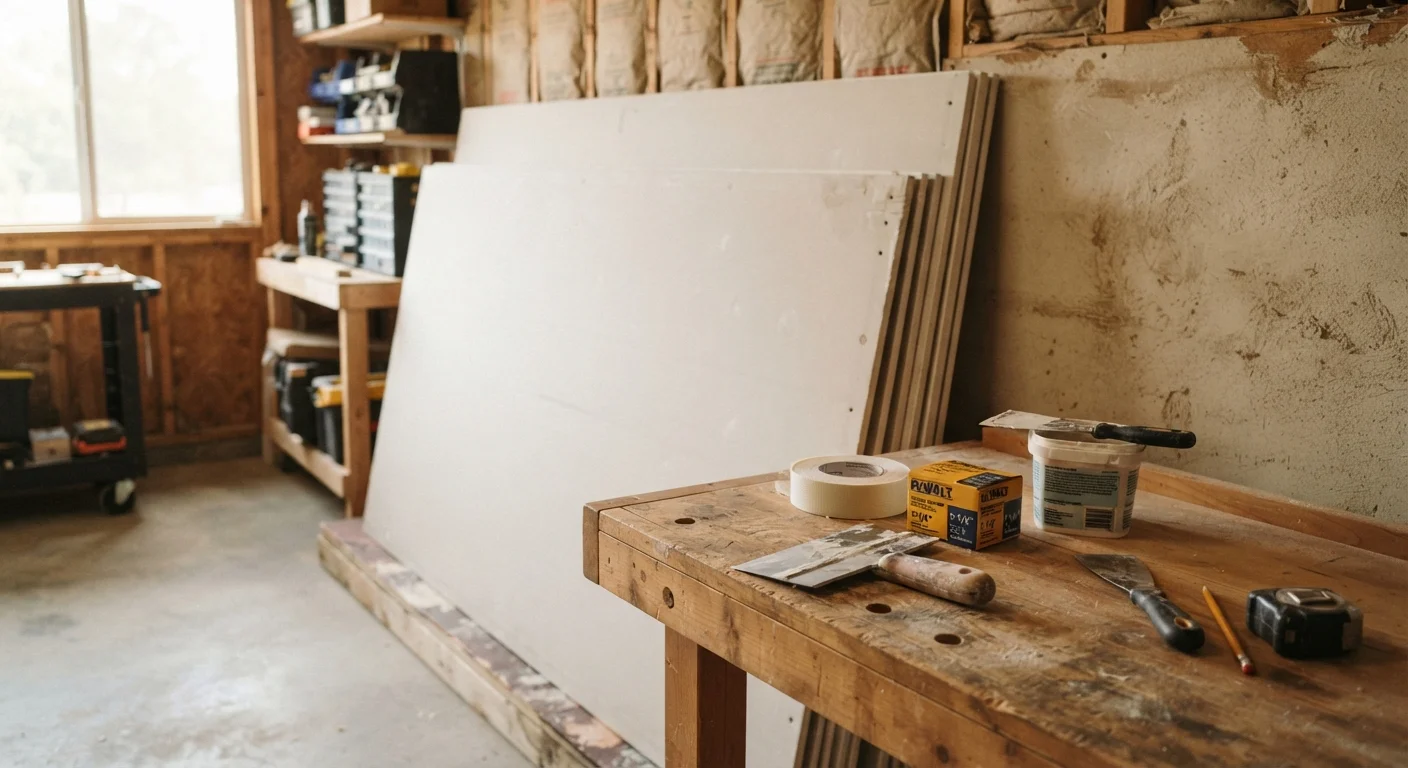
You don't need a professional's truck full of tools to tackle a basic drywall project. These are the practical essentials:
- Utility knife and T-square: For scoring and snapping straight cuts accurately.
- Drywall saw (jab saw): For outlet cutouts and irregular shapes.
- Screw gun or drill with a dimpler bit: Drives screws to the correct depth without tearing the paper face.
- Mud knives (4-inch and 8-inch): A narrow knife for applying compound in tight seams, a wider one for feathering finish coats.
- Corner bead: Metal or vinyl strip that protects and defines outside corners.
- Joint compound (mud): All-purpose compound works for most beginners. Pre-mixed is more forgiving than powder-based setting compound for first timers.
- Joint tape: Paper tape for flat seams; self-adhesive mesh as an alternative for patches.
- Sanding sponge and pole sander: For smoothing dried compound without gouging the surface.
Rent Before You Buy
If this is your first drywall project, consider renting a drywall lift and a pole sander before purchasing them outright. Equipment rental shops typically offer daily rates that make one-time projects much more economical. You'll also get a feel for which tools you'd genuinely use again before committing to ownership.
Cutting, Hanging, and Finishing Basics
The process breaks into three distinct stages, and each has its own logic:
Cutting
Score the face paper with a utility knife along a T-square, snap the panel toward the back, then cut the back paper. For curves and outlets, use a jab saw. Keep cuts clean - ragged edges create gaps that are harder to tape and mud.
Hanging
Attach panels to studs using drywall screws spaced roughly 12 inches apart in the field and 8 inches along edges. Drive screws until the head dimples slightly below the surface without breaking through the paper. Stagger seams between rows so joints don't line up - this improves wall strength. Always hang ceilings before walls.
Finishing
Apply joint compound over seams and screw dimples in thin layers, embedding paper tape into the first wet coat over flat seams. Let each coat dry completely before adding the next. Feather compound edges wider with each coat - the finish coat should spread about 10-12 inches across each seam. After final drying, sand lightly and prime before painting. For a deeper look at what can go sideways during repairs, learn why common drywall problems happen so you can prevent them from the start.
Common First-Timer Mistakes to Avoid
Most drywall frustrations trace back to a handful of predictable errors. Knowing them in advance saves you hours of rework:
- Over-driving screws: Breaking the paper face eliminates holding strength. If it happens, drive another screw nearby and leave the broken one in place.
- Applying compound too thick: Thick coats crack as they dry. Three thin coats always outperform one heavy one.
- Not feathering edges: Abrupt compound edges show through paint. Every coat should be blended wider than the last.
- Sanding through the paper face: Aggressive sanding near the seam edge can expose the gypsum core, which absorbs paint unevenly. Use light pressure and a fine-grit sponge near edges.
- Skipping primer: Joint compound and drywall face paper drink paint at different rates. Primer creates a uniform surface - skipping it leads to dull patches visible at any angle in natural light.
Some drywall beliefs that seem like common sense can actually lead you into expensive rework. Separate drywall myths from facts before your next project to build on a solid foundation of accurate technique.
Frequently Asked Questions
Most interior walls use 1/2-inch drywall, which is the standard for residential construction. Ceilings sometimes call for 5/8-inch sheets because they are heavier and sag less over time. Thinner 3/8-inch panels are typically used only for curved surfaces or double-layer applications.
Wall panels can be manageable solo with the right technique, but ceiling work is genuinely difficult alone. A drywall lift tool rents affordably from most equipment rental shops and makes ceiling installation safer and far less physically demanding. For large wall panels, a second pair of hands helps ensure proper alignment.
Most professionals apply three coats - a tape coat, a fill coat, and a finish coat - allowing each to dry fully before the next. Rushing the process by applying thick coats causes cracking and shrinkage. Light sanding between coats keeps the surface smooth.
Yes. Fresh drywall and dried joint compound absorb paint at different rates, causing uneven sheen known as flashing. A drywall primer seals both surfaces so the topcoat applies evenly. Skipping primer is one of the most common and visible first-timer mistakes.
Paper tape is stronger and less prone to bubbling, making it the preferred choice for flat seams and inside corners. Fiberglass mesh tape is self-adhesive and easier to apply quickly, but it requires setting-type compound for reliable strength. Most experienced DIYers default to paper tape for seams.
Patching holes and hanging panels on straightforward walls are well within beginner reach with preparation and the right tools. The finishing stages - taping, mudding, and sanding - take more practice to master, so expect your first attempt to be a learning experience rather than a perfect result.
The content on this site is for informational purposes only and is not a substitute for professional advice. Always consult a qualified professional for guidance specific to your situation.