

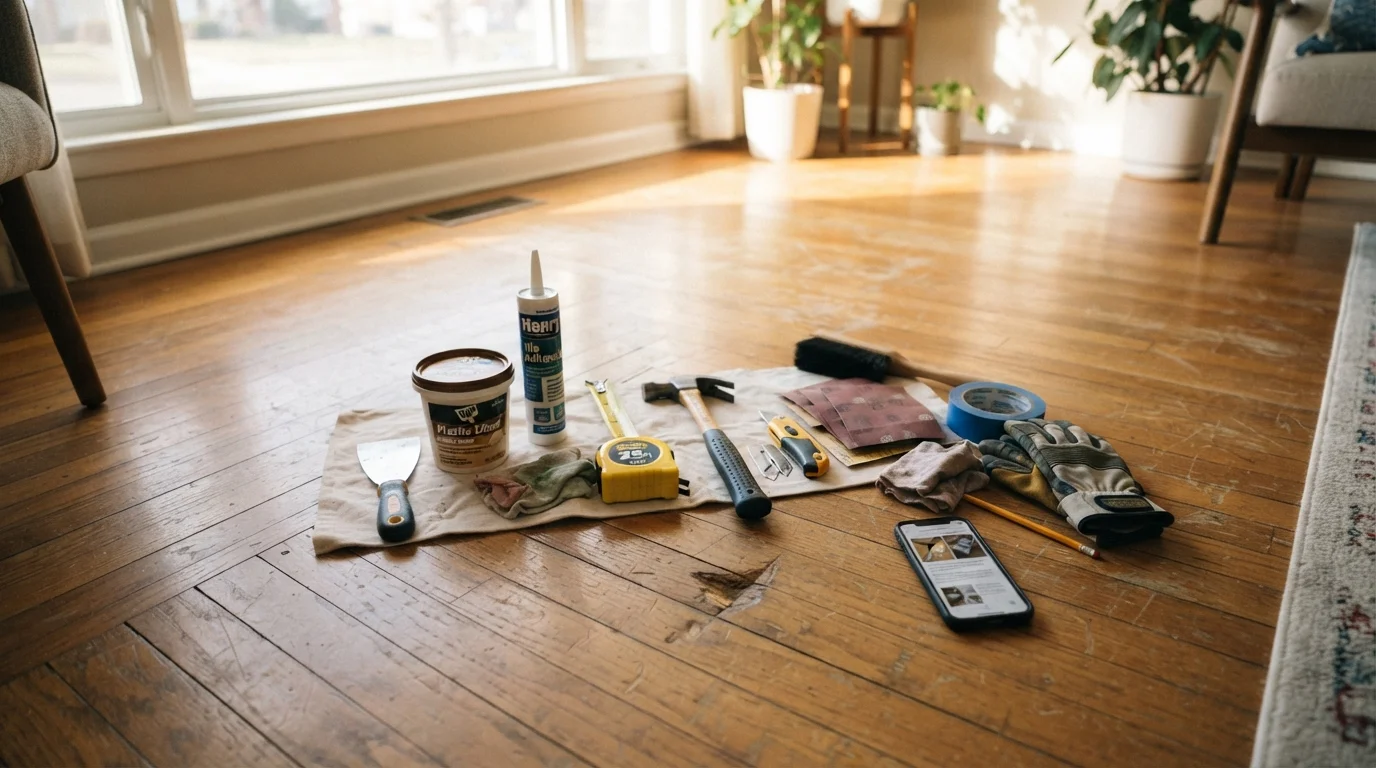
Start With a Diagnosis: Reading What Your Floor Is Telling You
Before you buy a single tube of adhesive or rent a sander, walk the damaged area and ask three questions: What material is the floor made of? Where exactly is the damage - surface, wear layer, or subfloor? And what caused it? A creak under carpet could be a loose nail; the same creak under tile could signal a cracked subfloor. Getting the diagnosis right saves you from completing a repair that fails within months.
Press on soft spots gently with your foot. Tap tiles to listen for a hollow sound (a sign of delamination). Look for discoloration at the edges of planks, which may indicate moisture intrusion rather than simple wear. Lifting a vent cover or checking beneath the floor from a crawl space - if accessible - can reveal water staining or rot that changes the entire repair scope.
If you're a renter rather than an owner, your repair rights differ significantly. See our guide for renters on floor repairs before proceeding.
Before you purchase replacement flooring material, bring a sample of the existing floor - not just a photo - to a flooring supplier. Lighting and camera settings routinely distort color and sheen, making in-store matching unreliable.
Color mismatches between old and new flooring are one of the top complaints after DIY repairs; a physical sample eliminates the guesswork that photos introduce.
When testing for a hollow tile, tap each tile with the handle of a screwdriver rather than your knuckle - the denser contact produces a cleaner, more distinguishable sound difference between bonded and delaminated areas.
Identifying loose tiles accurately before buying adhesive and grout helps you scope the repair correctly and avoid unnecessary material costs.
Hardwood Floor Repairs: Scratches, Gaps, and Damaged Planks
Hardwood is durable but not indestructible. Repair complexity scales with damage depth: a shallow scratch needs only a touch-up marker or wax fill stick; a deep gouge requires wood filler matched to the species and stain; a fully cupped or warped plank may need to be replaced entirely.
For surface scratches, clean the area first, then apply a color-matched wood touch-up product and buff lightly with the grain. For deeper damage, our detailed article on patching hardwood floors - gaps, gouges, and scratches walks through the full process step by step.
When replacing individual planks in a nail-down installation, use a oscillating multi-tool to cut the damaged board into sections, avoiding the tongue-and-groove edges of neighboring boards. Pry out the sections carefully. The replacement board will need its bottom groove removed so it can be face-nailed or glued into position. Always source a matching species, grade, and finish before removing the old plank - color-matching after the fact is far harder.
One common misconception worth flagging: many homeowners assume engineered hardwood can be sanded repeatedly like solid wood. It cannot - most engineered products have a thin wear layer of 1-3 mm. Our companion piece on floor repair myths that cost homeowners time and money covers this and other costly misunderstandings.
Tile Floor Repairs: Cracks, Loose Tiles, and Grout Failures
Ceramic and porcelain tile repairs fall into two categories: grout repair (the most common) and tile replacement. Grout that is cracked, stained, or missing allows water to seep beneath tiles, eventually loosening adhesive and damaging the subfloor. Removing old grout with a grout saw or oscillating tool, then applying fresh premixed grout, is a straightforward afternoon task.
For a single cracked tile, score around it with a grout saw, then use a cold chisel and hammer to break the tile into removable pieces - work from the center outward to protect adjacent tiles. Scrape the old thinset adhesive flat, apply fresh thinset with a notched trowel, and set the new tile. Allow 24 hours before grouting.
Don't Tile Over Structural Movement
Tile is brittle and will crack again if the underlying cause - subfloor flex, joist movement, or a failing mortar bed - is not corrected first. Patching cracked tile without investigating why it cracked is a temporary fix at best. If tiles crack repeatedly in the same location, the problem is almost certainly structural rather than surface-level.
If multiple tiles are hollow or the substrate flexes underfoot, the problem is likely a failed mortar bed or a compromised subfloor - not a candidate for spot repair. In wet areas like bathrooms, widespread tile failure can also indicate water damage to the cement board or plywood below, which must be addressed before any new tile is set.
Vinyl and LVP Repairs: Bubbles, Tears, and Plank Replacement
Sheet vinyl and luxury vinyl plank (LVP) are among the most repair-friendly flooring materials available. A bubble in sheet vinyl is usually trapped air or a failed adhesive bond. Prick the bubble with a thin needle, inject vinyl floor adhesive using a syringe applicator, press flat, and weight it for several hours. For tears or cuts, a vinyl seam sealer applied along the damaged edge and pressed together with painter's tape overnight is often sufficient for smaller damage.
Replacing a damaged LVP plank requires working from the nearest wall or end of a floating floor run. Because LVP uses a click-lock system, you must disassemble planks in order from the edge of the room to the damaged piece - you cannot pop a single plank from the middle without removing those around it. Plan accordingly, and store a few extra planks from the original installation to ensure a perfect match.
Note on glue-down LVP: Glued planks require a floor scraper or heat gun to release - use heat carefully to avoid warping adjacent planks. Clean adhesive residue thoroughly before setting the replacement.
Carpet Repairs: Stains, Burns, and Loose Seams
Carpet repair is often underestimated as a DIY task. A small burn or stain can frequently be addressed with a donor patch cut from a closet or other hidden area, then secured with carpet adhesive or heat-activated seam tape. Use a sharp utility knife and a circular cutting guide to produce a clean patch that blends with the existing pile direction.
Loose seams along doorways or in hallways - where carpet edges have separated - can be re-secured with a rented knee kicker and carpet seam iron (used to re-melt the adhesive on seam tape). Stretch the carpet back toward the tack strips at the wall and press firmly. If the tack strip itself has pulled free, renail it to the subfloor before re-stretching.
For pet odors or deep liquid stains, the issue may extend into the pad or subfloor below. Surface cleaning alone will not eliminate the odor source; the affected section of pad should be replaced, and if the subfloor is stained, it should be sealed with an appropriate primer before new pad and carpet are installed.
When to Call a Professional Instead
DIY flooring repair has real limits. Stop and consult a licensed contractor when you encounter any of the following: soft or spongy areas that indicate subfloor rot or failure; visible mold beneath flooring material; a floor that slopes noticeably or bounces, suggesting a structural joist problem; or flooring damage linked to active plumbing leaks. For plumbing-related causes, our plumbing fixes hub can help you address the source before repairing the floor.
Structural repairs - including sistering joists, replacing a subfloor section, or addressing foundation settlement - are not DIY projects. They often require permits and inspections, and the safety consequences of errors are significant. Similarly, if your home was built before 1980, flooring adhesives and tiles may contain asbestos; disturbing these materials without professional abatement poses serious health risks and is regulated under federal and state law.
When in doubt, a paid consultation with a licensed flooring contractor - without any obligation to hire them for the full job - can tell you whether your planned repair is appropriate or whether a larger intervention is needed. That hour of professional insight almost always saves money in the long run. For guidance on other interior repair projects beyond flooring, explore our drywall and walls repair guides as well.
This article is intended for general educational purposes. Flooring repair requirements vary by material, installation method, local building codes, and home construction. Always verify permit requirements with your local authority having jurisdiction before beginning any significant flooring project, and consult a licensed professional for structural, moisture, or hazardous-material concerns.
The content on this site is for informational purposes only and is not a substitute for professional advice. Always consult a qualified professional for guidance specific to your situation.