

Understanding the Damage Before You Reach for a Product
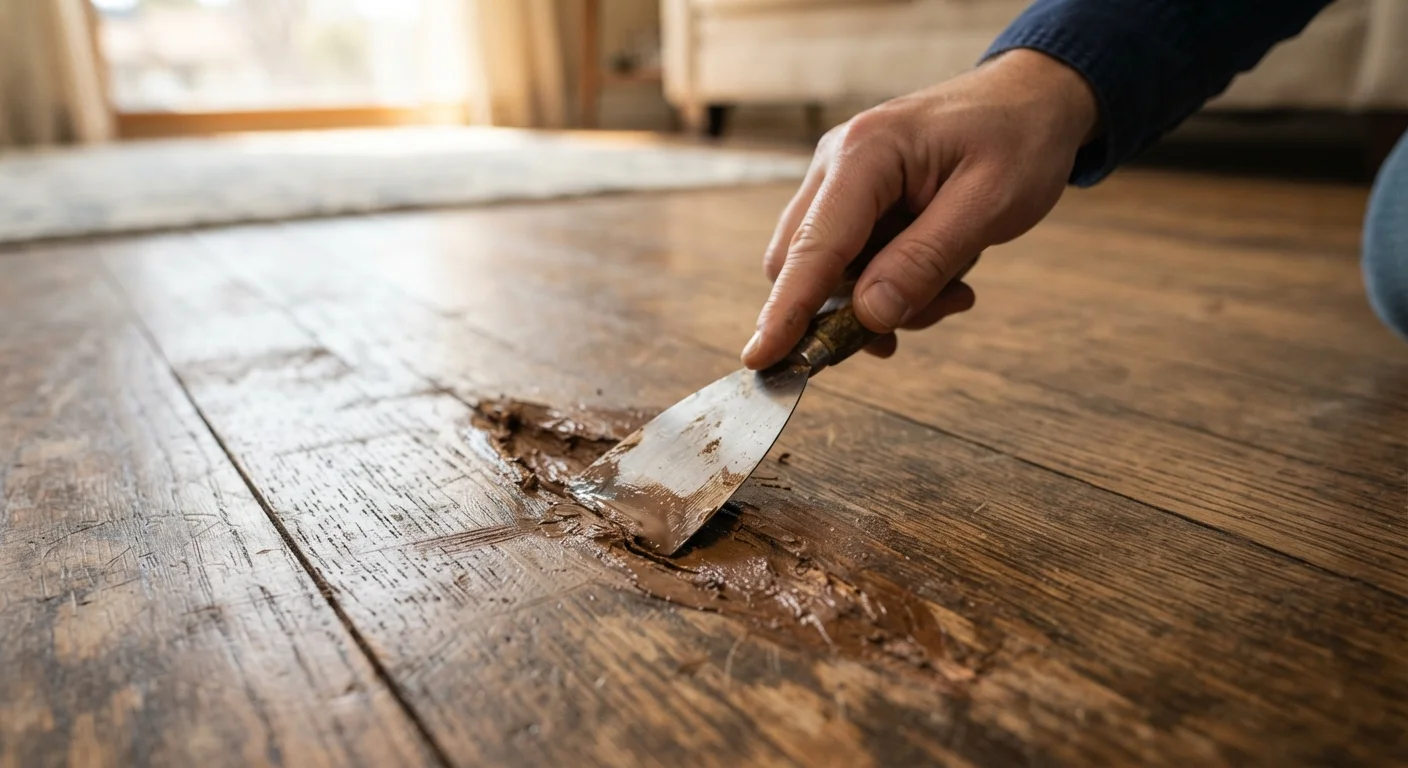
Not all hardwood damage is equal, and choosing the wrong repair approach is the most common beginner mistake. Before buying anything, crouch down at eye level with the floor and examine the damage in raking light. This reveals whether you're dealing with a shallow surface scratch that only broke the finish, a deeper scratch that reached the wood fiber, or a true gouge where wood material is actually missing.
Surface scratches confined to the finish layer need nothing more than a wax stick or a dab of blended finish - no sanding required. Scratches that cut into raw wood benefit from a tinted wood filler or a fill-and-finish marker. Gouges deep enough to show bare wood below the surrounding surface require a proper filler product that bonds to bare wood and can be sanded flush. Gaps between boards - often caused by seasonal humidity changes - call for a flexible filler that moves with the wood rather than a rigid compound that will crack. For a detailed breakdown of which product suits which situation, see our guide on choosing the right gap filler for hardwood floors.
This distinction also determines whether your repair is truly DIY territory or a stepping stone toward a full refinish. If the damage is widespread or the floor has been patched multiple times, you may be approaching the threshold described in our article on what DIYers underestimate about sanding and refinishing.
Tools and Materials You'll Need
Gather everything before you start. Stopping mid-repair to locate a tool can compromise results, especially with fast-setting fillers.
Wax fill stick or touch-up marker
Used to fill and camouflage shallow surface scratches that haven't penetrated the finish layer.
Latex or solvent-based wood filler
Fills deeper scratches and small gouges where wood fiber is exposed or missing.
Putty knife or plastic spreader
Applies and spreads filler into the damaged area without scratching surrounding finish.
Fine-grit sandpaper (220-grit)
Sands cured filler flush with the surrounding floor surface.
Tack cloth or damp microfiber cloth
Removes dust and debris from the repair area before and after sanding.
Matching floor finish (polyurethane, oil, or wax)
Applied as a thin topcoat over the repaired area to seal and blend sheen.
Wood stain or tinted marker
Used to adjust color of the filler or bare wood before applying a clear topcoat.
For broader context on diagnosing and planning floor repairs across different material types, the overview article Flooring Repairs From Start to Finish is a useful starting point.
Step-by-Step Repair Instructions
Work through these steps in order. Skipping preparation steps is the leading cause of repairs that look good on day one but fail within weeks.
Clean the damaged area
Sweep or vacuum around the repair zone, then wipe the specific damage area with a lightly damp microfiber cloth to remove grit, wax residue, and dust. Allow it to dry completely - at least 15 minutes - before proceeding. Any contamination left in a gouge will prevent filler from bonding properly.
Choose and color-match your filler
Select a filler product appropriate to the damage depth. For shallow scratches, a wax stick in a tone that matches your floor's mid-range color is usually sufficient. For deeper gouges, use a latex wood filler. Most fillers are available in neutral tones and can be tinted by working a small amount of stain into the product on a scrap surface before applying. Test your color match on an inconspicuous area first.
Apply the filler
For wax sticks: rub the stick firmly across the scratch in a single direction, pressing material into the groove. For wood filler: load a small amount onto the tip of a plastic spreader and press it firmly into the gouge, slightly overfilling to account for shrinkage during drying. Smooth the surface as much as possible with the spreader edge held at a low angle.
Allow full cure time
Wax fill sticks are workable almost immediately. Latex wood fillers typically need 1-2 hours to dry to the touch and up to 24 hours for a full cure before sanding. Check the product label for the manufacturer's specific recommendation. Test by pressing a fingernail gently at the filler edge - if it leaves an indent, it needs more time.
Sand the filler flush
Fold a small piece of 220-grit sandpaper and sand the cured filler lightly by hand, moving with the direction of the wood grain. The goal is to bring the filler level with the surrounding surface - not to sand into the floor itself. Stop frequently to check by feel and by sighting across the surface at a low angle. Wipe away dust with a tack cloth.
Apply a topcoat finish
Using a small brush or applicator pad, apply a thin coat of finish that matches your existing floor's sheen level (matte, satin, or semi-gloss). Feather the finish out slightly beyond the repair edges to blend the transition. Let it cure per the product instructions before allowing foot traffic. For wax-finished floors, buff a small amount of matching paste wax over the area once the repair is dry.
Once the filler is cured and sanded, the visual result depends heavily on how well you match color and sheen. Our companion guide on keeping repaired floors looking consistent walks through stain blending, finish sheen matching, and how repaired areas age relative to surrounding wood.
When the Repair Isn't Enough
Some damage genuinely exceeds what surface patching can fix. If a plank is split through its thickness, structurally cupped, or shows signs of subfloor moisture damage beneath it, patching the surface will only mask a worsening problem. In those cases, board replacement or investigation of the moisture source is the appropriate next step.
Similarly, if your floor has accumulated many small patches over time and the overall tone or sheen has become inconsistent, a full sand and refinish will produce a more uniform result than additional spot repairs. That's a considerably larger project - one worth reading about carefully before committing. And if your floors squeak around the damaged area, that's a separate issue worth addressing before sealing everything up; our article on silencing squeaky floors covers practical approaches based on subfloor type.
This article provides general guidance for informational purposes only. Results vary based on floor species, existing finish, and individual technique. Always follow product manufacturer instructions and verify that your repair approach is appropriate for your specific floor type.
The content on this site is for informational purposes only and is not a substitute for professional advice. Always consult a qualified professional for guidance specific to your situation.