

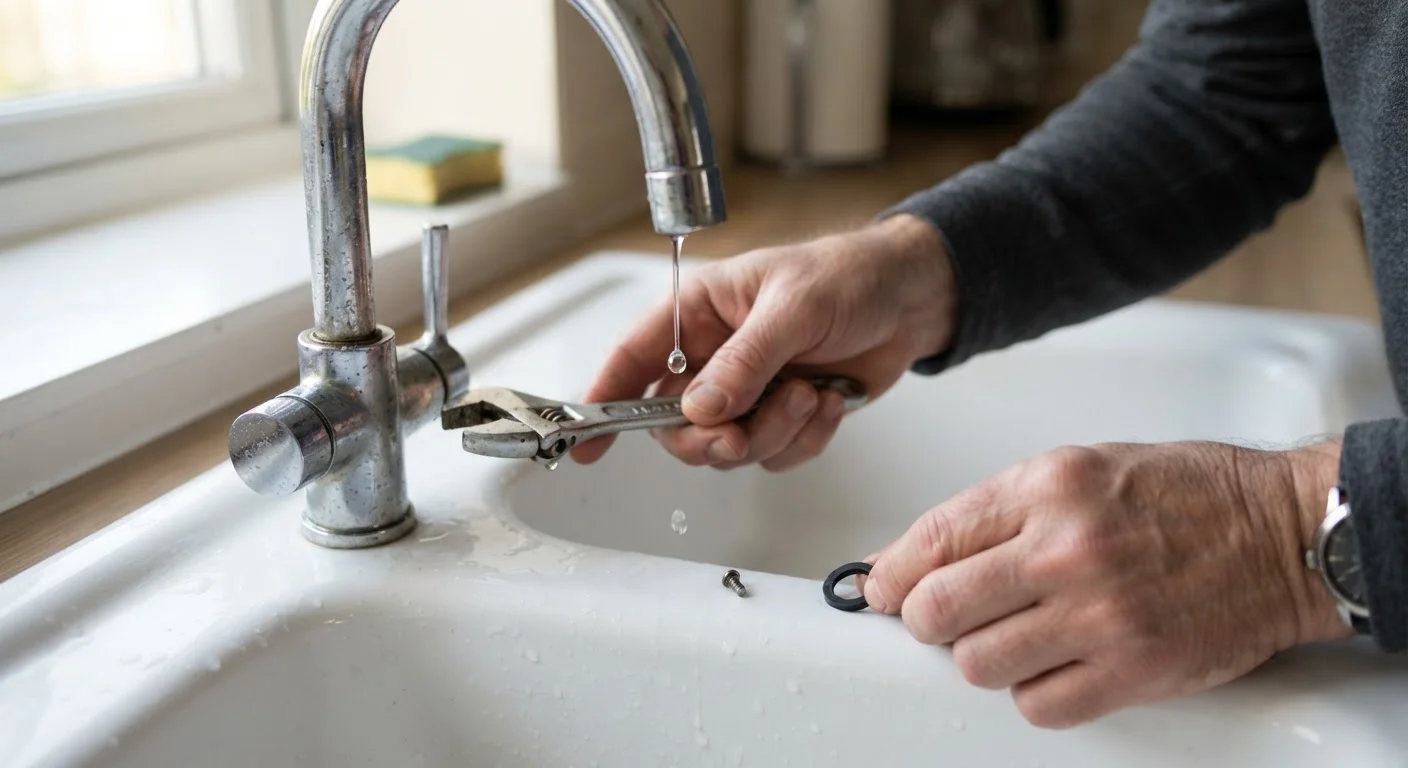
Understanding Why Taps Drip
A persistently dripping tap is more than an annoyance - it wastes a measurable amount of water over time and can accelerate corrosion inside the fitting. Before reaching for a wrench, it helps to understand what's actually failing. If you're new to how household water supply works, the homeowner's guide to plumbing systems provides useful background on shut-off valves and supply lines.
There are two tap designs found in most US homes:
- Compression taps - the older, more common style with separate hot and cold handles that you physically screw down to stop flow. Inside, a rubber washer presses against a brass seat to create a seal. Over time, that washer hardens, cracks, or wears unevenly, allowing water past.
- Ceramic disc taps - a single-lever or quarter-turn design that uses two precision-ground ceramic plates. When the discs align, water flows; when they rotate apart, flow stops. Dripping usually means a cracked disc, mineral buildup, or a degraded O-ring seal around the cartridge.
Identifying your tap type before purchasing parts saves unnecessary trips and frustration.
Not Sure Which Tap Type You Have?
Hold both handles and try turning them. If they rotate multiple times before the water stops, you have a compression tap. If the handle stops after a quarter-turn or 90-degree arc, it's almost certainly a ceramic disc design. Single-lever kitchen faucets that move front-to-back for flow and side-to-side for temperature are also ceramic disc taps.
What You'll Need
Gather all tools and parts before turning off the water. Searching for a missing part mid-repair means leaving the supply off longer than necessary.
Adjustable wrench
Loosens and tightens the packing nut and cartridge retaining nut without damaging fittings.
Flathead and Phillips screwdrivers
Removes handle screws, decorative caps, and isolation valve slots.
Replacement rubber washers (assorted)
Provides the new sealing surface inside a compression tap.
Replacement ceramic cartridge
Replaces a failed or chipped ceramic disc assembly in single-lever taps.
Tap reseating tool
Resurfaces a lightly pitted brass valve seat so a new washer can seal properly.
Plumber's grease (silicone-based)
Lubricates O-rings and rubber washers to extend seal life and ease reassembly.
Bucket and towels
Catches residual water when the tap body is opened during disassembly.
What you will need
Step-by-Step Repair Instructions
Follow these steps carefully. Work methodically and keep track of each small part - tap internals are easy to reassemble in the wrong order.
Shut Off the Water Supply
Locate the isolation valve directly under the sink or basin - it usually has a slotted screw head that you turn a quarter-turn with a flathead screwdriver until the slot is perpendicular to the pipe. If there is no isolation valve, shut off the main supply valve for the home. Once closed, open the tap fully to release pressure and drain any remaining water in the line.
Remove the Handle
Pry off any decorative cap on top of the handle (a small flathead screwdriver works well). Underneath you'll find a screw - typically Phillips or flathead - holding the handle to the spindle. Remove it and lift or wiggle the handle free. Some older handles are tight from mineral buildup; a gentle rocking motion usually frees them without forcing.
Remove the Packing Nut and Stem (Compression Taps)
With an adjustable wrench, loosen and remove the packing nut (the large hexagonal nut just below the handle). Unscrew or pull out the spindle (stem). At the bottom of the stem you'll see the old rubber washer held by a small brass screw. Remove the screw, pull off the worn washer, and note its exact size - thickness and diameter - before purchasing a replacement. Seat the new washer and replace the brass screw snugly but without overtightening.
Inspect and Replace the Ceramic Cartridge (Ceramic Disc Taps)
For ceramic disc taps, unscrew the cartridge retaining nut or clip after removing the handle. Lift the cartridge straight out - note its orientation before pulling. Inspect the ceramic discs for chips, cracks, or mineral scale. If the discs look intact but grimy, clean them gently with white vinegar and a soft cloth, then test. If damaged, replace the entire cartridge with a matching unit (bring the old cartridge or note the tap brand and model).
Inspect the Valve Seat
Before reassembly, shine a flashlight into the tap body and look at the brass valve seat - the flat ring the washer presses against. It should be smooth and even. Light pitting can sometimes be polished with a tap reseating tool (a hand-operated grinding tool inserted into the tap body and turned to resurface the seat). Deep scoring or cracking means the seat or tap body needs professional attention.
Reassemble and Test
Reassemble in reverse order: thread the stem back in, tighten the packing nut firmly (not excessively), and reattach the handle. Slowly reopen the isolation valve or main supply. With the tap handle in the closed position, check for drips at the spout. Open the tap briefly to flush any debris, then close it again and observe for 60 seconds. A properly seated washer or cartridge should produce no drip at all.
Note: If you discover that the brass valve seat inside the tap body is pitted or deeply scored, a standard washer replacement won't create a lasting seal. A tap reseating tool (seat grinder) can resurface minor damage, but significant corrosion may require a licensed plumber to replace the tap body or the entire fitting.
Troubleshooting and When to Call a Professional
Even after a careful repair, a tap may still drip. Common reasons include:
- The replacement washer is the wrong size or material for your tap model.
- The valve seat is damaged and needs resurfacing or replacement.
- A ceramic cartridge was reinstalled with incorrect orientation - most cartridges are keyed and install only one way, but it's easy to miss.
- The tap body itself has a crack or corrosion that a new washer cannot fix.
Leaks at the Stem Base Need Different Parts
A drip from the tap spout and a leak around the stem base are different problems requiring different parts. Spout drips point to the washer or ceramic disc; stem-base weeping indicates worn O-rings on the spindle shaft. Replacing only the washer when O-rings have failed will not stop the leak - inspect both areas during every repair.
Persistent leaks from the base of the tap stem (rather than the spout) usually indicate worn O-rings around the spindle. These are replaced using the same basic disassembly process - just swap the O-rings rather than the seat washer. For comparison, internal tank leaks in toilets follow similar logic; the guide to stopping a running toilet walks through analogous component-by-component diagnosis.
If you are uncomfortable at any stage, if the tap body shows signs of serious corrosion, or if the supply shut-off valve itself won't fully close, stop and contact a licensed plumber. Some repairs - particularly those involving soldered supply lines or the main shutoff - require a permit or licensed trade in many US jurisdictions. Always verify local requirements before proceeding beyond basic fixture maintenance.
This article is for general informational and educational purposes only. Plumbing regulations and requirements vary by location. Always verify local codes and, when in doubt, consult a licensed plumbing professional.
The content on this site is for informational purposes only and is not a substitute for professional advice. Always consult a qualified professional for guidance specific to your situation.