

Why Crop Rotation Matters in a Home Garden
Crop rotation is the practice of moving plant families to different growing areas each season rather than planting the same crops in the same spot year after year. It's one of the oldest and most reliable techniques in vegetable gardening - and it works just as well in a backyard plot as it does on a farm.
The core problems that rotation addresses are closely related: soil-borne pathogens and pest populations that survive winter by sheltering in the same soil where their host plants grew. When you plant tomatoes in the same bed for three years running, fungal spores and nematodes that feed on tomato roots accumulate to damaging levels. Move the tomatoes to a new zone, and those organisms have no host - their populations decline naturally.
Rotation also manages soil nutrients. Heavy-feeding crops like corn and tomatoes draw down nitrogen and other nutrients aggressively. Following them with legumes - beans and peas - helps replenish nitrogen biologically through root nodules that fix atmospheric nitrogen into plant-available form. This natural cycling reduces how much you need to add through purchased amendments.
If you're building your first garden from scratch, our guide to starting a garden from bare ground covers the foundational soil preparation that makes rotation even more effective from the start.
Don't Skip Rotation in Small Beds
Many gardeners assume crop rotation only matters at scale, but soil-borne pathogens like early blight and clubroot can establish quickly even in a single raised bed. Rotating crops even one bed over breaks the lifecycle of these problems. Skipping rotation for several consecutive seasons can lead to yield declines that are difficult to reverse without replacing soil entirely.
Setting Up Your Rotation Plan
Before diving into the steps, gather your tools and take stock of what you're working with.
What you will need
Garden journal or notebook
Records which crops were grown in each bed each season so you can plan future rotations accurately.
Graph paper or free garden-planning app
Helps you sketch a scaled diagram of your beds for clear visual rotation planning.
Soil test kit
Identifies nutrient levels so you can track how rotation and amendments improve soil over time.
The system below uses a four-group, four-zone model - the most practical approach for typical home gardens. If you only have two or three beds, you can still rotate meaningfully by splitting beds into halves or following a three-year cycle with three groups. The principle remains the same: no plant family returns to the same ground until at least two to three seasons have passed, ideally four.
Planning your rotation in conjunction with your overall seasonal calendar will make timing decisions much easier. Our article on building a garden calendar around your climate can help you align planting windows with your rotation schedule.
Group Your Crops Into Four Families
The foundation of any rotation plan is organizing vegetables by botanical family, not by what they look like or how you cook them. Use these four practical groups:
- Nightshades (Solanaceae): tomatoes, peppers, eggplant, potatoes
- Brassicas (Brassicaceae): cabbage, broccoli, kale, cauliflower, radishes
- Legumes (Fabaceae): beans, peas, edamame
- Root crops and alliums: carrots, beets, onions, garlic, parsnips
Cucumbers, squash, and melons (cucurbits) can form a fifth group if your space allows, or rotate them with root crops in a four-bed system.
Map Your Garden Into Zones
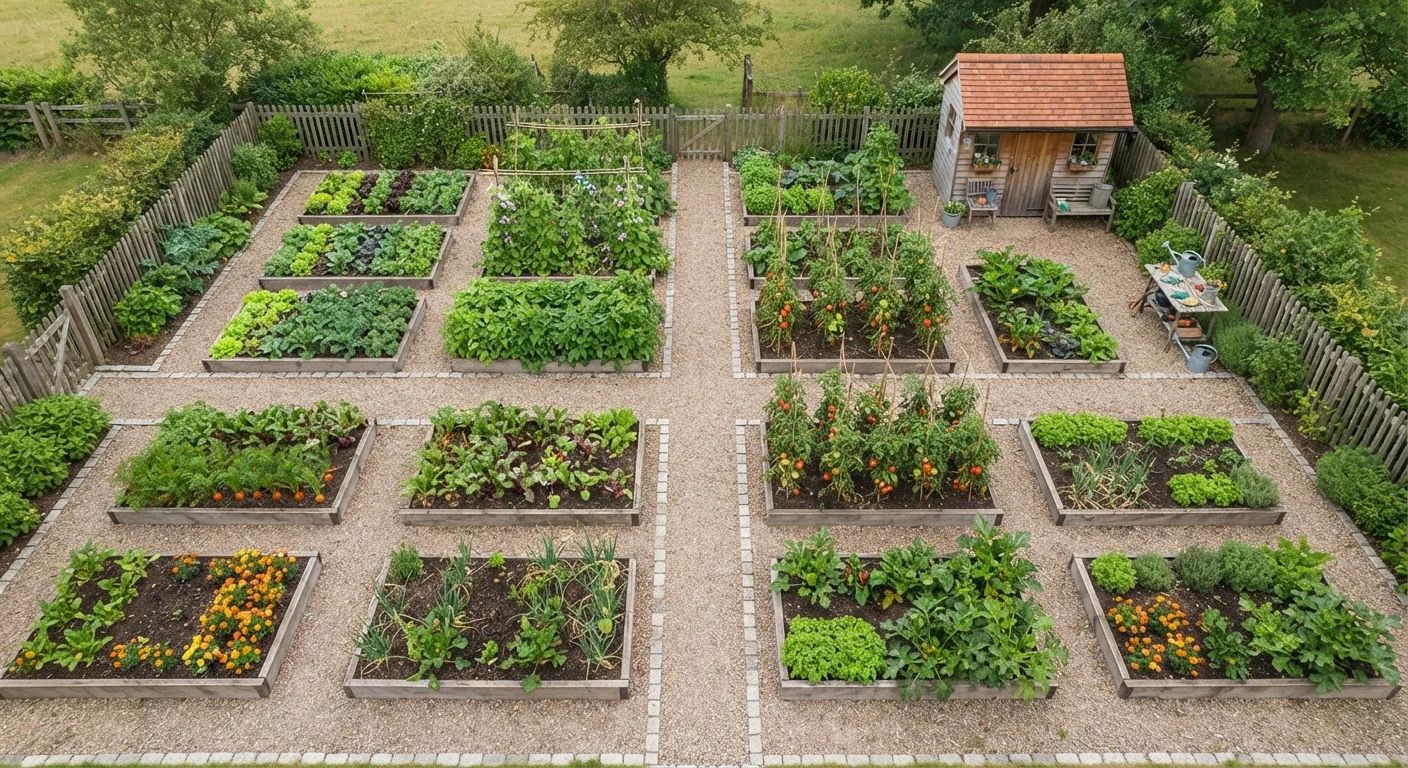
Divide your growing area into at least three or four distinct zones. These can be raised beds, in-ground rows, or clearly marked sections of a larger plot. Label each zone - Zone A, B, C, D works well - and note its approximate dimensions. Even two large beds can be divided mentally into halves to create four workable zones.
If you're just getting started with your garden layout, see our guide to raised beds vs. in-ground planting for help deciding what structure fits your space.
Assign One Crop Group Per Zone for Year One
Place each of your four crop groups into one zone for the current season. Write this assignment down - a hand-drawn grid is all you need. For example:
- Zone A → Nightshades
- Zone B → Brassicas
- Zone C → Legumes
- Zone D → Root crops and alliums
Stick to this assignment for the entire growing season. Resist the urge to squeeze a tomato into the brassica bed because it has a gap - consistency is what makes rotation work.
Rotate Each Group One Zone Forward Next Season
At the start of the following growing season, shift every crop group one zone in the same direction - clockwise works well if you think of your zones as a square. Using the example above:
- Zone A → Root crops (previously in D)
- Zone B → Nightshades (previously in A)
- Zone C → Brassicas (previously in B)
- Zone D → Legumes (previously in C)
After four seasons, every group will have completed a full circuit and returned to its starting zone. This four-year gap is the target for disease-prone families like nightshades and brassicas.
Amend Soil Based on What's Coming Next
Each zone's amendment needs shift with the incoming crop group. After harvest and before the next planting, adjust accordingly:
- Before nightshades: work in compost for organic matter and steady nutrient release
- Before brassicas: check pH (brassicas prefer 6.5-7.0) and add lime if needed
- Before legumes: avoid high-nitrogen fertilizers - legumes produce their own
- Before root crops: loosen the soil deeply; avoid fresh manure which causes forking
For a complete guide to building soil health through organic matter, see our article on composting at home.
Record and Review at Season's End
Before closing the garden down for winter, update your rotation map with exactly what was grown in each zone this season. Note any pest outbreaks, disease spots, or exceptional yields - this information guides smarter decisions next year. See our end-of-season garden closedown checklist for a full autumn wrap-up routine that protects soil and structure over winter.
Draw Your Rotation Map Each Fall
Before your garden goes dormant, sketch a simple diagram of which plant families grew in each bed or zone this season. Label it with the year and tuck it with your seed packets or garden journal. Having that record on hand when spring planning begins removes all guesswork and keeps your rotation on track across multiple years.
Common Rotation Mistakes and How to Avoid Them
Even with a plan in place, a few common errors can undermine the benefits of rotation:
- Treating varieties as different families: Cherry tomatoes, beefsteak tomatoes, and potatoes are all nightshades. Rotating between tomato varieties in the same zone does nothing.
- Forgetting cover crops in the rotation: If you plant a winter cover crop like hairy vetch or crimson clover, include it in your zone records. Some cover crops are brassicas (mustard, daikon) and affect disease cycles.
- Letting volunteer plants break the system: Self-seeded tomatoes or potatoes sprouting from missed tubers are still nightshades - pull them from zones not assigned to that family.
- Skipping years of recordkeeping: Without written records, most gardeners revert to planting by instinct within two or three seasons, losing the rotation's protective effect.
Nightshades Are Heavy Disease Carriers
Tomatoes, peppers, eggplant, and potatoes all belong to the Solanaceae family and share common soil-borne diseases such as Fusarium wilt and blight. Never follow one nightshade with another, and aim to wait at least three years before returning any nightshade crop to the same spot. This single rule prevents some of the most persistent disease problems home gardeners face.
Rotation works gradually. Don't expect overnight results - the real payoff shows up in years two through four as disease pressure eases and soil biology improves.
The content on this site is for informational purposes only and is not a substitute for professional advice. Always consult a qualified professional for guidance specific to your situation.