

Start here
Assess Your Space Before You Dig
Next
Essential Tools for Starting From Scratch
Then
Preparing and Improving Your Soil
Almost ready
Choosing What to Grow First
Plant it
Planting, Watering, and Early Care
Assess Your Space Before You Dig
The most common beginner mistake is picking up a shovel before understanding the ground. Spend at least one full day observing your intended plot before touching the soil.
Note how many hours of direct sunlight the area receives. Count from sunrise to sunset and record shaded periods from buildings, fences, or trees. Most food crops require a minimum of 6 hours of full sun; leafy greens can tolerate 4. Be honest about what your site offers rather than optimistic.
Next, check drainage after a rain. Standing water that lingers more than an hour signals compaction or a clay-heavy soil that will need significant amendment. Slope direction matters too - water should move away from your garden, not pool in it.
Finally, dig a small test hole about 12 inches deep and examine the soil. Dark, crumbly material is a promising sign. Hard, pale, or grayish layers indicate compaction or poor organic content. Both are fixable, but knowing what you're working with shapes your plan. If you're weighing whether to garden directly in the ground at all, our comparison of raised beds and in-ground planting can help you decide.
Check for Underground Utilities First
Before breaking ground anywhere in your yard, call 811 (the national US dig-safe hotline) to have underground utilities marked. This is a free service and legally required in most states before any digging project. Striking a buried line can cause serious injury and costly repairs.
Essential Tools for Starting From Scratch
You don't need an extensive collection to get started. A focused set of well-made hand tools outperforms a shed full of cheap ones.
- Digging fork: More useful than a spade for breaking and loosening compacted soil without destroying structure.
- Garden spade: Flat-edged for cutting bed edges, moving soil, and turning in amendments.
- Hand trowel: Indispensable for transplanting seedlings and digging small planting holes.
- Garden hoe: For shaping rows, mounding soil, and surface weeding between plants.
- Watering can or hose with adjustable head: Gentle water delivery prevents washing seeds and young seedlings out of the soil.
- Soil rake: Levels the seedbed and breaks apart clumps after digging.
Borrow before you buy where possible. Many communities have tool libraries, and neighbors are often willing to lend equipment for a single-season first garden. For power tools that might speed up larger ground-breaking tasks, see our power tools basics guide for beginner-safe guidance.
Start Small to Learn Fast
A 4×8 foot bed is genuinely enough for a productive first garden. Smaller plots are easier to water, weed, and observe closely - and the lessons you learn from one well-managed bed translate directly to expanding next season. Resist the urge to break ground on more than you can realistically maintain.
Preparing and Improving Your Soil
Soil preparation is where most of a garden's long-term success is determined. Healthy soil structure supports root growth, moisture retention, and the biological activity that feeds your plants.
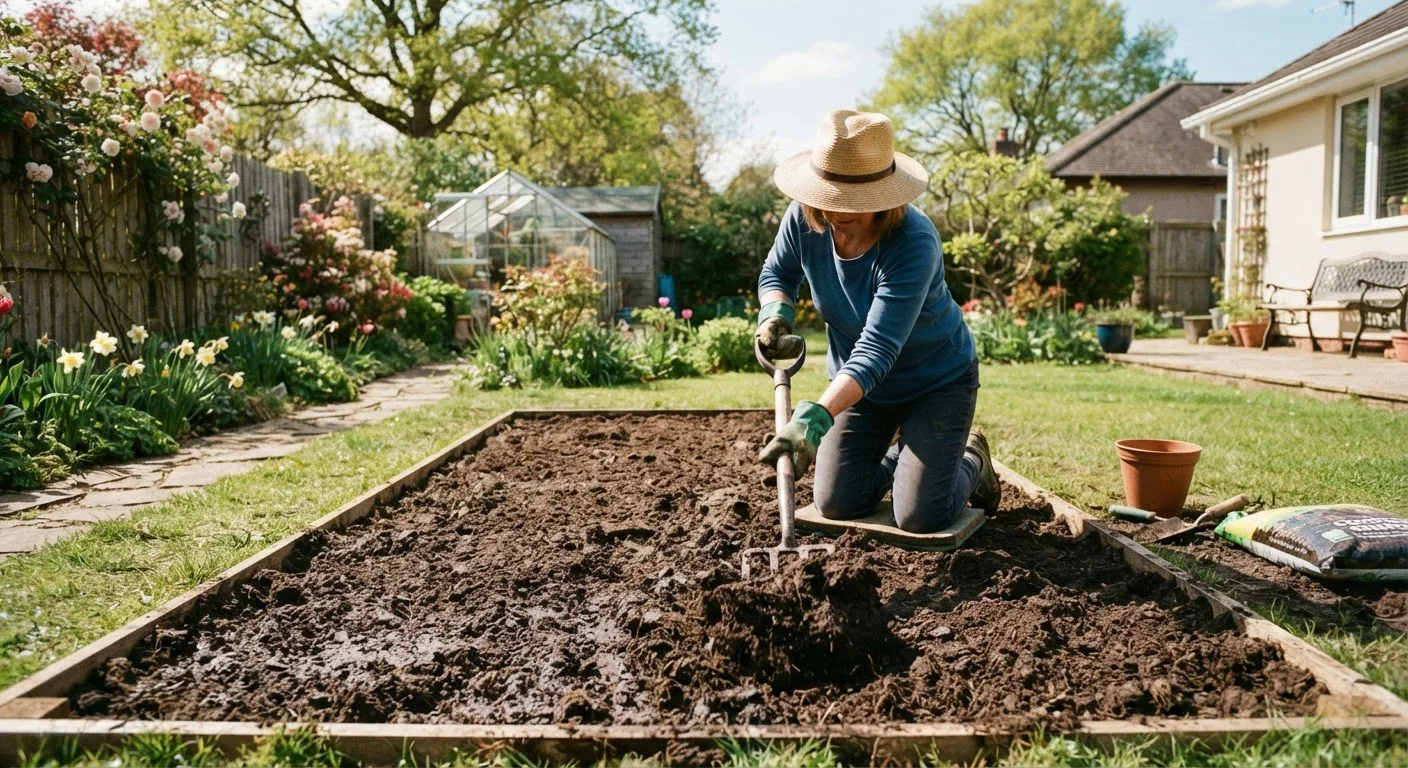
If grass or weeds cover the area, you have two main options. Sheet mulching (layering cardboard then 4-6 inches of compost on top) smothers vegetation with minimal labor and improves soil as it breaks down - allow 4-8 weeks before planting. Alternatively, cut and remove existing turf, then loosen the soil beneath with a digging fork to 10-12 inches deep.
After clearing, work in 2-4 inches of compost across the entire bed and incorporate it into the top 8-10 inches of soil. Compost improves drainage in clay soils, increases water retention in sandy ones, and introduces beneficial microbial life. If you want to generate your own amendment from kitchen scraps, our guide to composting at home walks through the full process.
Get a basic soil test before adding fertilizers. Extension offices and many garden centers offer testing. Results indicating low pH can often be corrected with ground limestone; high pH may call for sulfur. Apply only what the test recommends - over-amending is a common and unnecessary expense.
Soil amendment
Any material - such as compost, aged manure, or perlite - mixed into existing soil to improve its structure, fertility, or drainage.
Soil pH
A measure of how acidic or alkaline your soil is, on a scale of 0-14. Most vegetables grow best in a pH range of 6.0-7.0.
Direct sowing
Planting seeds directly into outdoor soil rather than starting them indoors in pots first. Used for crops that don't transplant well, like carrots and beans.
Sheet mulching
A no-dig method of smothering existing grass or weeds by layering cardboard and organic matter on top, allowing the ground to be planted after several weeks.
Tilth
The physical condition of soil - its texture, structure, and workability. Good tilth means the soil is loose, crumbly, and easy for roots to move through.
Hardiness zone
A geographic classification, defined by the USDA, indicating the average minimum winter temperatures in an area. Used to determine which plants can survive year-round in your location.
Choosing What to Grow First
Plant selection for a first garden should prioritize reliability and fast results over ambition. Crops that sprout quickly and produce visibly reward the effort invested, building both skill and motivation.
For vegetables, consider beans, radishes, zucchini, cherry tomatoes, and loose-leaf lettuce. Radishes can be ready in as little as 25 days; beans follow in 50-65 days. These fast turnarounds let you observe the full growing cycle in a single season.
Match plant selection to your hardiness zone and local last-frost date - both available through the USDA zone map or your county extension office. Cool-season crops like lettuce, spinach, and peas go in early spring and again in fall; warm-season crops like tomatoes, peppers, and squash wait until after the last frost.
Avoid sprawling or space-hungry plants - like pumpkins or sweet corn - until you understand your garden's productive capacity. If space is genuinely limited or you want to try a different approach entirely, container gardening on patios is a practical alternative worth exploring.
In-Ground vs. Raised Beds
If your native soil is heavily compacted, rocky, or has drainage problems, a raised bed can be a practical alternative to extensive ground preparation. See our comparison of raised beds and in-ground planting to weigh both approaches before committing.
Planting, Watering, and Early Care
Even with ideal soil and a sound plant list, the first few weeks after planting are critical. Consistent attention during this period determines whether seedlings establish or struggle.
Follow seed packet or transplant tag instructions for spacing precisely. Overcrowding restricts airflow and invites disease; under-planting wastes productive ground. Plant transplants at the same soil depth they were growing at in their pot, unless instructed otherwise - tomatoes are a notable exception and benefit from deeper planting.
Water newly planted seeds and transplants gently but thoroughly. The goal is to keep the top 2-3 inches of soil consistently moist - not waterlogged - until germination and establishment occur. After that, most vegetables prefer a deep, less frequent watering schedule that encourages roots to grow downward. Early morning watering reduces evaporation and fungal risk.
Weeding in the first month is time well spent. Young weeds are easy to remove and far more damaging left in place - they compete directly for water, nutrients, and light that your new plants need. A light layer of straw or wood chip mulch (2-3 inches) between plants suppresses weeds, retains moisture, and moderates soil temperature.
Observe your garden regularly rather than waiting for problems. Yellowing leaves, chewed edges, and wilting each tell a different story about what your plants need. Early identification keeps small issues from becoming large ones.
Frequently Asked Questions
Track the area across a full day and count the hours of direct sun it receives. Most vegetables need at least 6 hours of full sun daily. Do this observation at the start of the growing season, when shadows from buildings and trees reflect actual summer conditions.
A basic soil test is strongly recommended for first-time garden beds. Inexpensive test kits are available at garden centers and through many county extension offices. Results tell you pH and major nutrient levels, helping you amend precisely rather than guessing.
Sheet mulching - layering cardboard over the grass, then covering it with several inches of compost or soil - smothers turf without digging. It also feeds the soil beneath as it breaks down. Allow 4-8 weeks for effective results before planting.
Loosen soil to a depth of 10-12 inches for most vegetables and annual flowers. This allows roots to penetrate easily and improves drainage. For raised beds, 8-12 inches of quality growing medium above the native soil is generally sufficient.
Yes - starting small, borrowing tools where possible, and making your own compost keeps costs modest. Beginning with seeds rather than transplants also dramatically reduces expenses. Focus initial spending on soil improvement, which pays dividends in every subsequent season.
Radishes, lettuce, beans, zucchini, and cherry tomatoes are reliable starters. They germinate readily, mature relatively quickly, and are forgiving of imperfect conditions. Their success gives you practical experience in watering, spacing, and harvesting that applies to more demanding crops later.
The content on this site is for informational purposes only and is not a substitute for professional advice. Always consult a qualified professional for guidance specific to your situation.