

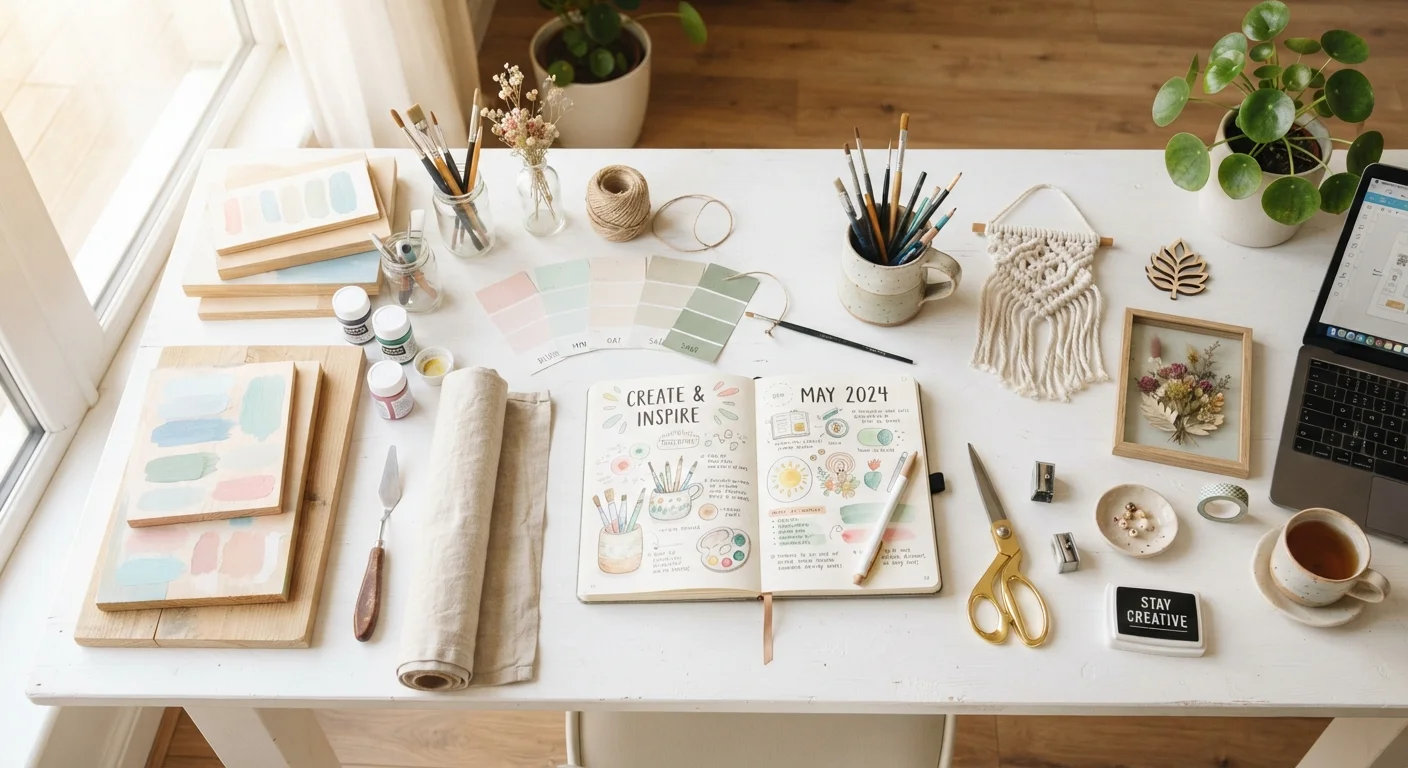
Start With a Clear Vision and Plan
The most common reason DIY decor projects stall isn't lack of skill - it's lack of direction. Before touching a single tool, spend time defining exactly what you want to create and why. Ask yourself: What problem does this piece solve? What style does it need to complement? A mood board - even a rough one on paper or a free digital tool - helps you lock in colors, textures, and proportions before committing to materials.
Sketch your idea with rough dimensions, noting how it will interact with existing furniture and the room's scale. If you're tackling storage or organization, our room-by-room DIY organizer guide walks through planning for function and fit room by room. And don't overlook the surface you're working with - a decluttered space makes styling far easier, so consider reviewing our complete decluttering guide first.
Budgeting Smartly for Your Project
Creative enthusiasm and budget reality need to coexist. Write down every material, tool, and finish you'll need before pricing anything out. Include consumables like sandpaper, painter's tape, and wood glue - these add up quickly and are easy to overlook. Build in a 15-20% buffer for waste and unexpected needs.
Sourcing strategically matters too. Thrift stores, salvage yards, and habitat restore programs often carry lumber, hardware, and decorative elements at a fraction of retail cost. For a deeper dive into sourcing materials efficiently, see our guide on renovation material sourcing from start to finish. Always compare the cost of buying materials versus upcycling what you already own.
Before buying any material, do a test patch or mockup using cardboard or scrap wood to confirm scale and proportion fit the space perfectly.
Scale misjudgments are the most common reason DIY decor pieces feel "off" in a room - testing costs nothing and prevents expensive re-dos.
When mixing paint colors for a custom shade, always mix more than you think you'll need in one batch; recreating an exact color mix later is nearly impossible.
Inconsistent color across a single project is one of the most noticeable DIY mistakes, and it's entirely preventable with a little upfront mixing discipline.
Choosing Materials and Tools
Material choice shapes both the look and longevity of your finished piece. For painted furniture or wall art, MDF (medium-density fiberboard) offers a smooth, paintable surface that's budget-friendly. Solid wood delivers durability and a natural grain that stains beautifully. Fabric, rope, and air-dry clay open up texture-rich options for smaller decorative projects.
On the tool front, you don't need a workshop full of equipment to get started. A solid set of hand tools covers most beginner-to-intermediate decor projects - explore the essential hand tools every DIYer needs to assess what you might already own versus what's worth acquiring. Renting power tools for one-off cuts is often smarter than buying.
Safety First: What Every DIYer Must Know
Even low-stakes decor projects carry real risks if safety basics are skipped. Always work in a well-ventilated area when using paints, stains, adhesives, or sealers - many contain VOCs (volatile organic compounds) that can irritate airways. Wear safety glasses when cutting or sanding, and use a dust mask rated for fine particles (N95 or equivalent) when working with MDF, which releases fine wood dust.
Know your limits. If your project involves attaching items to walls, always locate studs before drilling and use appropriate anchors for your wall type. Any project touching electrical wiring, load-bearing elements, gas lines, or structural components should be handled by a licensed professional - no exceptions. Permits and inspections may be required for work beyond simple cosmetic changes; always verify local building codes before proceeding.
Never DIY Electrical, Gas, or Structural Work
Decor projects that involve moving outlets, adding lighting circuits, altering gas lines, or modifying load-bearing walls require licensed professionals and almost always require permits. Attempting these without proper credentials is both dangerous and potentially illegal. Always contact a licensed contractor and verify your local permit requirements before beginning any work beyond cosmetic changes.
Executing and Finishing Your Project
Preparation is where most DIYers shortchange themselves. Sand surfaces smooth, wipe away dust with a tack cloth, and apply a primer appropriate for your material before painting or staining. Skipping prep is the fastest route to peeling, uneven, or dull results. Work in thin, even coats and allow proper drying time between layers - patience here pays off visibly.
For beginners unsure about sequencing or tools, our weekend renovation guide for beginners covers tool basics and safe project sequencing in detail. When applying a final topcoat or sealer, match the product to the use case: high-traffic surfaces like coffee table tops need a durable polyurethane, while decorative wall pieces can often use a simple matte spray sealer.
Styling and Displaying Your Finished Piece
Finishing the build is only half the project - how you integrate the piece into your space determines its visual impact. Step back and evaluate proportion: your new item should feel balanced within the room, not competing with or disappearing behind existing furniture. Group odd numbers of objects (three, five) for visual interest, and vary heights to create depth on shelves and surfaces.
Consider the relationship between your new piece and lighting. Natural light emphasizes texture and wood grain; warm artificial light suits warm-toned finishes and cozy decor styles. For wall-mounted pieces, use a level and locate studs - or appropriate drywall anchors - before hanging anything with weight. If your project involved built-in plumbing (like a sink vanity), our complete household plumbing reference provides the foundational knowledge to understand what's behind the wall. Most importantly, live with your new piece for a few days before deciding it's permanent - great design often reveals itself over time.
The content on this site is for informational purposes only and is not a substitute for professional advice. Always consult a qualified professional for guidance specific to your situation.