

Start here
Choosing the Right First Project
Next
The Tools You Actually Need to Start
Then
Safety Habits That Prevent Costly Mistakes
When you're ready
Planning Your Weekend Timeline
Know your limits
When to Stop and Call a Licensed Pro
Choosing the Right First Project
The single biggest beginner mistake isn't using the wrong tool - it's choosing the wrong project. A first renovation should have clear edges: a defined start point, a finish line you can reach in 48 hours, and a forgiving margin for error. That rules out anything structural, anything that opens a wall, and anything touching electrical circuits or supply lines.
Strong starting candidates include repainting a single room, swapping cabinet or door hardware, installing floating shelves, replacing a bathroom faucet (at the fixture level, not the supply lines behind the wall), or laying peel-and-stick floor tile over a sound existing surface. What these share: they're cosmetic, they're reversible, and they give you immediate visual feedback on your progress.
If you're drawn to something bigger, read our room makeover primer before committing. Scope creep - discovering mid-project that a job is larger than it looked - is the most common reason first renovations stall or go over budget.
Scope creep
When a project gradually expands beyond its original boundaries, adding unexpected work, cost, and time as new problems surface mid-execution.
Load-bearing wall
A wall that supports the weight of the structure above it. Removing or altering one without engineering guidance can compromise your home's structural integrity.
PPE (Personal Protective Equipment)
Gear worn to protect the body during work - including safety glasses, gloves, and dust masks - that reduces the risk of injury or exposure to hazardous materials.
Drain-waste-vent (DWV) system
The network of pipes that carries wastewater and sewage out of your home while allowing air in to prevent vacuum pressure from slowing drainage.
Building permit
Official approval from your local government required before certain renovation work begins, ensuring the project meets safety codes and is inspected when complete.
Curing time
The period a material - such as adhesive, grout, or paint - needs to reach full strength or hardness after application, during which it should not be disturbed.
The Tools You Actually Need to Start
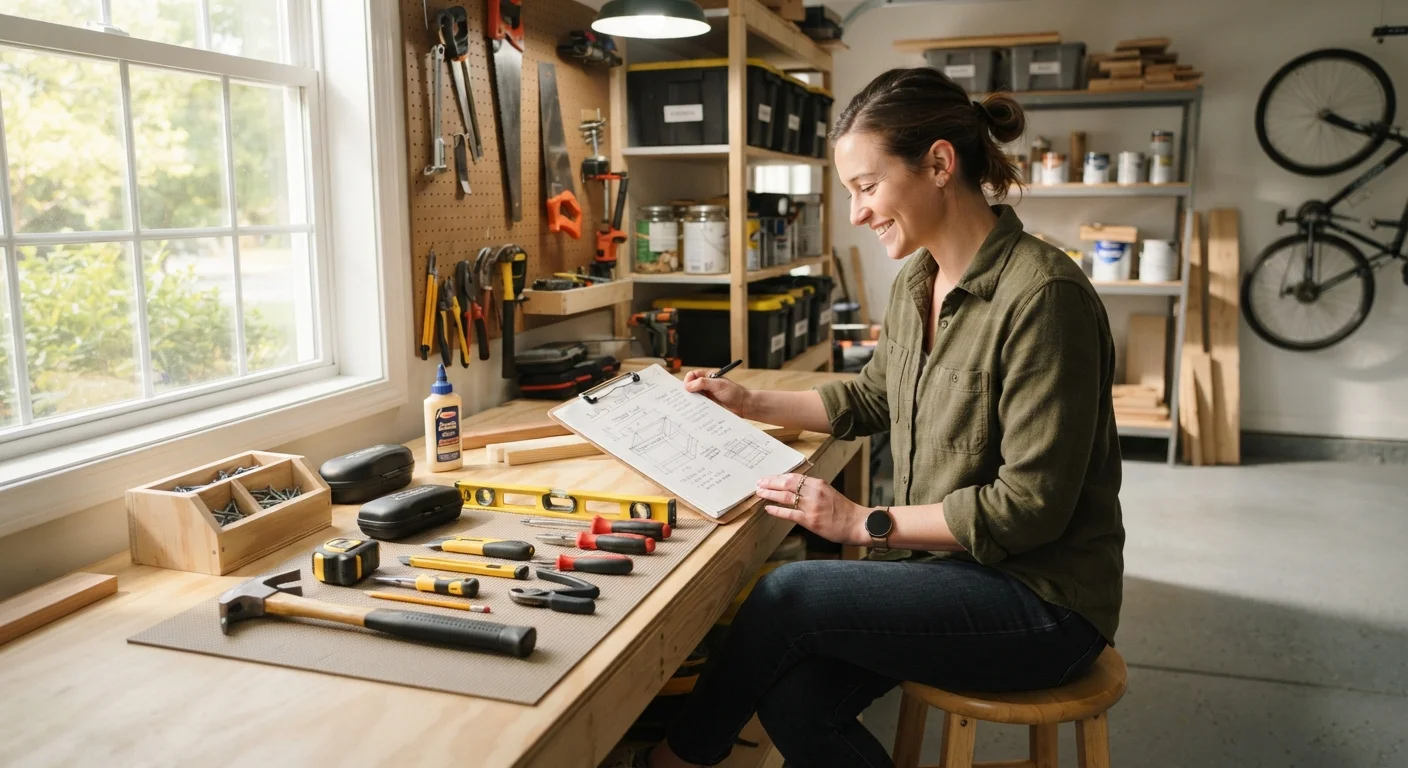
You don't need a full workshop to tackle a weekend project. For most beginner renovations, a compact toolkit handles 80% of the work: a 16-oz claw hammer, a 25-foot tape measure, a 4-foot level, a utility knife, a cordless drill-driver with a basic bit set, and a set of screwdrivers in flat and Phillips sizes. Add a stud finder and painter's tape for wall work.
Resist the urge to over-invest before you've done your first project. Our guide on what to own, borrow, or skip entirely breaks down which tools are worth buying versus renting. For a deeper look at hand tool fundamentals, our essential hand tools hub covers selection and proper use. If you're considering any power tool beyond a basic drill, the power tools basics hub walks through safe, beginner-friendly techniques.
One honest rule: buy a quality tape measure and level. Cheap measuring tools produce cumulative errors that multiply across a project. Everything else can be entry-level while you're starting out.
Safety Habits That Prevent Costly Mistakes
Safety on a beginner project isn't about elaborate precautions - it's about three consistent habits: wearing appropriate personal protective equipment (PPE), knowing where your home's utility shutoffs are, and never working in a hurry.
At minimum, keep safety glasses and work gloves accessible for any project involving cutting, drilling, or demolition. Dust masks (rated N95 or better) matter whenever you're sanding, cutting drywall, or disturbing older painted surfaces - paint applied before 1978 may contain lead, and disturbing it without proper precautions is a health hazard that warrants professional testing before you proceed.
Older Paint May Contain Lead - Test Before Disturbing
Paint applied before 1978 may contain lead, which poses a serious health hazard when sanded, scraped, or drilled. Inexpensive lead test swabs are available at hardware stores and take only minutes to use. If a test comes back positive, consult a certified lead abatement professional before proceeding with any surface work.
Before any project near walls, mark the location of electrical cables and plumbing runs using a stud finder with AC detection, or turn off the relevant circuit at the breaker panel. A drill bit through a live wire or supply line turns a weekend project into an emergency. If you're ever uncertain what's inside a wall, stop and investigate before drilling further.
Write down your plan - even a rough sequence on a notepad - before you pick up a tool. Projects that are improvised step-by-step produce twice the waste and three times the frustration.
Planning Your Weekend Timeline
Realistic time planning separates finished projects from abandoned ones. A useful rule of thumb for beginners: take your initial time estimate and double it. First-timers encounter learning curves, trips back to the hardware store, and drying or curing windows that don't appear on tutorial videos.
Structure your weekend like this: Saturday morning is prep - clear the space, gather every material, and do a dry run of any tricky steps. Saturday afternoon is execution. Sunday morning handles touch-ups, second coats, or anything that needed to dry overnight. Sunday afternoon is cleanup and final assessment.
Material planning is its own discipline. Before you buy anything, our material planning guide for first renovations walks through how to estimate quantities accurately and avoid the over-buying trap. Overestimating materials wastes money; underestimating stalls your project mid-execution.
If any part of you suspects the project myths keeping you from starting, this article debunking weekend project myths is worth 10 minutes before Saturday morning.
When to Stop and Call a Licensed Pro
Knowing your limits isn't a failure - it's the most experienced judgment call a DIYer makes. There's a clear category of work that should always involve a licensed professional: anything inside your electrical panel, any work on gas supply lines, repairs to load-bearing walls or beams, roofing beyond cosmetic surface patching, and any plumbing that connects to your main supply or drain-waste-vent system.
These categories carry legal requirements as well as safety ones. Most jurisdictions require permits and inspections for structural, electrical, and plumbing alterations. Working without a required permit can affect your homeowner's insurance coverage and create serious complications when you sell the property. Always verify local permit requirements with your municipal building department before starting anything you're unsure about.
For those curious about where household plumbing fits within the DIY boundary, our introduction to household plumbing systems clarifies what homeowners can reasonably handle versus what requires a licensed plumber.
The honest takeaway: a great first renovation is one you finish safely, within budget, and without reversing in six months. Choose small, plan carefully, and treat the professional boundary as a feature of the process - not a limitation on your ambition.
This article provides general educational guidance for home improvement planning. Always consult a qualified, licensed professional for work involving electrical, structural, gas, or plumbing systems, and verify permit requirements with your local building authority before beginning any renovation project.
Frequently Asked Questions
Painting a room, replacing cabinet hardware, or installing peel-and-stick backsplash tile are all excellent starting points. They require minimal tools, are fully reversible, and don't involve structural or utility systems. Success on a small project builds both skill and confidence before you move to anything more complex.
Beginner-friendly projects typically run anywhere from $50 to $400 depending on scope and material choices. Paint and hardware swaps sit at the lower end; tile or flooring work climbs higher. Always add a 15-20% buffer to your initial material estimate to cover waste, mistakes, and overlooked supplies.
Most cosmetic projects - painting, hardware replacement, flooring over existing subfloor - don't require permits. Work that changes structural elements, electrical circuits, or plumbing connections typically does. Always check with your local building department before starting any project you're unsure about.
A hammer, tape measure, level, utility knife, and a cordless drill with basic bits handle a surprising range of beginner projects. Prioritize quality on the drill and measuring tools, since precision matters more than power at this stage. Borrow or rent specialty tools before committing to buy them.
If the work involves your home's electrical panel, gas lines, load-bearing walls, or roof structure, stop and consult a licensed professional. Projects that require permits signal that the risk level warrants oversight. When in doubt, the cost of a professional consultation is almost always less than the cost of undoing a mistake.
Many projects - painting a room, replacing a bathroom vanity light, installing floating shelves - fit comfortably into one or two days when planned well. The key is choosing a project with a defined scope, gathering all materials beforehand, and building in buffer time for drying, drying, and unexpected snags.
The content on this site is for informational purposes only and is not a substitute for professional advice. Always consult a qualified professional for guidance specific to your situation.