

Our Verdict
Upcycling wooden pallets is a genuinely rewarding DIY pursuit when you go in with realistic expectations. The material is accessible and the aesthetic is hard to replicate with store-bought alternatives - but the time, safety research, and prep work are real commitments that tutorials routinely underplay. Approach it as a craft project with a learning curve, not a weekend shortcut.
Best for patient DIYers who enjoy hands-on prep work, want a truly rustic aesthetic, and have access to safe, properly coded pallets.
Why Pallets Have Such Stubborn DIY Appeal
Scroll through any home decor feed and pallet furniture keeps showing up - coffee tables, garden planters, wall-mounted shelves, even bed frames. The appeal is real: the material is chunky, characterful, and often free. It fits squarely into the farmhouse and industrial aesthetics that remain perennially popular in American homes.
But the gap between a polished finished photo and the actual process is significant. Most tutorials skip the sourcing headaches, the safety research, and the hours of surface prep that stand between a raw pallet and something you'd actually want in your living room. This breakdown is meant to fill that gap honestly, so you can decide whether the investment of time and effort makes sense for your project.
For a broader look at how DIY decor costs and timelines compare to expectations, see our breakdown of common DIY decor myths.
The Pros: What Pallet Projects Actually Deliver
When the conditions are right, pallet upcycling genuinely delivers on its promise.
Low or zero material cost when sourced carefully
Many retailers and warehouses give away HT-stamped pallets for free, making the raw material cost negligible compared to purchasing new lumber for the same project.
Distinctive rustic texture hard to replicate cheaply
The weathered grain, density, and knot patterns in pallet wood create an authentically aged look that suits farmhouse, industrial, and eclectic interiors without expensive distressing techniques.
Reduces landfill waste through creative reuse
Pallets are a significant waste stream - upcycling them extends their life and keeps usable wood out of disposal systems, which aligns with sustainability goals many homeowners prioritize.
Highly customizable size and configuration
Individual pallet boards can be cut, rearranged, and combined to create nearly any form factor, from wall art panels to raised garden beds, without the constraints of pre-dimensioned store lumber.
Entry-level projects require minimal tools
Simpler builds - decorative wall panels, planters, or simple shelves - can be completed with basic hand tools, making pallet projects accessible to beginners building their first DIY toolkit.
The low material cost is real - many businesses give pallets away simply to avoid disposal fees. And the aesthetic payoff, when the prep is done properly, can look expensive and intentional. Pallet wood has a texture and density that's difficult to replicate cheaply with new lumber.
The Cons: What the Tutorials Leave Out
The honest cons are what most project posts quietly omit - and they're worth knowing before you commit.
Safety research is essential, not optional
Pallets without a clear HT stamp, or those marked MB, can release harmful residues indoors. Identifying and rejecting unsafe pallets requires time and knowledge most tutorials don't emphasize.
Surface prep is far more labor-intensive than advertised
Sanding raw pallet wood to a smooth, splinter-free finish across multiple stages can take several hours for a single piece - a reality that 'weekend project' tutorials rarely reflect accurately.
Wood quality is highly inconsistent between pallets
Even within a single pallet, boards vary in moisture content, weathering, and structural integrity. Sorting, discarding damaged boards, and re-sourcing can add unexpected time and effort.
Disassembly is physically demanding and tool-intensive
Breaking pallets apart without splitting the boards requires a reciprocating saw or dedicated pallet buster - tools beginners may not own and which represent an upfront cost that offsets the 'free material' advantage.
Structural projects carry real safety risk if done incorrectly
Bed frames, shelving, and wall-mounted builds made from pallet wood need proper fasteners, load calculations, and secure anchoring - improvised construction can fail and cause injury or property damage.
Finished results can look unrefined without skill
Without careful prep, staining, and finishing, pallet furniture often looks like repurposed shipping material rather than intentional decor - the gap between online inspiration photos and reality can be discouraging.
Plan for Board Loss When Estimating Materials
Pallet wood varies considerably in quality even within a single pallet. Budget extra time for sorting boards, pulling nails, and discarding damaged pieces - it's normal to lose 20-30% of boards to splits, rot, or deep staining. Factor this into how many pallets you'll need to source before starting your build.
Pallet wood varies considerably in quality even within a single pallet. Budget extra time for sorting boards, pulling nails, and discarding damaged pieces - it's normal to lose 20-30% of boards to splits, rot, or deep staining.
Sourcing Pallets Safely: The Stamp Code Is Non-Negotiable
Every pallet intended for international shipping carries a stamp indicating how it was treated. The two codes that matter most for home use are HT (heat treated - safe) and MB (methyl bromide - a fumigant; avoid entirely for indoor use). Pallets marked MB should never be used in living spaces or gardens where edibles grow.
Beyond the treatment code, inspect each pallet carefully: look for dark staining that might indicate chemical spills, visible mold, or a strong chemical odor. Refuse any pallet you can't identify with a clear stamp. Our related guide on what to inspect before reclaimed wood enters your home covers a full inspection checklist that applies directly to pallets.
~500M
Pallets in circulation in the US
Industry estimates suggest approximately 500 million wooden pallets are in use across the United States at any given time, making them one of the most abundant reusable wood sources available.
2-4 hrs
Typical sanding time per pallet piece
DIY community reports and woodworking forums consistently note that properly sanding a single pallet-wood surface to an interior-ready finish takes between two and four hours depending on starting condition.
Good sources for HT-stamped pallets include garden centers, flooring suppliers, and some big-box hardware stores - call ahead rather than simply taking pallets left outside, as those may have unknown histories.
Prep Work: The Step That Determines Everything
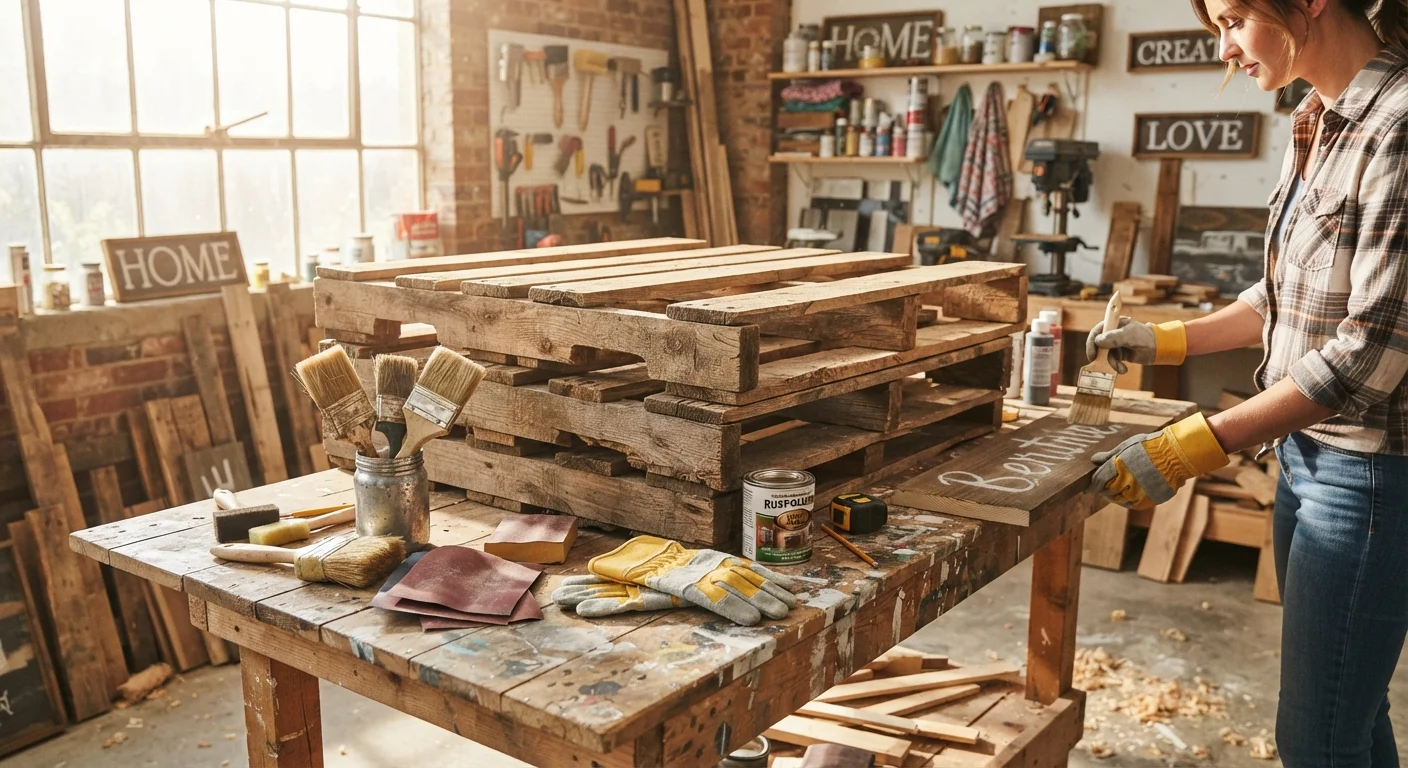
Surface preparation is where most pallet projects succeed or fail. Raw pallet wood is rough, often gray with weathering, and full of embedded grit and splinters. Skipping or rushing this stage means your finished piece will look exactly like what it is: an untreated shipping pallet.
A realistic prep sequence for interior use includes: removing all nails and staples (a cat's paw and mallet are your best friends here), sanding in stages from coarse to fine grit, vacuuming and wiping with a tack cloth, and applying a sealant, stain, or paint appropriate for interior wood. For furniture that will see heavy use, a clear polyurethane topcoat adds durability.
For structural pieces - wall-mounted shelves or storage units - proper anchoring into wall studs is essential. This is especially important if you're planning a storage build; our DIY organizer guide covers wall anchoring and joinery basics worth reviewing before you start.
If you're weighing pallet wood against other reclaimed options, the trade-offs between character, cost, and reliability also apply to broader reclaimed materials - see the real trade-offs of using reclaimed wood for a full comparison.
The content on this site is for informational purposes only and is not a substitute for professional advice. Always consult a qualified professional for guidance specific to your situation.