

Summary
22 items · 30-60 minutes per batch of boards
Why Reclaimed Wood Inspection Can't Be an Afterthought
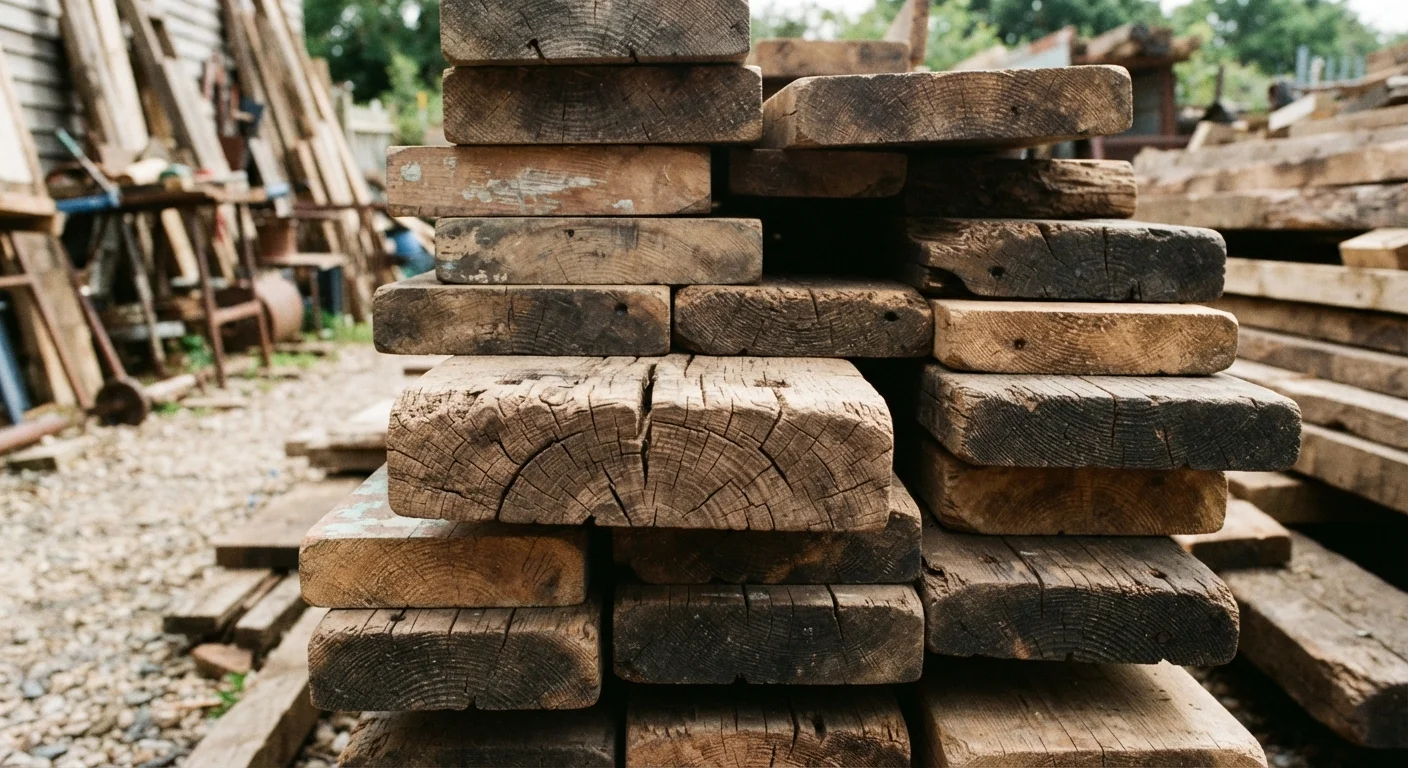
Reclaimed wood offers genuine value: lower material cost, environmental upside, and a texture and character that new lumber simply can't replicate. But those advantages evaporate quickly if you bring home boards carrying active pests, hazardous finishes, or moisture levels that will cause warping after installation. A systematic inspection before purchase - and before anything enters your home - protects both your project and your household.
This checklist is built for DIYers sourcing from salvage yards, habitat ReStores, demolition sites, and private sellers. If you're still figuring out where to source, this breakdown of what salvage sources actually stock will help you set realistic expectations before you go. And if you're considering reclaimed wood for a floor repair or replacement, pairing this checklist with a thorough floor damage assessment will prevent you from buying material before you fully understand what you're working with.
Pin-Type Moisture Meter
Measures moisture content inside the board to determine if it's safe for interior use.
Lead Test Swabs (EPA-recognized)
Quickly identifies the presence of lead in painted or finished reclaimed wood surfaces.
Strong Handheld Magnet or Stud Magnet
Detects embedded metal fasteners that can damage cutting and milling tools.
Awl or Scratch Awl
Probes wood fibers to check for soft spots, rot, or pest damage not visible on the surface.
Tape Measure and Straightedge
Checks board dimensions, flatness, and degree of warping or twist.
Respirator (N95 or better)
Protects against dust, mold spores, and potential lead particles during initial handling.
Nitrile Gloves
Reduces skin contact with unknown surface treatments, finishes, or biological contaminants.
Planer or Hand Plane
Mills boards to a flat, usable face and removes surface contamination before final cuts.
How to Work Through the Inspection Checklist
The checklist below is organized in the order you'd realistically work - from initial questions at the source through moisture testing, pest checks, hazardous material assessment, and finally acclimation. Complete the earlier groups before spending time on finishing details; a board that fails the moisture or pest check doesn't need to go any further in your evaluation.
For purely decorative applications - a wall feature, a shelf, picture frames - some structural checks are less critical, though moisture and pest inspection remain non-negotiable regardless of end use. Pallets are a common reclaimed source, but they come with their own set of sourcing concerns: the honest breakdown on pallet decor projects is worth reading before you commit to that material specifically.
Lead Paint: Stop Before You Cut or Sand
Cutting, sanding, or routing painted reclaimed wood without confirming lead status is a serious health hazard. Lead dust is invisible and highly toxic - exposure risks are especially acute for children and pregnant individuals. Always test first using an EPA-recognized lead swab kit. If lead is confirmed, do not proceed with mechanical processing without proper containment, PPE, and disposal in accordance with local regulations. Consult a certified renovation contractor (EPA RRP-certified) if you are unsure how to proceed safely.
Before You Load It Up
Moisture and Structural Integrity
Pest and Infestation Signs
Lead Paint and Hazardous Materials
Hardware and Hidden Hazards
Acclimation and Final Prep
After Inspection: What to Do With What You've Found
Boards that pass every check still need time to acclimate. Stack them on stickers - thin wood strips placed perpendicular every 16 to 24 inches - in a conditioned room that mirrors the space where they'll be installed. One to two weeks is a reasonable minimum; thicker stock or very wet boards may need longer. Re-test moisture before you start cutting.
Boards with embedded metal, surface finish buildup, or minor warping can often be salvaged through milling. If you don't own a planer, many lumber yards and makerspaces offer access by the hour. Understanding how raw lumber is graded and assessed will also help you make sharper decisions at the source - this guide to lumber grades clarifies what classifications mean and when to push for a lower price on imperfect stock. Reclaimed wood that doesn't pass inspection isn't necessarily worthless - it may still suit an outdoor, non-structural, or purely decorative role where the stakes are lower.
Hazardous Treatments in Older Pressure-Treated Wood
Wood treated with chromated copper arsenate (CCA) - common before 2004 - contains arsenic and is not safe for indoor use, garden beds, or surfaces where people or children have direct contact. CCA-treated wood often has a greenish tint but cannot be identified by color alone. If origin is unknown and the wood appears to have been used in an outdoor or agricultural setting, have it tested or avoid it for any indoor or food-adjacent application.
Don't Skip Pest Quarantine
Bringing infested wood into your home risks spreading wood-boring beetles or other pests to your existing structure. Any board showing fresh frass, exit holes, or soft tunneling should be kept completely separate from your home and other lumber until you can verify whether the infestation is active or dormant. When in doubt, don't bring it inside.
This article is for informational and educational purposes only. Always verify local building codes, permit requirements, and applicable health and safety regulations before beginning any renovation work. Consult a licensed professional for structural, electrical, or hazardous-material concerns.
The content on this site is for informational purposes only and is not a substitute for professional advice. Always consult a qualified professional for guidance specific to your situation.