

The Real Reason Paint Won't Stick to Terracotta
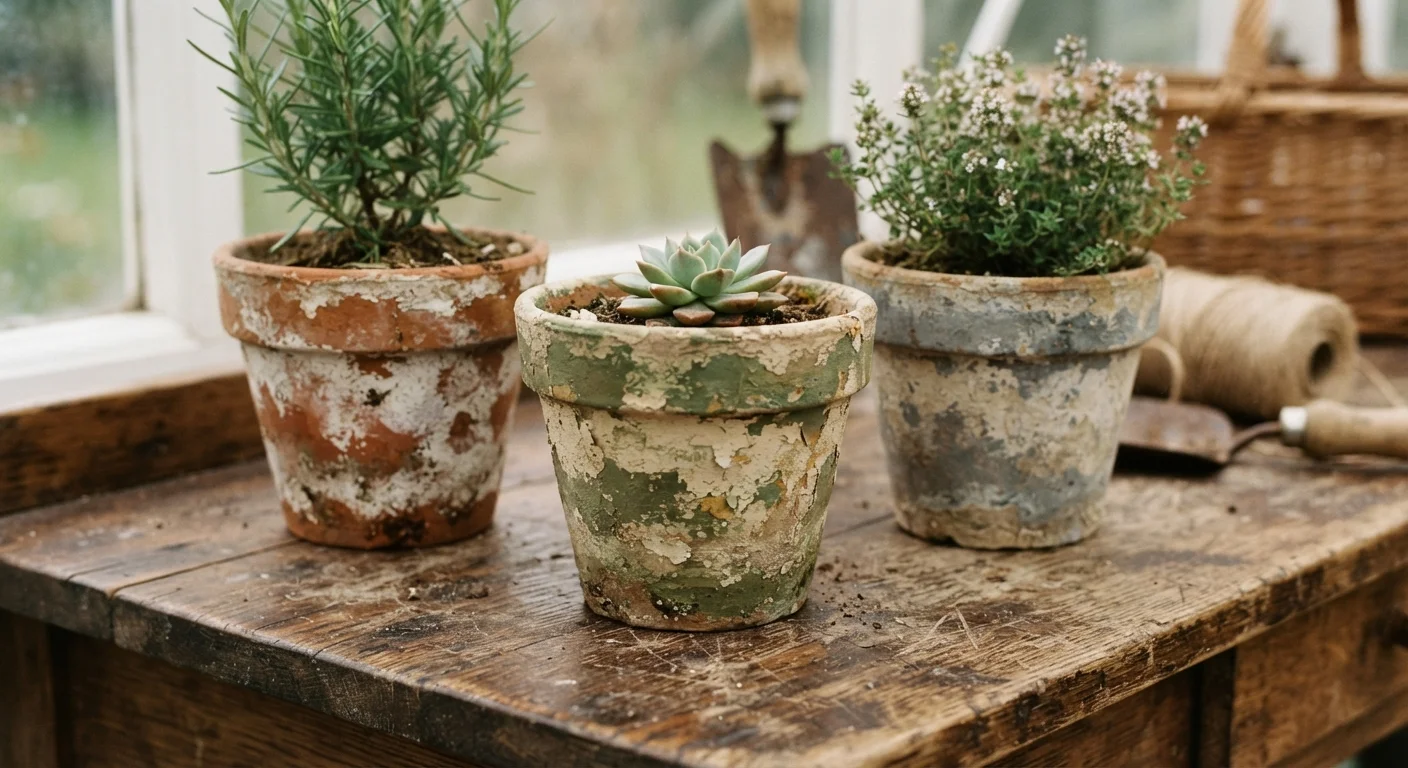
Terracotta is essentially a sponge made of fired clay. Its porous surface is designed to breathe - pulling moisture inward and releasing it outward as conditions change. That's excellent for plant roots, but it's the enemy of a smooth, lasting paint finish. When paint is applied directly to raw terracotta, the pot absorbs the paint's water content faster than the binder can form a proper film. The result is a patchy, weakly bonded layer that chips the moment it flexes under temperature or humidity changes.
Understanding this surface science reframes the whole project. The goal isn't just to apply colour - it's to create a stable, sealed substrate that paint can actually grip. Once you approach it that way, the prep steps stop feeling tedious and start feeling logical.
If you've struggled with similar adhesion puzzles on other surfaces, our look at common paint myths is worth a read - surface prep matters far more than most people expect.
Terracotta Absorbs Moisture - Always
Terracotta is a fired clay that never fully stops exchanging moisture with its environment. Water from soil, rain, and humid air moves through the pot wall constantly. Paint that isn't protected by a proper sealer will blister, crack, and chip as that moisture expands and contracts with temperature changes. No paint colour or brand can overcome an unsealed surface.
The Mistakes That Cause Chipping - And How to Fix Them
Most chipping on painted terracotta traces back to one of five predictable errors. The good news: every single one is avoidable with a small shift in process. Work through these before your next pot project and you'll notice the difference immediately.
Painting straight onto raw, unsealed terracotta.
Why it happens: It feels like an unnecessary extra step, especially when the pot looks clean and dry. Many tutorials skip it entirely.
Using a pot that is still damp or freshly watered.
Why it happens: Terracotta looks dry on the outside well before it is actually dry throughout. Impatience is the main culprit.
Skipping a topcoat or finishing sealant after painting.
Why it happens: The paint looks great when it's freshly applied, so the protective step feels optional.
Applying thick, heavy paint coats to speed up coverage.
Why it happens: Thicker layers seem more efficient, but they dry unevenly - the surface skins over while the interior stays wet, leading to cracking.
Using indoor-only craft paint on outdoor pots without modification.
Why it happens: Standard acrylic craft paints are inexpensive and widely available, so many DIYers default to them regardless of where the pot will live.
The same prep-first logic applies across surface painting projects. If you've noticed similar issues with furniture, our comparison of chalk paint vs. mineral paint explores how primer and sealant decisions affect long-term durability on porous wood surfaces too.
Building a Process That Actually Works
A reliable terracotta painting process has four non-negotiable stages: dry, seal, paint, protect. Every shortcut taken at any of these stages compounds into a chipping problem later.
- Dry thoroughly: 24-48 hours indoors minimum, especially for new or recently used pots.
- Seal the surface: Two coats of water-based sealer, allowing full drying between coats. Cover the entire exterior, including the rim and base.
- Paint in thin layers: Two to three light coats will always outperform one heavy coat in adhesion and appearance.
- Topcoat for protection: Two coats of clear, waterproof varnish - outdoor-rated if the pot lives outside.
This process adds time but not significant cost. Most sealers and varnishes are inexpensive and a single bottle covers many pots. Think of it as the difference between a craft project and a genuinely durable piece of décor.
Don't Paint Pots Holding Water-Sensitive Plants
Sealing the outside of a terracotta pot reduces - but does not eliminate - the natural 'breathability' that many plants depend on. If your plants require excellent air circulation at the root zone (like succulents and cacti), consider leaving the inside bare and sealing only the exterior. Always research your specific plant's needs before changing the pot's surface properties.
Paint failures on porous surfaces often come down to skipped steps rather than product quality - something explored well in our piece on why freshly painted rooms still look dull. The pattern is consistent: prep is almost always the variable that matters most.
The content on this site is for informational purposes only and is not a substitute for professional advice. Always consult a qualified professional for guidance specific to your situation.