

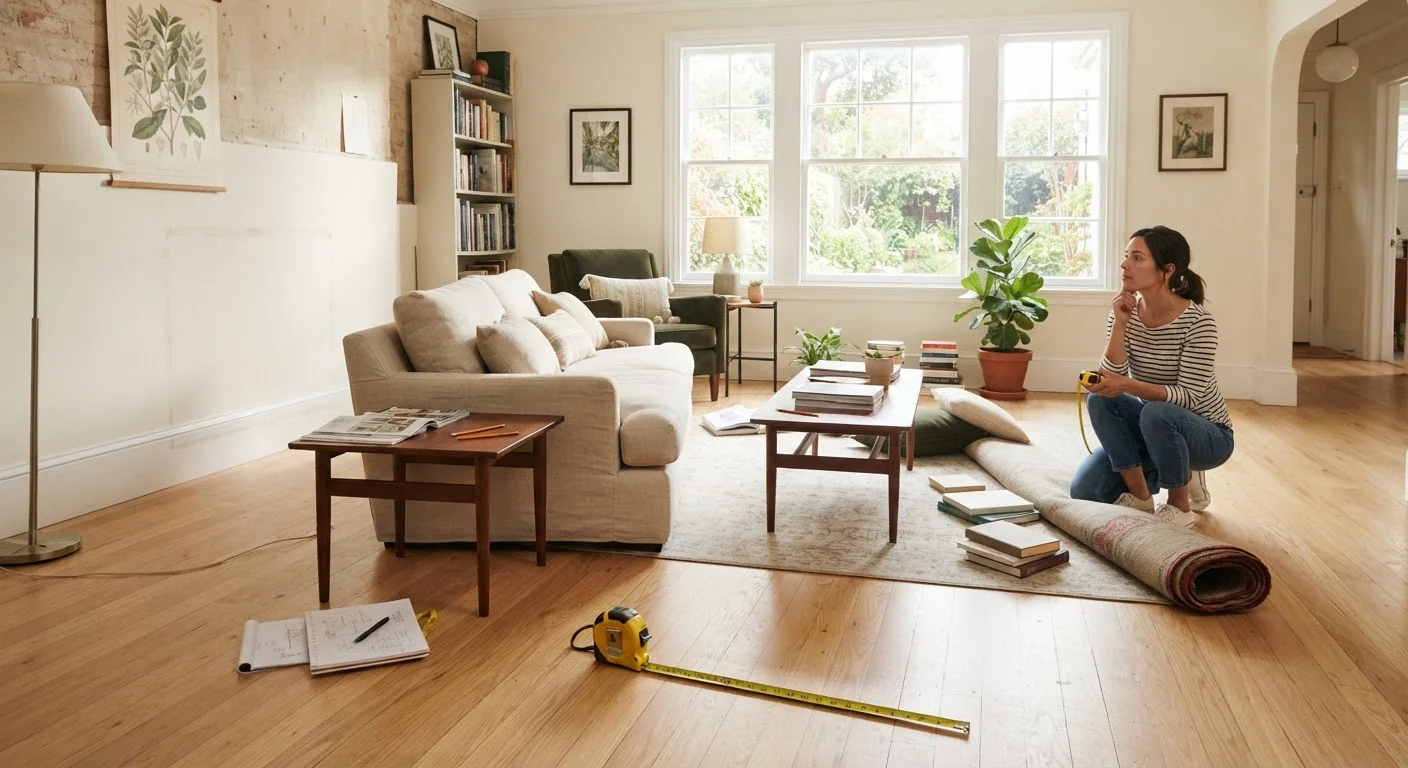
Why Layout Comes Before Everything Else
It's tempting to reach for new throw pillows or a fresh coat of paint when a room feels off. But in many cases, the real culprit is the furniture arrangement - and rearranging is completely free. A sofa pushed flat against every wall, chairs marooned in corners, and a coffee table no one can comfortably reach are all layout problems that no amount of new decor will fix.
Getting the layout right first means every decorating decision you make afterward - paint color, textiles, accessories - lands in a space that actually works. It's the difference between styling a well-structured room and dressing up a dysfunctional one. If you're planning a broader refresh, a weekend room transformation plan can show you how layout fits into the larger makeover sequence.
Measure Before You Move Anything
Moving a heavy sofa only to discover it blocks a vent or overwhelms a wall is frustrating and hard on your floors. Always measure furniture dimensions and room dimensions - including doors, windows, and electrical outlets - before shifting a single piece. Sketch a rough floor plan first so your physical effort counts.
The steps below walk you through a reliable, methodical process - from clearing and measuring to finalizing a layout you'll actually want to live in. Check your tools and prerequisites below, then dive in.
What you will need
What You'll Need
You don't need professional equipment or a design background to rearrange effectively - just a few basic tools and a willingness to experiment. Furniture sliders in particular are worth having on hand; they protect floors and make the physical work far more manageable for one or two people.
Tape Measure
Measure room dimensions, doorways, window placements, and each furniture piece accurately.
Graph Paper or Floor Plan App
Create a scaled diagram of the room to test furniture arrangements without physical effort.
Furniture Sliders
Slip under heavy pieces to glide them across flooring without scratching surfaces or straining your back.
Low-Tack Painter's Tape
Mark proposed furniture footprints on the floor so you can walk through and assess the layout before moving anything.
Clear the Room and Take Stock
Start by removing smaller items - lamps, side tables, rugs, decor accessories - and setting them outside the room. You don't need to gut the space entirely (see the case for and against full clearance for context), but creating visual breathing room helps you see the bones of the space honestly. Note where natural light falls at different times of day and where traffic naturally wants to move.
Measure the Room and Every Piece of Furniture
Grab your tape measure and record the room's full dimensions: length, width, ceiling height, and the location of every door, window, outlet, and vent. Then measure each furniture piece - width, depth, and height. Log everything on graph paper or in a floor-plan app, using a consistent scale (one square = one foot works well). This prevents the frustrating experience of moving a sectional only to find it's four inches too wide for the wall.
Identify the Room's Focal Point
Every well-arranged room anchors to one dominant feature - a fireplace, a large window with a view, a statement media console, or even a strong accent wall. Identify yours before placing anything. Your largest seating piece (typically a sofa) should face or angle toward that focal point, not away from it. This single principle resolves the majority of awkward layouts instantly.
Place the Largest Piece First, Then Build Around It
Position your anchor piece - usually the sofa - relative to the focal point and primary traffic path. Resist pushing it flat against the wall; floating it even 12-18 inches inward creates depth and a more intentional feel. Once the sofa is placed, add secondary seating (chairs, loveseats) to form a conversation zone where people naturally face one another. Aim for no more than 8 feet between facing seats for comfortable conversation. For deeper spatial principles, furniture arrangement strategies can guide your spatial logic further.
Check Clearances and Traffic Flow
Walk every path through the room as if carrying a laundry basket. General guidelines suggest at least 36 inches for main traffic paths and 18 inches of clearance between a coffee table and sofa. Tighter squeeze points - especially near doorways and into dining areas - cause daily frustration that accumulates. Adjust any piece that interrupts natural movement, even if it looks good on paper.
Layer Back In the Smaller Pieces
Once the large furniture is positioned, bring back accent tables, lamps, rugs, and decor with fresh eyes. Your rug should anchor the seating zone - ideally with at least the front legs of every seating piece sitting on it. Lamps should be at eye level when seated (roughly 58-64 inches from floor to bulb center). Use this moment to audit what actually belongs back in the room before automatically returning everything. A room styling checklist can help you make those calls systematically.
Live in the Layout for 48-72 Hours Before Finalizing
Resist the urge to declare it done on day one. Spend two or three days moving through the room at different times - morning light versus evening, solo versus with others. Note any friction: does a lamp feel too far away when reading? Does a pathway feel congested? Small tweaks at this stage are easy; discovering them after you've hung art and restaged every shelf is far less so. Once you're satisfied, you'll have a solid foundation for any decor additions - and a clear sense of what the room actually still needs, which is exactly where a pre-purchase planning checklist comes in handy.
Use Painter's Tape to Test Layouts
Before committing to a new arrangement, outline furniture footprints on the floor using low-tack painter's tape. This trick lets you walk through the space, check clearances, and visualize traffic flow without lifting anything heavy. It takes ten minutes and can save hours of back-and-forth moving.
Common Layout Mistakes to Avoid
Even with good intentions, certain habits consistently undermine furniture arrangements. Understanding them upfront saves a lot of back-and-forth during the rearranging process.
- Everything against the walls: This is the most common default - and it usually makes rooms feel cavernous and disconnected rather than cozy. Floating pieces inward creates intimacy and defined zones.
- Mismatched rug scale: A rug that's too small - especially one where no furniture legs touch it - looks like an afterthought. When in doubt, go larger.
- Ignoring the room's function: A layout optimized for TV watching may be terrible for conversation or reading. Clarify the room's primary use before committing to any arrangement.
- Blocking natural light: Tall bookcases or dense furniture clusters near windows kill the light that makes rooms feel open and alive. Keep sight lines to windows clear where possible.
Avoiding these pitfalls puts you well ahead of most DIY rearranges - and gives whatever decor comes next the best possible foundation. For a broader evaluation of your space, the spatial principles behind furniture arrangement are worth exploring in depth.
The content on this site is for informational purposes only and is not a substitute for professional advice. Always consult a qualified professional for guidance specific to your situation.