

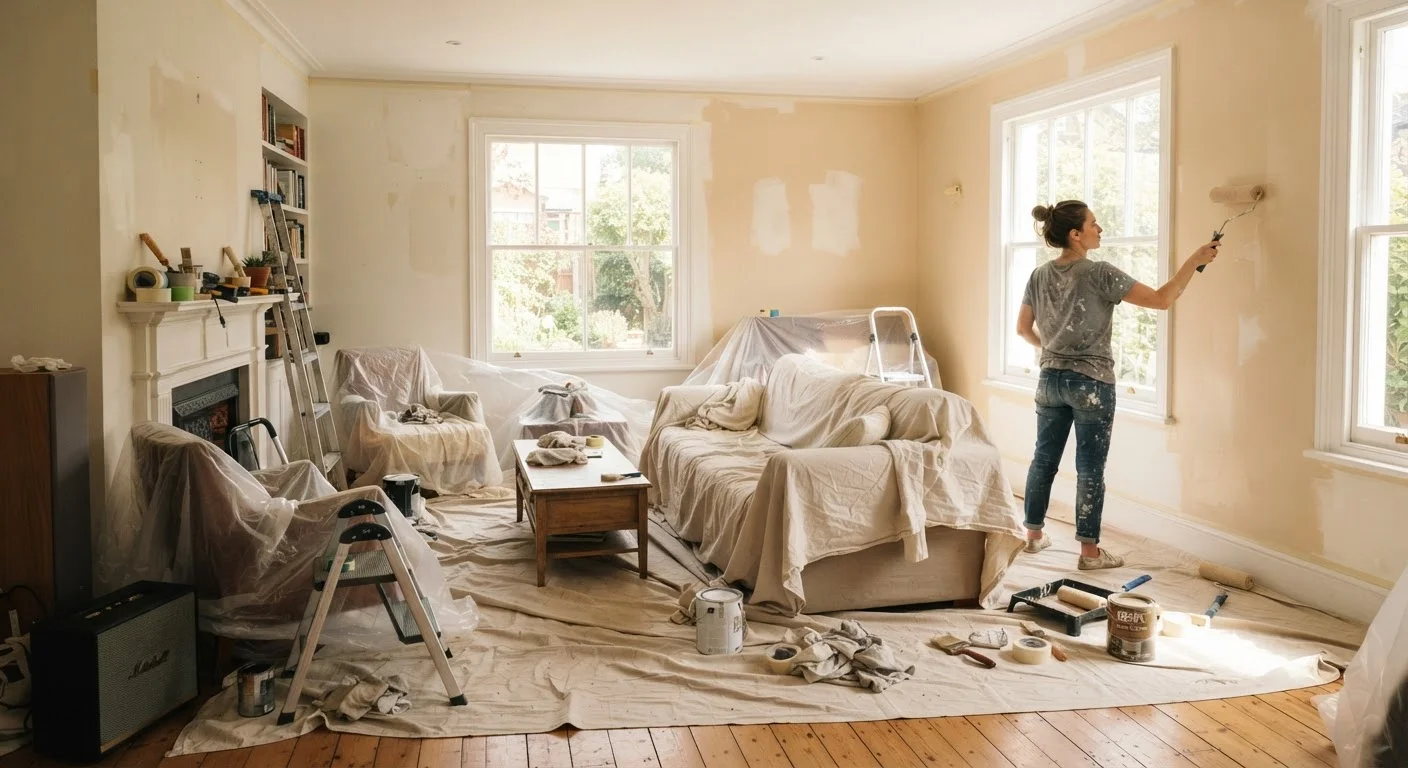
What This Weekend Plan Actually Covers
This is a two-day structured plan - not a mood board exercise. If you're new to tackling rooms yourself, the first-timer's room makeover guide covers the planning fundamentals worth reading before you begin. This plan assumes you're working with an existing room: no demolition, no contractors, no permits. The goal is maximum visual impact through paint, arrangement, lighting, and targeted accessory updates.
Before Saturday morning arrives, do one thing: use the room styling before-and-after audit to identify exactly what's dragging the space down. Walk in, note what bothers you first, and build your weekend around fixing those specific problems. Vague plans produce vague results.
What you will need
Tools and Materials You'll Need
Gather everything the night before. Hardware store runs mid-project are the single biggest time drain on weekend makeovers - budget an extra 30 minutes for a Friday evening supply run rather than losing two hours on Saturday.
Painter's tape (1.5" or 2")
Masks trim, baseboards, and ceiling edges to produce clean paint lines.
9" roller frame and covers
Applies paint efficiently across large wall surfaces; use a 3/8" nap for smooth walls.
Angled trim brush (2-2.5")
Cuts in paint along edges, corners, and trim where a roller can't reach.
Drop cloths
Protects floors and furniture from paint drips and spills.
Spackling compound and 120-grit sandpaper
Fills nail holes and minor wall imperfections before painting.
Furniture sliders
Allows heavy furniture to be moved without scratching floors or straining muscles.
Measuring tape
Used for calculating wall square footage, furniture layout spacing, and art placement height.
Lightweight step ladder or step stool
Provides safe reach for cutting in paint near the ceiling and hanging art.
For paint specifically: a single gallon covers roughly 350-400 square feet with one coat on a smooth wall. Measure your square footage (wall height × width of each wall, minus windows and doors) before buying. Most living rooms require 1-2 gallons for one coat, 2-4 for two coats.
Day One: Clear, Clean, and Paint
Day one is entirely unglamorous - and entirely necessary. Rooms that skip preparation look it. The room-by-room declutter walkthrough is worth a quick scan if your living room has accumulated years of accumulation; you don't need to tackle the whole house, just this one space.
Empty and audit the room
Move all furniture to the center or into an adjacent room. Remove wall art, curtains, and every surface item. This sounds extreme - it's the point. You cannot accurately evaluate a cluttered room, and you cannot paint, clean baseboards, or see the floor plan clearly until it's empty.
As you remove items, sort into three categories: keep, relocate to another room, donate or discard. Be honest. Anything that wasn't earning its place before won't earn it after a fresh coat of paint.
Deep clean walls, baseboards, and floors
Wash walls with a damp cloth and mild all-purpose cleaner, paying attention to the area around light switches, along chair rails, and near doorframes where grease and fingerprints concentrate. Wipe baseboards dry. Vacuum and mop the floor - paint dust and debris will resettle on uncleaned floors.
Patch any nail holes or minor dents with spackling compound. Allow to dry fully (typically 1-2 hours), then sand smooth with 120-grit sandpaper. Wipe away dust before priming or painting.
Tape, prime, and apply wall paint
Apply painter's tape along trim, ceiling edges, and outlet covers. Use a brush to cut in along all edges first (a 2-3 inch band), then roll the field of each wall in overlapping W or M strokes to avoid lap lines. Work one wall at a time top to bottom.
If you're switching from a dark color to a light one, or covering a stain, prime first. Skipping primer in these cases typically means a third coat of paint - which costs more time and paint than the primer would have.
Allow the first coat to dry per the manufacturer's guidance (usually 2-4 hours for latex paint) before applying a second coat. Do not rush this - a tacky second coat traps texture and brush marks.
Plan and execute a new furniture arrangement
Before moving a single piece of furniture, sketch two or three layout options on paper using your room's measurements. The most common mistake is keeping all furniture pushed against walls - floating a sofa 12-18 inches from the wall and anchoring seating around a central rug creates a more intentional, designed feeling.
Prioritize: a clear traffic path (at least 36 inches wide), a focal point for seating (fireplace, TV, or window), and avoiding blocking natural light. Once you've chosen a layout, move furniture into position and live with it for 30 minutes before committing.
Update lighting
Swap incandescent bulbs for warm-white LEDs (2700K-3000K color temperature) in every fixture and lamp. The color temperature of lighting affects how paint colors read - many rooms look flat or cold simply because the bulbs are too cool or too dim.
Add a floor lamp or table lamp to any corner that feels dark. A single well-placed lamp can make a room feel finished where an overhead fixture alone reads as utilitarian. Swap dated lampshades if budget allows - a drum shade in a neutral linen is widely available and inexpensive.
Style with accessories and textiles
Return only the items that earned a spot during your Day One audit. Add textiles last: a throw blanket, two to four cushions in coordinating colors or textures, and - if budget allows - a rug to anchor the seating area. A rug sized too small is the most common accessory mistake; in most living rooms, all front legs of the main seating pieces should sit on the rug.
Hang wall art at eye level (center of the piece at approximately 57-60 inches from the floor in most rooms). Group smaller items in odd numbers. Leave some walls clear - overhung walls read as cluttered regardless of paint color.
Day Two: Arrange, Light, and Style
Day two is where the room starts to look like a decision rather than an accident. Work in this order: furniture placement first, lighting second, accessories last. Reversing that sequence wastes time - you'll move lamps and art repeatedly as furniture shifts.
The same sequencing logic that trips up living room makeovers applies to other spaces. If you've been stalled on a bedroom refresh, the guide to unstalling bedroom makeovers identifies the most common sequencing mistakes. And if you want to carry this weekend-project approach into another room, the bathroom refresh without plumbing or tile applies a similar no-contractor framework to a completely different set of constraints.
When the room is done, do a standing audit from the doorway. That first-glance impression is what visitors will see - it's the most honest measure of whether the refresh worked. For a structured way to evaluate what you've achieved, the room styling tips hub has practical frameworks for reading a finished space critically.
The content on this site is for informational purposes only and is not a substitute for professional advice. Always consult a qualified professional for guidance specific to your situation.