

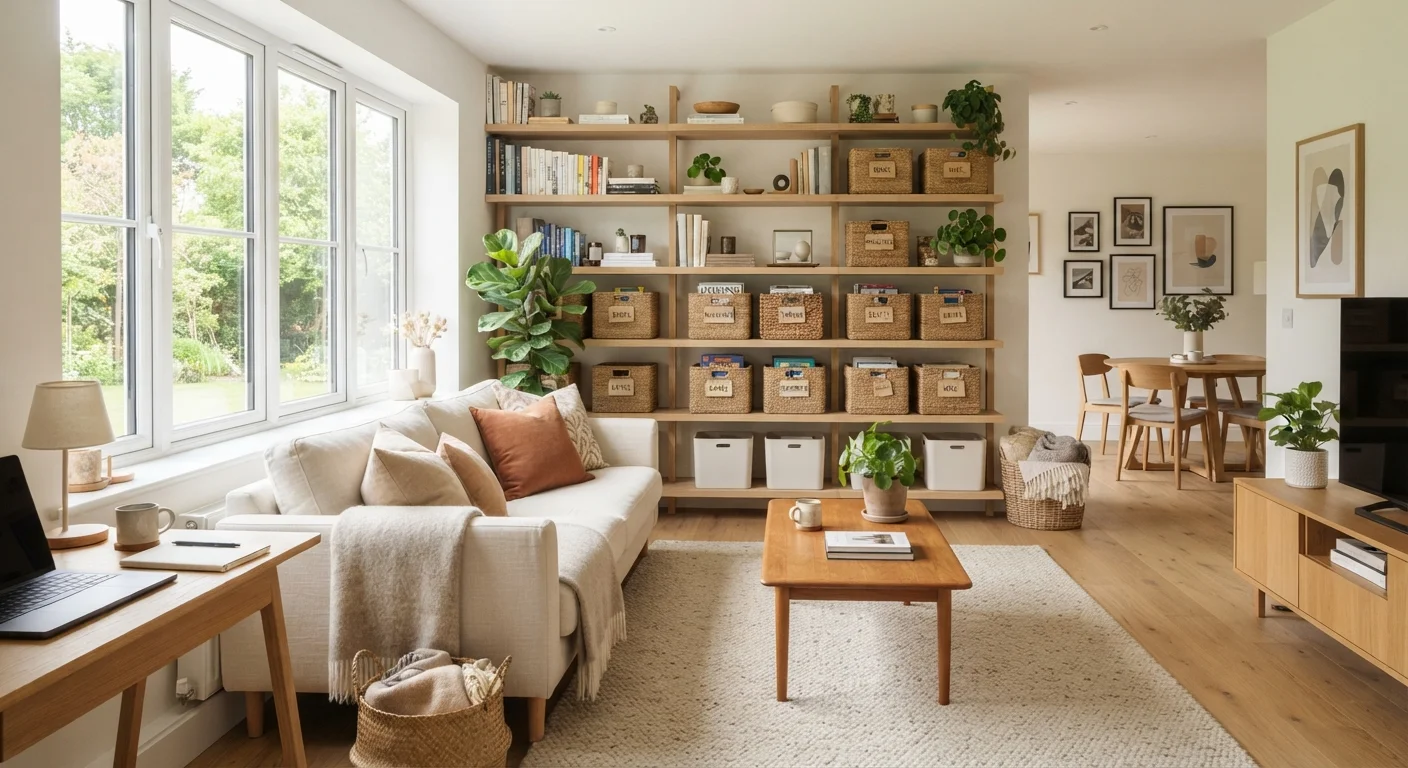
Why the Room-by-Room Approach Works
Decluttering the entire home in one push sounds satisfying in theory. In practice, it stalls within hours - surfaces get emptied onto floors, decisions pile up, and fatigue sets in before a single room is finished. A room-by-room approach sidesteps this by shrinking the scope to a winnable task each session.
The method is especially well-suited to busy homeowners because it produces visible, contained results. Finishing a closet or kitchen drawer feels like genuine progress, which reinforces the habit. If you're weighing this against category-based methods - clearing all clothing at once, for example - our article Decluttering by Category vs. by Room breaks down when each approach makes the most sense.
Before diving in, it also helps to know where your worst clutter concentrations actually live. The Household Declutter Audit checklist can pinpoint those zones quickly so your first sessions target maximum impact.
What You'll Need Before You Start
Gathering a few basic supplies before the first session removes friction and keeps you from stopping mid-task to hunt for a trash bag.
What you will need
Sorting bins or bags (×4)
One each for keep, donate, discard, and relocate - physical separation speeds up decision-making.
Trash bags
Collect broken, expired, or genuinely unusable items for immediate removal.
Timer
Keeps sessions bounded to 30-60 minutes, preventing decision fatigue.
All-purpose cleaner and cloth
Wipe down emptied shelves and drawers before returning items.
Sticky notes or masking tape
Label bins or temporary staging areas when working in larger rooms with multiple zones.
Set a timer for each session - 30 to 60 minutes is a productive window for most people. Longer sessions often lead to decision fatigue, especially when handling sentimental items.
The Step-by-Step Walkthrough
Follow these steps in sequence each time you tackle a new room. The process is the same whether you're clearing a bathroom vanity or an entire garage - only the scale changes.
Set the scope for this session
Choose one room - or one zone within a large room (e.g., a single kitchen cabinet bank). Declare its boundaries before you start and don't expand them mid-session. Write it down if it helps.
Do a full empty-out of the target zone
Remove everything from the area - shelves, drawers, surfaces - and place it on a nearby table or floor. Seeing the full contents at once makes sorting faster and prevents things from hiding at the back.
Sort into four categories
Work through the pile and assign every item to one of four bins or areas:
- Keep: Used regularly, belongs in this room, earns its space.
- Donate: Usable but no longer needed - goes to a local donation facility.
- Discard: Broken, expired, or genuinely unusable.
- Relocate: Belongs somewhere else in the home - set aside and move at the end of the session.
Clean the emptied space
Wipe down shelves, vacuum drawers, and clean surfaces before returning anything. This step takes only a few minutes but makes a significant difference to how the finished space feels.
Return only the keep items - thoughtfully
Replace items with intention: frequently used things at the front and center, rarely used items toward the back or higher shelves. Group similar items together. Resist the urge to fill every inch - empty space is functional.
Remove donations and discards immediately
Take the donate bag to your car or front door right now - not later. Break down or bag the discard pile for trash. Move 'relocate' items to their correct rooms. Don't let any of these linger in the space you just cleared.
For a deeper dive into maintaining what you've cleared, The Complete Guide to Decluttering Your Home covers every stage from method selection through long-term upkeep.
Room Priority: Where to Begin
Not all rooms carry equal daily weight. Starting with spaces you use most frequently gives you the fastest quality-of-life return and builds momentum for harder areas.
- Entryway or mudroom: Sets the tone for every arrival. Clear surfaces here reduce daily stress immediately.
- Kitchen: High-use, high-clutter. Countertops and junk drawers are good first targets.
- Main bathroom: Expired products and unused toiletries clear quickly and free up surprising amounts of space.
- Living room: A cleared living room has an outsized visual effect on how the whole home feels. For a structured two-day refresh of this space, see Transforming a Living Room on a Weekend.
- Bedrooms and closets: More personal and decision-heavy - save these for once the process feels comfortable.
- Garage or basement: Tackle last; these require the most time and the most tolerance for ambiguity.
Once each room is cleared, storage solutions become the natural next project. Room-by-Room Storage: A Complete Home Organisation Framework is a practical follow-on resource for upgrading every zone you've just decluttered.
Keeping Momentum Between Sessions
The gap between sessions is where most decluttering efforts quietly collapse. A few simple habits protect the progress you've made.
End each session by immediately removing the donate and discard bags from the room - don't let them sit. Schedule your next session before you close the current one, even if it's just a rough time block. And resist the urge to 'temporarily' return items to a cleared space.
It's also worth examining any beliefs that are slowing you down. The Myths Around Decluttering That Keep Homes Stuck addresses common misconceptions - including the idea that you need a full free weekend to make real progress. You don't.
Once your spaces are clear and functioning, a quick styling audit can help you evaluate what's working visually. The Room Styling Checklist is a useful companion at that stage.
The content on this site is for informational purposes only and is not a substitute for professional advice. Always consult a qualified professional for guidance specific to your situation.