

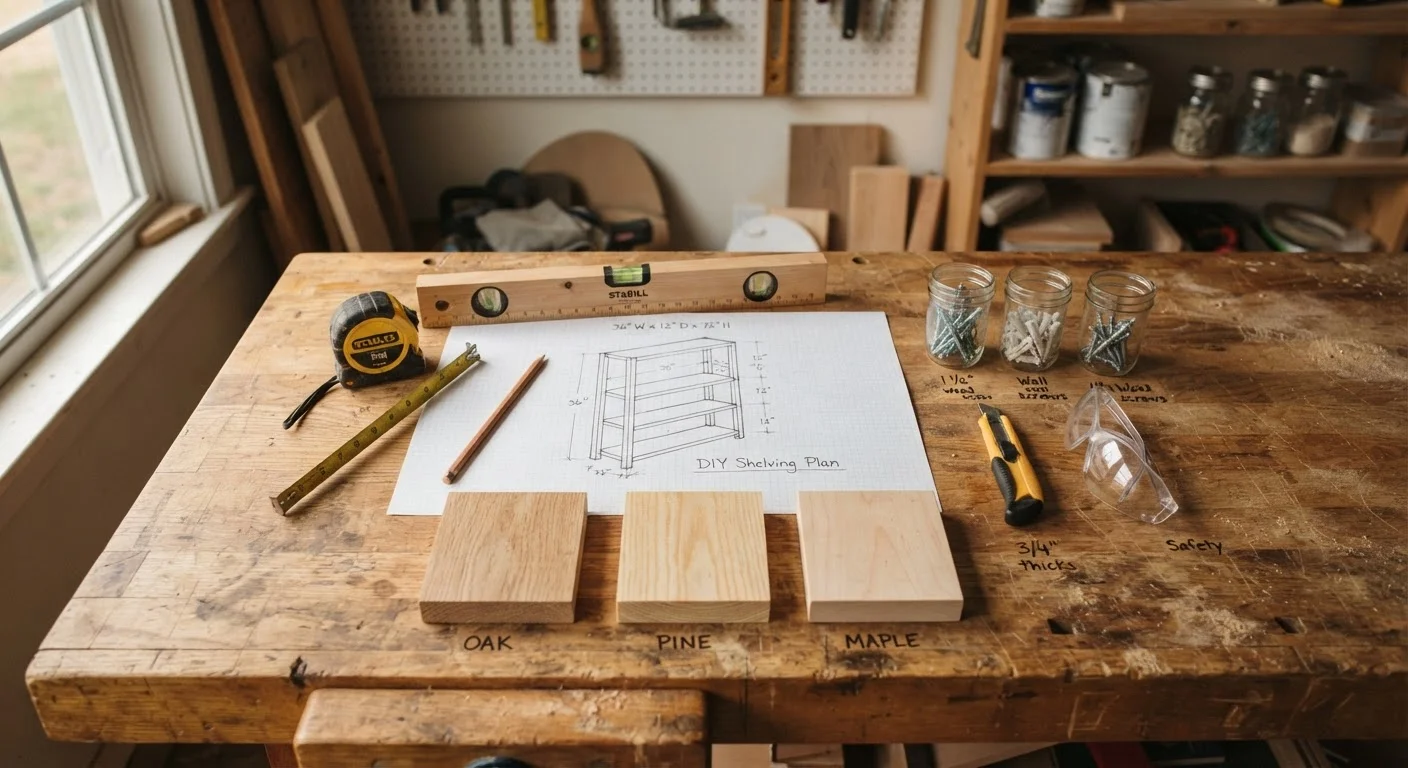
Summary
22 items · 30-60 minutes
Why Planning Before You Build Matters
Most DIY organizer projects that go sideways don't fail at the saw - they fail at the sketchpad. A shelf that's a half-inch too wide, a pegboard that lands between studs, or a coat rack built for a standard wall when you have tile: these are planning problems, not skill problems.
This checklist walks you through every decision you should lock in before touching a single piece of material. Whether you're building a simple entryway shelf or a full closet system, the same categories apply: space measurements, structural considerations, materials, and finish choices. If you're brand new to DIY builds, our plain-language starting point for first-time builders covers the foundational concepts that support this checklist.
Work through each group in order. Items marked must are non-negotiable - skipping them is where rework begins. Should items are strongly recommended for a clean, durable result. Nice-to-have items add polish or flexibility but won't stop the project if skipped.
Space Measurements
Wall and Structural Assessment
Materials and Cut List
Hardware and Finish
Tools and Materials You'll Need for Planning
You don't need much to complete this planning phase - but the right tools make your measurements reliable and your sketch accurate enough to build from.
Tape Measure (25 ft)
Taking and double-checking all space and component dimensions accurately.
Stud Finder
Locating wall studs or blocking to plan secure anchor points for wall-mounted organizers.
4-Foot Level
Confirming walls and floors are plumb and level before committing to a design.
Graph Paper or Squared Notebook
Drawing a scaled dimensioned sketch of your design to catch proportion errors before cutting.
Pencil and Notepad
Recording measurements, cut lists, and hardware notes in one place throughout the planning session.
Calculator or Smartphone
Totaling board footage, adding waste buffers, and converting fractions to decimals as needed.
Painter's Tape
Marking stud locations and mocking up organizer footprint on the wall before committing to the design.
Once you've gathered your planning tools, treat your measurements as the one figure you cannot estimate. Our dedicated guide on measuring habits that prevent wasted materials goes deeper on technique if you want to sharpen that skill before you start.
Turning Your Checklist Into a Build-Ready Plan
After working through all checklist groups, you should have four concrete outputs: a dimensioned sketch, a cut list with quantities, a confirmed wall anchoring strategy, and a finish plan. Those four documents are what you bring to the lumber yard - not a rough idea.
Before you buy anything, cross-reference your cut list against the pre-purchase checklist for building materials to confirm grades, board footage, and hardware compatibility. And if estimating quantities from a cut list is new territory, the material planning guide for first renovations explains how to read product specs and avoid over-buying.
Wall Anchoring Is Not Optional
Any wall-mounted organizer that will carry meaningful weight - shelves with books, a coat rack with heavy outerwear, a pegboard loaded with tools - must be anchored into studs or appropriate structural anchors rated for the load. Drywall alone cannot reliably support sustained weight and poses a safety risk if an organizer pulls free. If you are unsure about your wall type or load capacity, consult a qualified professional before proceeding.
With your plan confirmed, you're ready to move into the build. For a full walkthrough from materials through joinery and room-by-room ideas, see our DIY organizers from start to finish guide.
The content on this site is for informational purposes only and is not a substitute for professional advice. Always consult a qualified professional for guidance specific to your situation.