

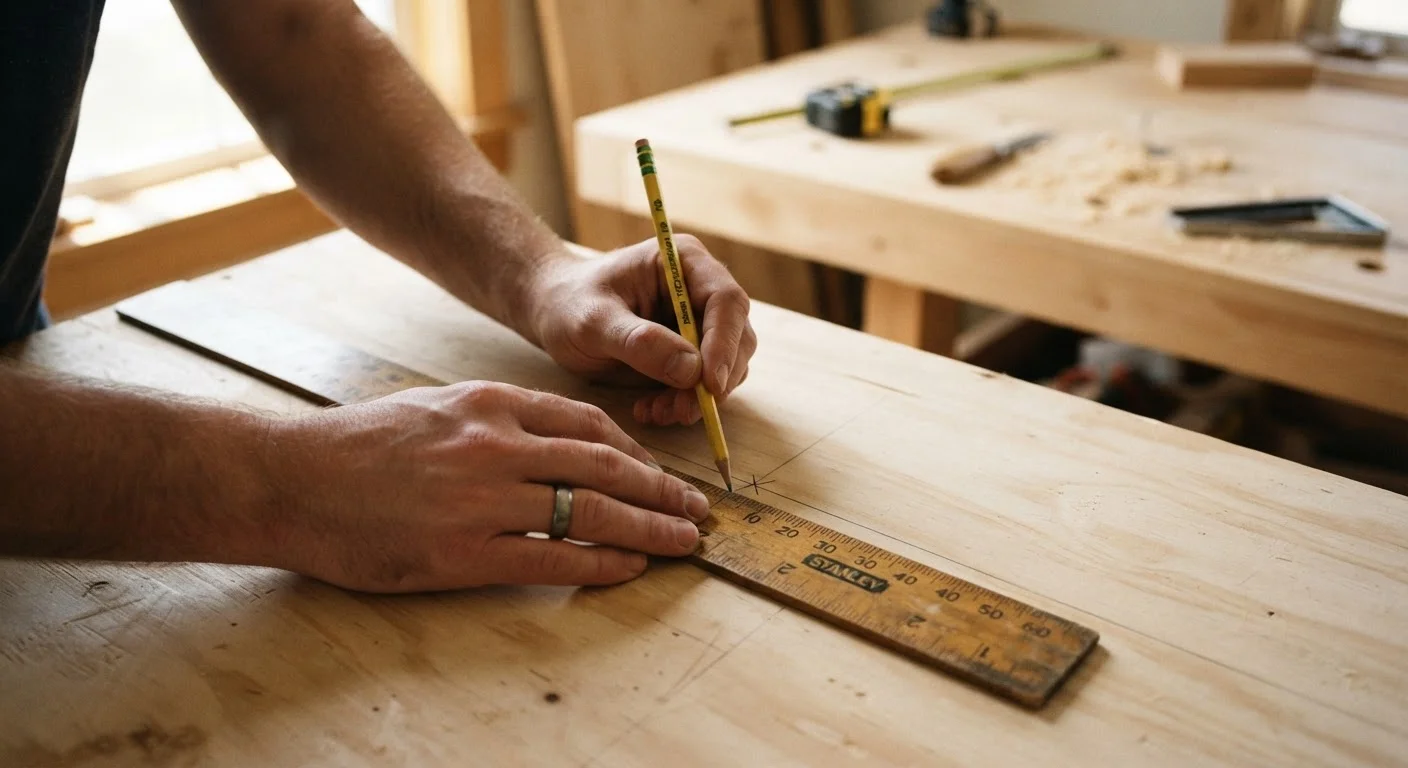
Why Measurement Habits Matter More Than Tools
Most wasted material on organizer projects doesn't come from poor tools - it comes from rushed or inconsistent measuring habits. A $200 saw won't save you from a piece cut an inch too short because you measured once and moved on. The good news is that disciplined measuring costs nothing except a moment of deliberate attention.
Whether you're building a drawer insert, a pegboard panel, or a simple shelf unit, the principles below apply directly. For a broader look at planning before you pick up any tool, the pre-build planning checklist is a useful starting point.
The Core Measuring Practices
Applying these habits consistently - not just occasionally - is what separates organizer builds that fit cleanly from those that end up with gaps, rework, or leftover scrap that could have been useful pieces.
Always create a written cut list before touching any material.
Keeping dimensions in your head invites mistakes that become obvious only after a cut is made. A written list lets you spot conflicts, duplicate measurements, and over-ordering before any material is committed. It also means a second set of eyes can review the plan.
Measure from a single consistent reference edge on every workpiece.
Flipping a tape measure end-over-end or measuring from different edges on different pieces introduces small inconsistencies that stack up. Using one factory-straight edge as the baseline keeps all cuts aligned relative to the same datum.
Mark the waste side of every cut line clearly before sawing.
A pencil line has real width. Without a waste-side mark, your blade can drift onto the wrong side of the line and shorten a piece by a blade's width. A small 'X' on the offcut side removes all ambiguity.
Account for kerf in every step of your cut list math.
Each saw pass removes roughly 1/8 inch of material. On a board planned for four equal pieces, three internal cuts consume up to 3/8 inch of total length. Ignoring kerf in cut calculations results in pieces that are all slightly too short.
Dry-fit all measured pieces before applying any adhesive or fasteners.
Even accurate measurements can reveal fit issues - a slightly bowed board, an out-of-square corner, or a forgotten clearance gap - that are easy to correct before assembly but difficult afterward. Dry-fitting costs only time.
Kerf: A Small Gap With Big Consequences
Kerf is the width of material a saw blade removes with each cut - typically 1/8 inch for a standard circular saw blade. On a project with six or eight crosscuts, unaccounted kerf can throw off a finished length by half an inch or more. Always include kerf in your cut list calculations, and verify your specific blade's kerf width before you start.
If you're newer to DIY builds, the beginner's guide to DIY organizers covers these habits in the context of a first complete project.
Quick Wins You Can Apply Right Now
You don't have to wait for a full project to build better measuring habits. These small actions sharpen your accuracy immediately and carry forward into every build.
Material waste and over-ordering are connected problems - common material waste habits worth changing explains how these patterns show up across renovation projects and how to address them before they drain your budget.
The content on this site is for informational purposes only and is not a substitute for professional advice. Always consult a qualified professional for guidance specific to your situation.