

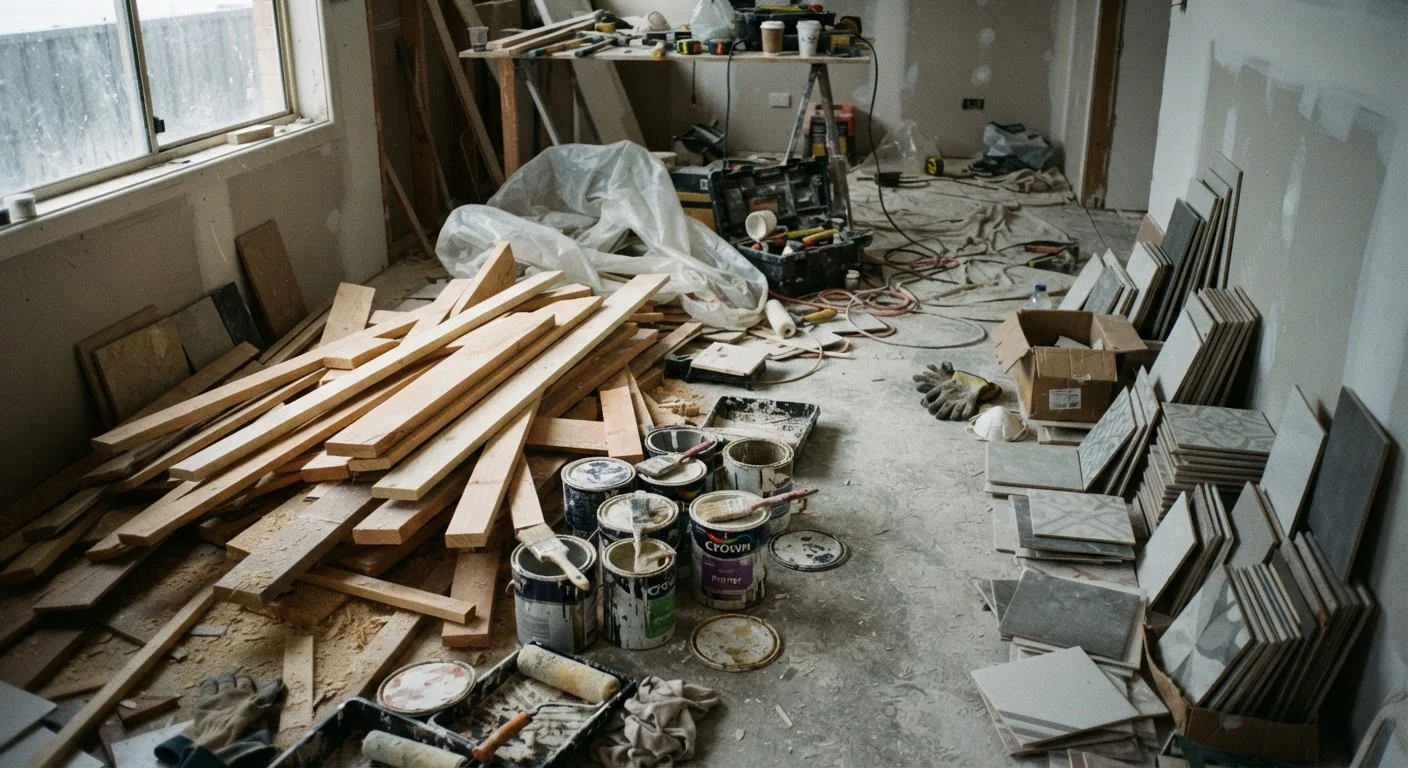
Why Budgets Bleed Before the Work Even Begins
Most DIYers focus their cost-cutting energy on finding cheaper materials. That instinct isn't wrong, but it misses a larger problem: a significant share of renovation overspend isn't about what you paid per square foot - it's about how much of what you bought never made it onto the wall, floor, or ceiling in usable form.
Waste on renovation projects falls into predictable patterns. Over-ordering driven by rough guesses. Material damaged in storage before installation. Offcuts discarded when they could cover smaller areas. Adhesives, caulk, and primer opened, half-used, then left to cure in a garage. These losses compound quietly across a project until the budget gap looks inexplicable.
If you're new to material planning, understanding where waste happens is the logical first step - before you price a single item. Below are the habits most worth changing.
Estimating from memory instead of a cut list
Eyeballing quantities based on a rough room impression - rather than actual measurements - is the most reliable path to over-ordering. A proper cut list maps every piece you need to a specific dimension and location. It catches duplication, flags where offcuts can serve double duty, and gives you a defensible number to order against.
Even a basic spreadsheet with room dimensions, intended material, and a calculated quantity with a modest waste factor (typically 10-15% for tile, 5-10% for lumber) beats any mental estimate. See measuring habits that prevent wasted materials for techniques that transfer directly to renovation work.
A cut list turns a vague quantity guess into a number you can defend and order against.
Applying a blanket waste factor to every material
Not all materials waste at the same rate, and treating them uniformly leads to serious over-purchasing on some items and under-purchasing on others. Tile installed on the diagonal wastes more than tile laid straight. Hardwood strip flooring in an irregular room wastes more than engineered planks in a rectangle. Ceiling drywall wastes more than wall drywall because seams must land on joists.
Build your waste factor by material type and installation method, not as a single project-wide percentage. Your supplier can typically advise on standard waste allowances for the specific product you're buying.
Tile on the diagonal, flooring in odd rooms, and ceiling drywall each waste at very different rates.
Discarding offcuts that still have usable dimensions
Job-site bins fill quickly with offcuts that could cover closets, pantries, utility rooms, or accent sections. The habit of tossing short lumber, tile fragments, or drywall pieces immediately after a cut eliminates material that might represent 10-20% of remaining coverage needs.
Keep a designated offcut zone - even a simple marked-off area on the floor - and check it before cutting fresh stock. This applies especially to expensive materials: hardwood flooring offcuts, natural stone tile, and solid-wood trim are worth storing and using before opening new boxes. For a full sourcing strategy that accounts for offcuts and remnants, review renovation material sourcing from start to finish.
A designated offcut zone can recover material covering 10-20% of remaining project area.
Storing materials in conditions that degrade them
Lumber stored flat on concrete wicks moisture and warps. Sheet goods leaned against a wall bow within days. Cement-based products left in a damp garage can partially cure in the bag. By the time these materials reach installation, they've lost dimensional accuracy or structural integrity - and you're buying replacements.
Cover lumber on a flat surface with airflow underneath. Store sheet goods vertically on a dry rack or horizontally on a flat, raised surface. Keep bags of mortar, grout, and joint compound off concrete and away from any moisture source. The specifics vary by material, but the principle is consistent: storage conditions are part of the material cost equation.
Lumber left flat on concrete can warp within 48 hours, making precise cuts impossible.
Opening consumables without a usage plan
Adhesives, caulk, paint, and primer have limited shelf lives once opened - often 12 months or less for water-based products. Opening a second can or tube before the first is fully used, then failing to seal containers properly, routinely turns a $30 product into a $60 line item. Multiply that across a project with multiple consumables and the loss adds up fast.
Sequence your work so each consumable is opened as close to full use as possible. Seal partially used containers tightly, label them with the open date, and store them appropriately (most water-based products should not freeze). Check existing stock before purchasing anything new - leftover materials from previous projects are often still serviceable.
Unsealed caulk and adhesive tubes lose workability within weeks, turning usable product into landfill.
Not tracking what's left over after each phase
Projects done in phases - painting one weekend, tiling the next - often repeat material purchases because no one kept track of what remained. A roll of mesh tape, a partial box of tile, half a gallon of primer: these small surpluses disappear into storage and get replaced by new purchases, paid for twice.
A simple running inventory - even a notes app list - of quantities on hand between phases prevents this. It also helps you make smarter decisions about surplus materials: whether to return unopened boxes, incorporate them into an adjacent project, or donate them. Salvage and resale outlets sometimes accept quality surplus materials, which at minimum recovers some of the sunk cost.
A simple between-phase inventory prevents repurchasing materials you already own.
Turning Waste Awareness Into a Working Habit
None of these changes require a professional background or expensive software. A tape measure used twice, a simple spreadsheet, and covered storage prevent the majority of avoidable losses. The real costs behind a budget renovation are rarely in the line items you track - they accumulate in the gaps between planning and execution.
For those working with salvaged or reclaimed material, the stakes are even higher: quantities are fixed, matching is impossible, and waste isn't recoverable. Review the trade-offs of reclaimed wood before committing to a source that won't let you re-order. And once materials are on site, storage discipline matters as much as the purchase itself - protecting materials from warping and moisture is what keeps your investment intact until install day.
Check Before You Order - Every Time
Before placing any material order, physically audit what's already on site or in storage. Check offcut piles, partial boxes, and leftover consumables. Cross-reference against your cut list to confirm exactly what's missing. This 10-minute check routinely prevents duplicate purchases and reduces your order total without reducing what gets installed.
This article is for informational purposes only. Material costs, waste percentages, and suitable storage conditions vary by project type, region, and product. Always verify specifications with your supplier and consult a licensed professional for structural or hazardous work.
The content on this site is for informational purposes only and is not a substitute for professional advice. Always consult a qualified professional for guidance specific to your situation.