

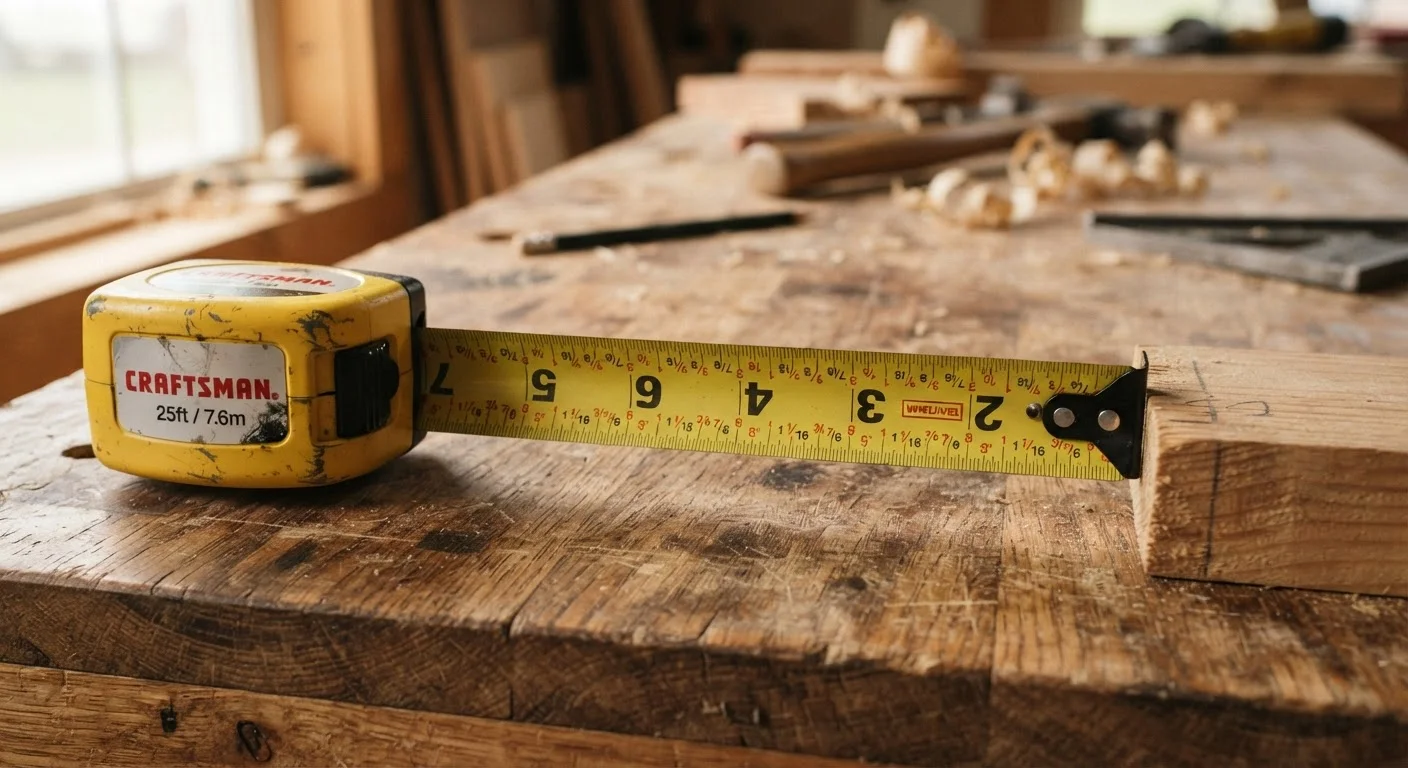
The Hierarchy of Lines
Open any standard US tape measure and you'll see a dense sequence of tick marks between each inch number. They're not decorative - they're a visual hierarchy that communicates fractions at a glance.
Here's how to decode them, from tallest to shortest:
- The 1/2" mark - the tallest line between two inch numbers, sitting exactly in the middle.
- The 1/4" and 3/4" marks - slightly shorter, splitting each half-inch in two.
- The 1/8" marks - shorter still, dividing each quarter into eighths.
- The 1/16" marks - the shortest lines, providing the finest common increment.
If you're measuring something and the edge falls on a short tick mark two lines past the 1/2" mark, you're looking at 1/2" + 2/16", which simplifies to 9/16". Building this habit of counting from the nearest named fraction - rather than starting from zero each time - speeds up your reading considerably. For a deeper look at how misreading these marks derails projects, see why your measurements keep coming out wrong.
The Hook: Deliberately Imprecise by Design
The metal tab at the end of the tape - called the hook - looks like a simple stopper, but it's one of the more cleverly engineered parts of the tool. Notice that it's fastened with rivets that allow about 1/16" of play. That slop is intentional.
When you hook the tape over the outside edge of a board, the hook slides out, effectively adding its own thickness to the reading. When you press the hook flush against an inside surface - say, measuring the inside width of a cabinet - it slides inward, removing its thickness from the equation. Either way, your measurement is honest.
Check Your Hook Before Every Project
A hook that has been bent or forced will throw off every measurement you take. Before starting a project, gently verify the hook is still square to the blade and moves freely in both directions without excessive wobble beyond that designed 1/16" range. Replacing a tape with a damaged hook is almost always more reliable than trying to compensate for the error manually.
A hook that has been bent or forced will throw off every measurement you take. Before starting a project, gently verify the hook is still square to the blade and moves freely in both directions without excessive wobble beyond that designed 1/16" range.
Standout, Blade Width, and Why They Matter
Flip a tape measure over and press the blade lock - then extend it horizontally and see how far it reaches before drooping. That distance is the tape's standout length, and it's determined by the blade's width and the curved cross-section (called a concave profile) that gives the blade its rigidity.
A wider blade with a deeper curve holds itself rigid over a longer span. For a solo DIYer measuring a long countertop or a wall stud layout, more standout means you can reach farther without the tape collapsing mid-measurement. Narrower tapes are lighter and easier to carry but sacrifice that reach.
Blade width also affects readability - a wider blade simply has more room to print larger, easier-to-read numbers, which matters more than people realize when you're squinting at a mark on a dark joist.
Once you're confident reading the tape, putting that accuracy to work in storage and organization projects becomes the next step. See our guide to measuring for organizers for habits that keep your cuts precise and waste low.
Technique Details That Change Your Results
Even a perfect tape measure gives bad results when used carelessly. Three habits separate reliable measurers from frustrated ones:
- Read straight down - looking at the tape at an angle introduces parallax error, where the mark appears to align with the wrong line. Position your eye directly above the tape for an accurate read.
- Keep the blade flat - a tape that bows or twists between two points reads longer than the true distance. Pull it taut and, for longer spans, use a helper or a clamp to hold the far end.
- Mark with a V, not a line - a short line parallel to the tape can be misread at its edge. A small V-mark with the point touching the measurement is unambiguous when you go to cut.
These small adjustments compound over a project. A 1/16" error in one board can cascade into gaps and misaligned joints by the time you've cut five pieces. The same principles apply whether you're measuring lumber or trim - and they pair well with understanding how other hand tools work. Our look at the anatomy of a hand saw covers how the cut itself introduces variables you'll want to account for when marking.
This article is for general informational and educational purposes. Always verify measurements and consult local building codes or a qualified professional for structural, permitted, or safety-critical work.
Frequently Asked Questions
The hook is designed to move slightly - exactly the thickness of the hook itself. This allows it to compensate automatically: when hooked over an outside edge, the hook adds its own thickness; when pushed against an inside surface, it subtracts it. The result is an accurate measurement either way.
Black diamonds appear every 19.2 inches, which divides an 8-foot sheet of plywood or OSB into five equal sections. They're a framing shortcut for spacing engineered joists efficiently. For most general DIY tasks, you can safely ignore them.
Between any two inch marks, count the tick marks. The tallest middle mark is 1/2". The next tallest marks are 1/4" and 3/4". The shorter marks are 1/8" increments, and the shortest are 1/16" increments. Counting from the last whole inch gives you the fractional remainder.
Standout (or reach) is how far the blade extends horizontally before it buckles under its own weight. A longer standout means you can measure across a gap or span without the tape flopping down. It's determined by the blade's width and the curve of its cross-section.
For most tasks, the hook is accurate when used correctly - hooked over an edge or pressed flat. 'Burning an inch' (starting your measurement at the 1" mark and subtracting) is useful when the hook is worn or damaged, or when extreme precision is needed on inside measurements.
The content on this site is for informational purposes only and is not a substitute for professional advice. Always consult a qualified professional for guidance specific to your situation.