

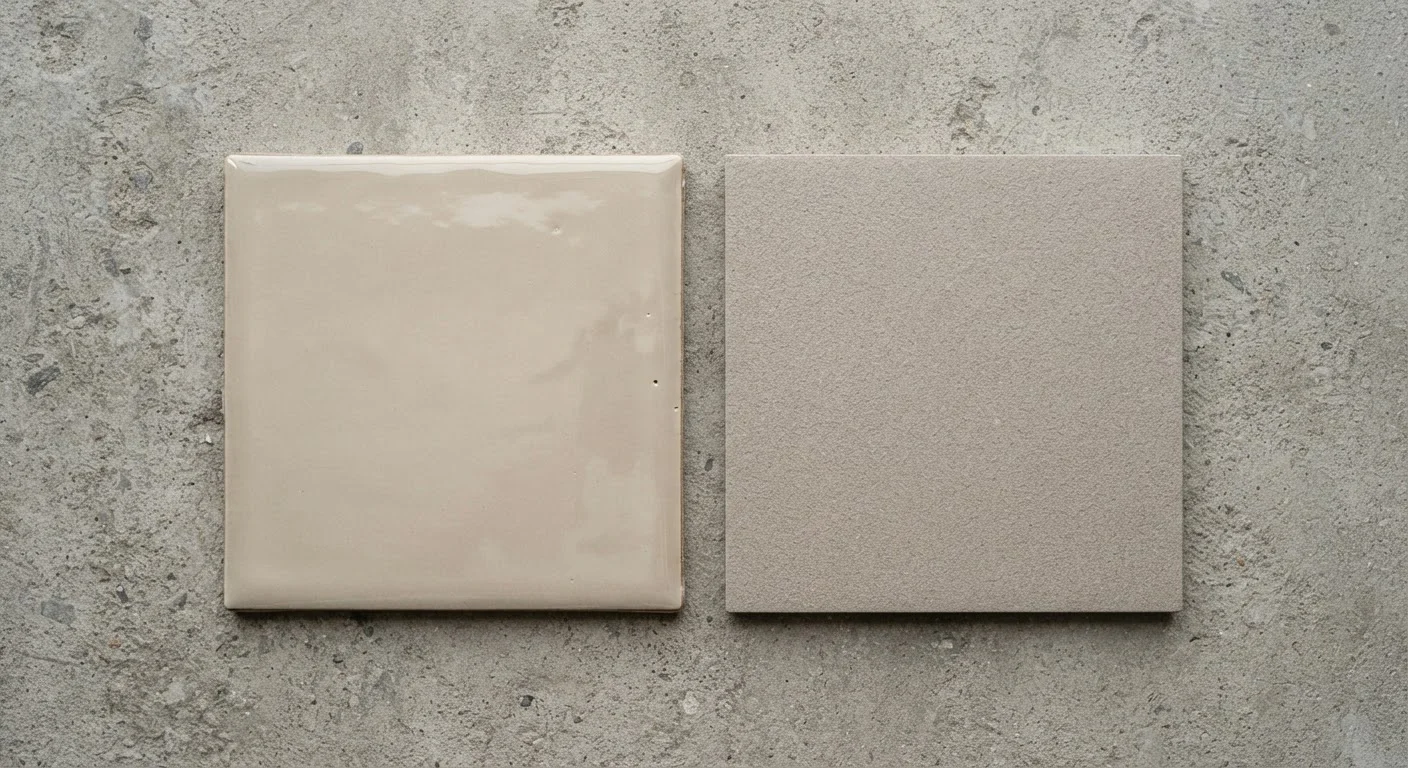
Option A
Porcelain Tile
The dense, durable workhorse for high-demand spaces.
Best for: High-traffic floors, wet areas, and outdoor applications where moisture resistance and long-term durability matter most.
Option B
Ceramic Tile
The accessible, budget-friendly option for walls and lighter-use floors.
Best for: Backsplashes, bathroom walls, and low-to-moderate traffic floors where cost savings and easier cutting are priorities.
What Actually Separates Porcelain from Ceramic
Both porcelain and ceramic tile are kiln-fired clay products, but the similarity largely ends there. Ceramic tile uses a coarser clay body fired at lower temperatures. Porcelain uses a refined clay mix - typically including feldspar - fired at significantly higher temperatures, which densifies the material and reduces its porosity.
The key technical distinction is water absorption. The American National Standards Institute (ANSI) defines porcelain as tile with a water absorption rate of 0.5% or less. Standard ceramic tile commonly absorbs 3% or more. That difference is why porcelain handles wet and outdoor applications better - water infiltration causes cracking, staining, and mold over time.
Porcelain is also harder (rating higher on the Mohs hardness scale and on the Porcelain Enamel Institute's PEI wear rating), which makes it more scratch- and chip-resistant underfoot. The trade-off: that same hardness makes it tougher to cut without a quality wet saw.
| Criterion | Porcelain Tile | Ceramic Tile |
|---|---|---|
| Water Absorption | ≤0.5% (ANSI standard) | Typically 3% or more |
| Typical Material Cost | $3-$10 per sq ft | $1-$5 per sq ft |
| Hardness / Durability | Higher - more scratch resistant | Lower - adequate for light use |
| DIY Cutting Ease | Requires wet saw | Snap cutter usually sufficient |
| Outdoor / Freeze-Thaw Use | Suitable (verify rating) | Not recommended |
| Best Application | Floors, wet areas, outdoors | Walls, backsplashes, dry floors |
| Weight | Heavier | Lighter |
Breaking Down the Real Cost Difference
At the material level, ceramic tile typically runs $1-$5 per square foot for mid-range options, while porcelain commonly ranges from $3-$10 per square foot - though both have budget and premium tiers. That gap feels significant on a 200-square-foot floor, but material price is only part of the installed cost story.
As the hidden costs buried in per-square-foot pricing article covers in detail, adhesive (thinset mortar), grout, backerboard, spacers, and sealer all add to the total - and those costs are largely the same regardless of which tile type you choose. Where costs diverge for DIYers is tooling: ceramic cuts with a $30-$60 snap cutter, while porcelain reliably requires a wet saw, which rents for roughly $40-$60 per day or costs several hundred dollars to purchase.
Labor cost is also a real factor if you're not doing this yourself. Professional tile setters often charge more per square foot for porcelain due to the added cutting difficulty. For a wall tile project, that premium is hard to justify - porcelain's durability advantages simply aren't needed on a dry vertical surface.
Note: Material and tool prices vary by region and over time. Get current quotes before finalizing your budget.
Where Each Tile Type Actually Belongs
Matching tile type to application - not just to budget - is where most renovation decisions go wrong. Here's a straightforward breakdown:
- Shower floors and walls: Porcelain wins on shower floors due to constant moisture exposure. Walls can use either, though porcelain's lower absorption is beneficial directly in the spray zone.
- Kitchen floors: Porcelain handles the wear better in a busy kitchen. Ceramic can work in a low-traffic household kitchen but may show wear faster.
- Backsplashes: Ceramic is the sensible choice. No weight-bearing, no standing water, and the glazed surface is equally easy to clean.
- Outdoor patios or steps: Porcelain only - specifically tiles rated for freeze-thaw cycles. Ceramic will crack in climates with freezing temperatures.
- Basement floors: Porcelain is the safer bet given potential moisture from below, though any tile installation in a basement should include proper vapor management.
It's worth comparing this thinking to flooring decisions more broadly - the engineered vs. solid hardwood comparison applies similar application-first logic to a common flooring dilemma.
DIY Installation: Honest Skill and Tool Assessment
Ceramic tile is genuinely more DIY-accessible. Cuts are predictable, the material is forgiving with a snap cutter, and the slightly softer body means mistakes during cutting are less costly in time and cracked tile. For a first tiling project - say, a small bathroom floor or a backsplash - ceramic makes sense both financially and practically.
Porcelain demands more from the installer. Straight cuts require a wet saw; curves or notches need a grinder with a diamond blade. Thinset must be the right consistency and coverage, because porcelain's low porosity gives it less bond latitude than ceramic. Lippage (uneven tile edges) is also more visible with larger-format porcelain tiles, requiring a flatter substrate and more careful layout.
If you're weighing a first tiling project and debating between approaches, the peel-and-stick vs. traditional adhesive tile comparison also offers useful context on managing skill level and timeline. And before assuming DIY always saves money here, it's worth reading common DIY cost myths - tool rental, wasted cuts, and redone work can close the gap quickly.
Safety note: Cutting tile generates fine silica dust. Always wear an NIOSH-approved respirator rated for silica, use wet-cutting methods where possible, and work in a ventilated area.
The content on this site is for informational purposes only and is not a substitute for professional advice. Always consult a qualified professional for guidance specific to your situation.