

Option A
Peel-and-Stick Tile
The fast, forgiving weekend warrior option.
Best for: Renters, beginners, or anyone who needs a low-commitment surface update with minimal tools and cleanup.
Option B
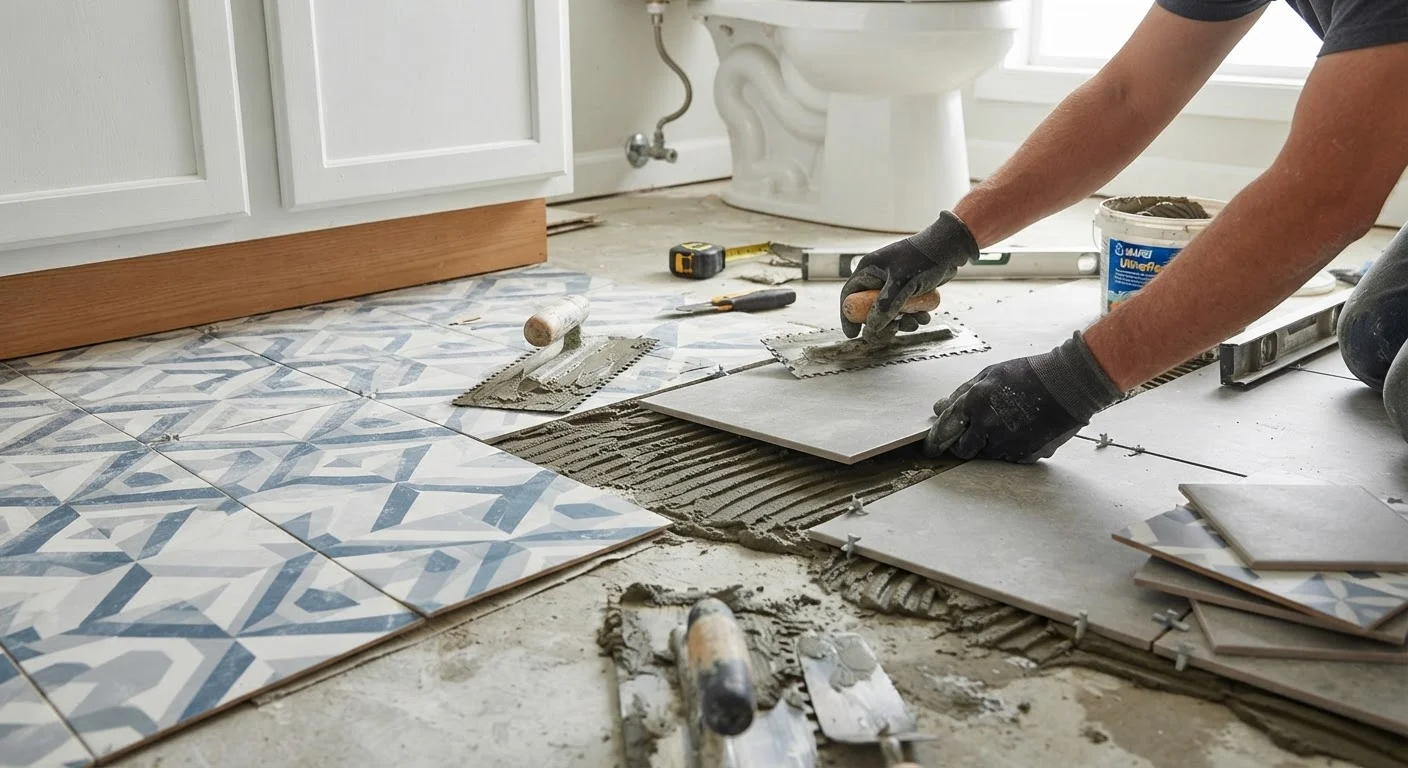
Traditional Adhesive Tile
The durable, long-haul investment for permanent spaces.
Best for: Homeowners tackling high-moisture or high-traffic areas where lasting performance matters more than installation speed.
What You're Actually Comparing
Peel-and-stick tile is a self-adhesive vinyl or composite panel with a pressure-sensitive backing. Remove the liner, press it down, and you're done. Traditional adhesive tile - ceramic, porcelain, or stone - is set with thinset mortar, aligned with spacers, then grouted once the mortar cures. The finished look can appear similar at a glance, but the installation process, longevity, and appropriate use cases are genuinely different.
Understanding those differences upfront keeps you from choosing a method that will frustrate you mid-project or fail within a year. If you're also weighing tile material choices beyond installation method, our comparison of porcelain vs. ceramic tile breaks down durability and cost by material type.
| Criterion | Peel-and-Stick Tile | Traditional Adhesive Tile |
|---|---|---|
| Installation time | 3-5 hours (same day) | Full weekend (cure time required) |
| Tools needed | Utility knife, straightedge, roller | Trowel, wet saw, grout float, spacers |
| Skill level | Beginner-friendly | Intermediate DIY |
| Typical material cost | $1-$4 per sq ft | $1-$3+ per sq ft (plus adhesives) |
| Moisture resistance | Low to moderate | High (when grouted and sealed) |
| Expected lifespan | 3-7 years in ideal conditions | 20+ years properly installed |
| Reversibility | Generally removable | Permanent; requires removal tools |
| Best location | Backsplash, laundry, low-traffic floors | Bathrooms, kitchens, entryways |
Installation: Time, Tools, and Skill Required
Peel-and-stick tile needs a clean, flat, dry surface - that's the non-negotiable. Grease, dust, or texture will compromise adhesion immediately. Beyond prep, you need a tape measure, utility knife, and a straightedge. A floor roller (often available at hardware rental counters for a few dollars) helps seat the tiles fully. Expect to complete a standard backsplash or small bathroom floor in three to five hours, including prep.
Traditional adhesive tile demands more: a notched trowel for spreading thinset, tile spacers, a wet saw or tile cutter for cuts, and grout float for finishing. You'll also need to allow 24 hours for thinset to cure before grouting, then another 24 to 72 hours before the surface sees regular use or moisture. Budget a full weekend minimum - Friday evening prep, Saturday setting, Sunday grouting.
Neither project is beyond a motivated beginner, but traditional tile has a steeper learning curve. Uneven thinset beds cause lippage (tiles sitting at different heights), and rushed grouting leaves a hazy residue that's tedious to remove. If you're deciding between similarly low-commitment wall updates, the logic in our article on accent walls without the overwhelm applies here too - matching the method to the room's demands matters more than picking the trendiest option.
Durability and the Right Room for Each Method
Peel-and-stick tile performs reliably in low-moisture, low-traffic environments: a laundry room floor, a rental kitchen backsplash, or a craft room. In a steam-heavy shower or a heavily used entryway, the adhesive backing softens and edges begin to lift - sometimes within months. Thicker tiles (2mm or above) hold up better than thin budget sheets, but no peel-and-stick product matches traditional tile in genuinely wet or high-traffic zones.
Traditional adhesive tile, properly installed over an appropriate substrate, can last 20 or more years. Grout does require periodic sealing (typically every one to three years, depending on traffic and porosity) to prevent staining and moisture infiltration, but the core installation remains stable. For a bathroom refresh where you're keeping existing tile but freshening other surfaces, our guide on bathroom updates without touching tile shows how much impact you can gain without any tile work at all.
3-7 years
Typical peel-and-stick lifespan (ideal conditions)
Industry installation guides generally place peel-and-stick vinyl tile performance at 3-7 years in dry, light-traffic environments before adhesion or surface wear becomes noticeable.
24-72 hrs
Thinset and grout cure window
Most thinset manufacturers specify a 24-hour cure before grouting, and grout typically requires another 24-72 hours before exposure to regular moisture or foot traffic.
$50-$150
Typical tool and consumable add-on cost for traditional tile
Beyond tile itself, a standard DIY installation requires thinset, grout, spacers, and often a rented wet saw - costs that peel-and-stick projects largely avoid.
Cost Reality and What You're Trading Off
Peel-and-stick tile typically runs $1-$4 per square foot for vinyl-based options, putting a 30-square-foot backsplash at roughly $30-$120 in materials. Tool costs are minimal if you already own a utility knife and ruler. Traditional ceramic tile starts around $1-$3 per square foot at similar quality, but thinset, grout, spacers, and a rented wet saw can add $50-$150 to a comparable project. The materials cost is often similar - the real trade-off is time and permanence.
What you're gaining with traditional tile is a surface that can be refinished, regrouted, or repaired tile by tile. What you're gaining with peel-and-stick is reversibility and speed. That trade-off is real and worth naming honestly: peel-and-stick is a better weekend project, while traditional tile is a better long-term investment. The same kind of honest trade-off applies when choosing between wall treatments - our piece on repainting vs. wallpapering an accent wall walks through a similar decision framework.
Cost estimates reflect general market ranges and will vary by region, retailer, and product grade. Always gather current quotes before budgeting your project.
The content on this site is for informational purposes only and is not a substitute for professional advice. Always consult a qualified professional for guidance specific to your situation.