

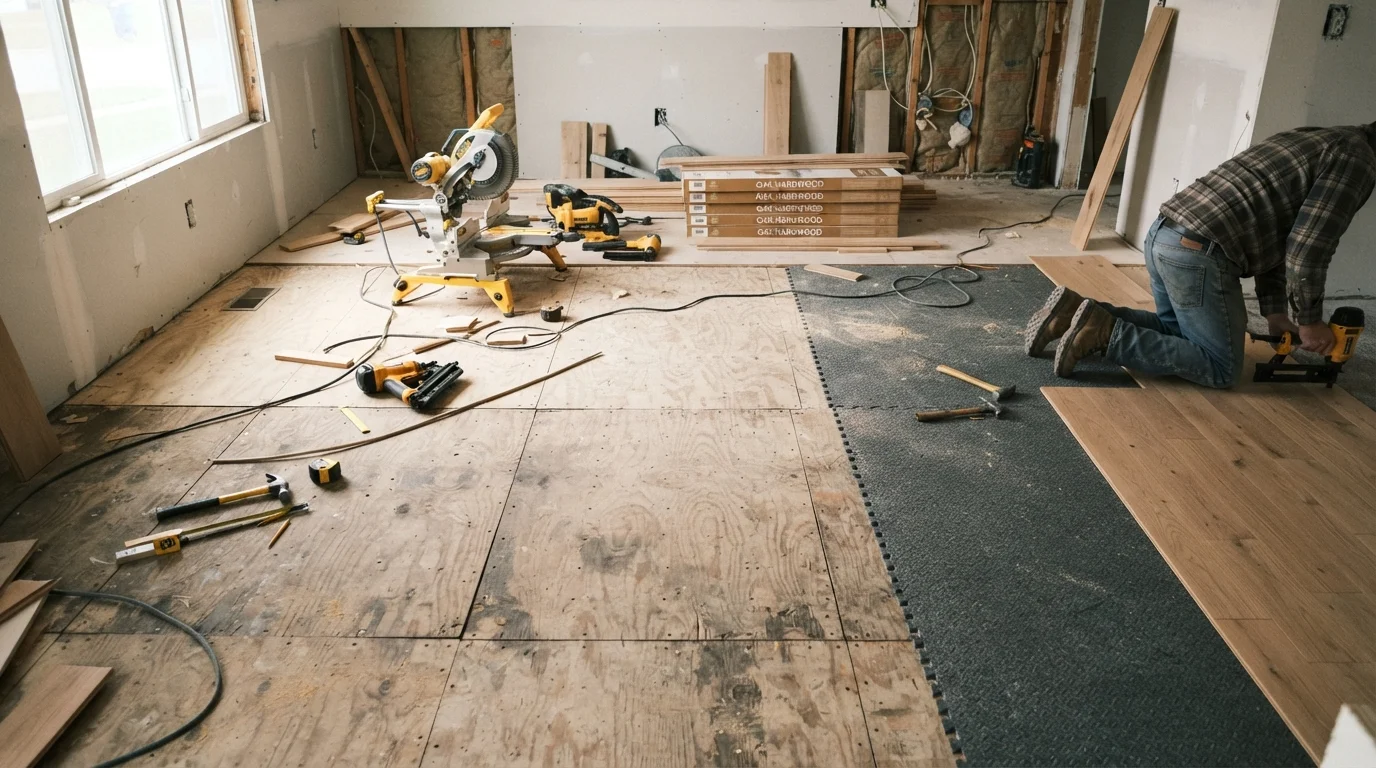
The Math That Makes Cheap Subfloor Expensive
Subfloor sits beneath everything visible - tile, hardwood, LVP, carpet - which makes it easy to treat as an afterthought. The logic seems sound: spend less on what no one sees, save more for what they do. But the subfloor is a structural layer, not a cosmetic one, and its failure cascades upward into every finish material layered on top of it.
When subfloor panels deflect too much underfoot, grout cracks. When moisture infiltrates low-grade wood composites, they swell and delaminate - pushing up tile edges and warping hardwood. Replacing a failed subfloor after flooring is already installed means paying for demo, disposal, replacement material, and reinstallation of the finish floor itself. A panel upgrade that might cost an additional $0.30-$0.80 per square foot at purchase can easily prevent repair bills running into the thousands.
For a fuller picture of how per-square-foot pricing obscures real costs, see our breakdown of true installed cost.
Choosing panel thickness based on price alone rather than joist spacing and finish floor requirements.
Why it happens: Thinner panels carry a lower sticker price, and the performance difference isn't visible until the floor is finished and in use.
Using interior-grade panels in moisture-prone areas like bathrooms, mudrooms, or over crawl spaces.
Why it happens: Interior-grade OSB or plywood is significantly cheaper and widely stocked, making it the default grab at the lumber yard without considering environment.
Skipping the flatness check and fastener schedule, leading to squeaks and movement shortly after installation.
Why it happens: DIYers often focus on getting panels laid quickly and underestimate how much fastener spacing and surface flatness affect long-term performance.
Failing to acclimate panels or account for expansion gaps, causing buckling after installation.
Why it happens: Wood composites expand with humidity changes, and skipping acclimation or gaps feels like an unnecessary delay when you're eager to finish a project.
The Specs That Separate Adequate From Problematic
Most subfloor problems trace back to three overlooked specifications:
- Thickness: Standard residential subfloor is 3/4" tongue-and-groove plywood or OSB. Thinner panels - especially 1/2" or 19/32" - are sometimes substituted on cost grounds but don't meet deflection tolerances required by most finish floor manufacturers, and may void flooring warranties.
- Span Rating: Panels carry a stamped rating (e.g., 48/24) indicating maximum rafter and joist spacing they can bridge without excessive flex. Mismatching the panel rating to actual joist spacing is a frequent and expensive mistake.
- Moisture Resistance: Exposure 1-rated plywood or moisture-resistant OSB cost modestly more than interior-only grades but perform significantly better in kitchens, bathrooms, and climates with seasonal humidity swings.
Budget decisions that ignore these specs often create the exact scenario described in our guide to hidden weekend renovation costs - hidden expenses that dwarf the original material savings.
3-5×
Cost multiplier for post-installation subfloor repair
Industry estimates from flooring contractors consistently show that repairing subfloor after finish floors are installed costs several times the original material upgrade expense.
3/4"
Minimum subfloor thickness for most hardwood installs
Most major hardwood and engineered flooring manufacturers specify at least 3/4-inch subfloor thickness in their installation and warranty guidelines.
Before You Buy: Planning and Compliance Steps
Subfloor replacement - especially full-room removal - often triggers local building code requirements. Many jurisdictions require a permit when structural decking is replaced, and inspectors verify span ratings, fastener schedules, and moisture barriers. Skipping this step doesn't just risk fines; it can create disclosure problems when you sell.
Permits Are Not Optional for Structural Decking
Full subfloor replacement is considered structural work in most US jurisdictions and commonly requires a building permit and inspection. Working without one can result in fines, required tear-out, and complications during home sale. Contact your local building department before starting - requirements vary significantly by municipality and project scope.
Calculate your actual material need carefully. Over-ordering by even 10% on 500 square feet adds meaningful cost, while under-ordering means additional delivery or pickup trips that eat time and money. Our article on reducing material waste in renovations covers this planning discipline in detail.
For broader context on where DIY savings are real versus where they can backfire, this look at common DIY cost myths is worth reading before finalizing your plan. If your project reveals damaged joists or structural concerns beneath the subfloor, stop work and consult a licensed structural contractor - that work is outside DIY scope and is often regulated.
This article is for informational purposes only. Always verify local building codes and permit requirements with your local authority before beginning any structural flooring work.
The content on this site is for informational purposes only and is not a substitute for professional advice. Always consult a qualified professional for guidance specific to your situation.