

Why This Approach Works
Bathroom remodels earn their reputation for blowing budgets and timelines precisely because plumbing and tile are involved. Demo alone can take days, and any work touching supply lines or drain stacks typically requires permits and a licensed plumber in most jurisdictions. Skipping those elements entirely isn't a compromise - it's a strategic constraint that forces you to focus on the surfaces people actually see and touch.
The four highest-impact, no-plumbing, no-tile levers in any bathroom are: wall paint, light fixtures and vanity hardware, the mirror or mirror frame, and trim and caulk lines. Together they account for the vast majority of what registers as "updated" to a visitor - or a potential buyer. For a realistic sense of where weekend project costs land before you start shopping, see the real costs behind a budget weekend renovation.
This guide sequences those four tasks in the order that protects your work - paint first, hardware last - so nothing gets damaged during a later step.
What You'll Need Before You Start
Gather everything before Saturday morning. Hunting for painter's tape mid-project burns time and breaks momentum.
What you will need
Bathroom-grade semi-gloss or satin paint
Provides moisture resistance and a cleanable finish suited for bathroom humidity levels.
Angled sash brush and small roller
The brush handles trim and corners; the roller speeds up flat wall coverage.
Painter's tape (2-inch)
Protects trim, fixtures, and the ceiling line during wall painting.
Caulk gun and paintable or white silicone caulk
Re-seals the gap between vanity, trim, and wall for a clean finished edge.
Screwdriver set and adjustable wrench
Required for removing and installing cabinet hardware, towel bars, and light fixtures.
Stud finder and wall anchors
Ensures mirror and towel bar mounts hit solid backing or are properly anchored in drywall.
Mirror frame kit or peel-and-stick frame molding
Adds a finished frame to a builder-grade frameless mirror without replacing it.
Sandpaper (120-grit and 220-grit)
Scuffs glossy surfaces for better paint adhesion and smooths any dried drips between coats.
Step-by-Step: The Weekend Refresh
Follow these steps in order. Resist the urge to jump ahead while paint is drying - use that time to prep the next stage instead. If you want a structured framework for mapping tasks against drying windows across the full two days, planning your weekend renovation timeline covers exactly that.
Prep and prime the walls
Remove switch plates and outlet covers. Apply painter's tape along the ceiling edge, around the vanity mirror, and at the floor trim. Lightly sand any glossy patches on the existing wall surface with 120-grit sandpaper, then wipe down with a damp cloth. Allow to dry completely before applying primer. One coat of a quality primer-and-paint combination product is usually sufficient in a bathroom; a separate primer coat is worth adding if you're making a significant color change.
Paint the walls (two coats)
Apply the first coat using a small roller for wall fields and the angled brush for edges, corners, and around fixtures. Work top to bottom. Let dry for the full time listed on the paint label - typically 2 to 4 hours - before applying the second coat. Rushing this step is the most common cause of peeling in high-humidity rooms. Once the second coat is dry, carefully remove the painter's tape at a 45-degree angle to avoid pulling paint with it.
Replace or refresh cabinet hardware
Remove existing drawer pulls, cabinet knobs, and towel bars. Note the hole spacing (center-to-center measurement) before purchasing replacements - matching this dimension avoids patching old holes. Install new hardware using the included screws, checking alignment with a small level. For a deeper look at measuring, selecting, and installing hardware confidently, see cabinet hardware: the smallest change with the biggest return.
Frame or replace the mirror
Builder-grade frameless mirrors are one of the easiest targets for visual improvement. A peel-and-stick frame molding kit - available in a range of profiles and finishes - can be cut to size with a miter box and applied directly to the glass edge. Alternatively, if the mirror is small enough, replace it entirely with a framed unit. Use a stud finder to locate solid backing, and use appropriate wall anchors if studs don't align with your mounting points.
Re-caulk the vanity and trim lines
Old caulk around the vanity base, backsplash edge, and trim is often yellowed or cracked and undercuts an otherwise-fresh room. Use a caulk removal tool or utility knife to strip the old bead cleanly. Wipe the surface dry, then apply a thin, steady bead of white silicone or paintable caulk. Smooth with a dampened finger or caulk tool, and allow to cure for at least 24 hours before exposing to water.
Update the light fixture
Switch off the circuit at the breaker panel - not just the wall switch - before touching any wiring. Remove the existing fixture and confirm the wiring connections (typically black to black, white to white, ground to ground) match the new fixture's requirements. Most vanity bar fixtures are direct replacements. If the new fixture's canopy covers the existing wall box, no patching is needed. Restore power only after all connections are secured and the fixture is fully mounted.
Storage and Finishing Touches
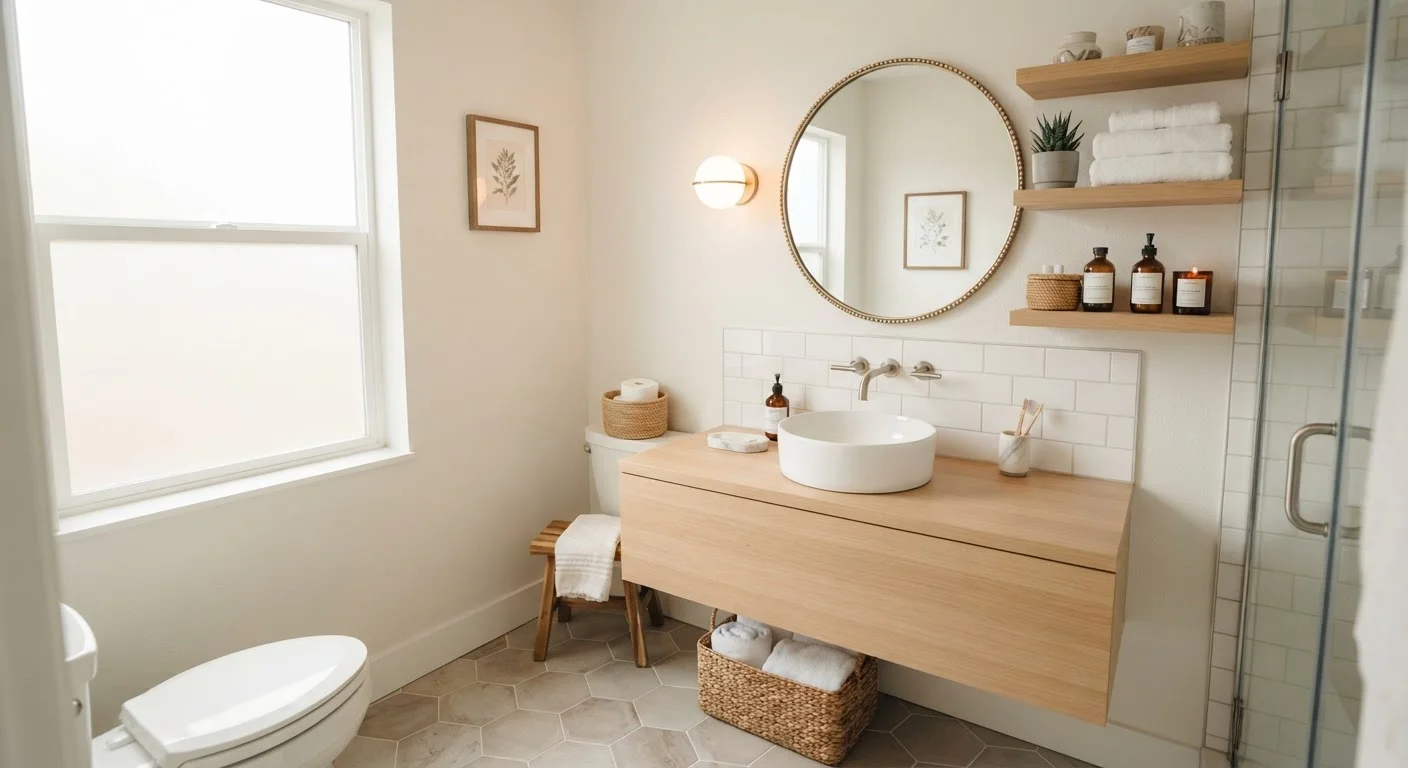
Once paint is fully cured and hardware is in place, the finishing layer is organization and accessories. A clutter-free bathroom reads as larger and cleaner, regardless of its actual square footage. Swap out mismatched towel sets for a consistent color palette - two coordinating tones work better than four random ones. Add a small tray or dish on the vanity to corral everyday items.
If storage is genuinely limited, that's a separate project worth addressing deliberately. Bathroom storage on a tight timeline breaks down which solutions - from over-door organizers to shallow recessed shelving - are actually worth the effort in a small space.
These upgrades, taken together, represent the kind of weekend work that adds long-term home value - not just a cosmetic lift that fades in two years.
The Towel and Accessory Reset
Matching towels in one or two coordinating tones - hung consistently - signal intentional design more than almost any other small detail. Replace the soap dispenser, toothbrush holder, and tissue cover as a set if they're visibly mismatched. The total cost is modest, but the effect on perceived tidiness and cohesion is significant.
The content on this site is for informational purposes only and is not a substitute for professional advice. Always consult a qualified professional for guidance specific to your situation.