

Summary
22 items · 45-90 minutes of planning time before work begins
Why Most Weekend Projects Run Over - and How Planning Fixes It
The typical weekend renovation doesn't fail because the work is too hard. It fails because Saturday morning starts with a hardware store run, a missing tool, and a drying time that nobody accounted for. By Sunday evening, the project is half-done and Monday arrives anyway.
A structured timeline changes that equation. When you know exactly when paint needs to go on, how long grout takes to set, and what can run in parallel, you stop losing hours to guesswork. This checklist walks you through building that timeline - before you pick up a single tool.
For a room-specific example of this approach in practice, see our step-by-step living room weekend plan. And if you're still deciding which project deserves your weekend, prioritize projects that add lasting value first.
Thursday-Friday: Project Definition
Friday Evening: Prep and Staging
Saturday Morning: Project Launch
Saturday Afternoon to Evening: Active Build Phase
Sunday: Completion and Wrap-Up
Tools, Materials, and the Friday Night Rule
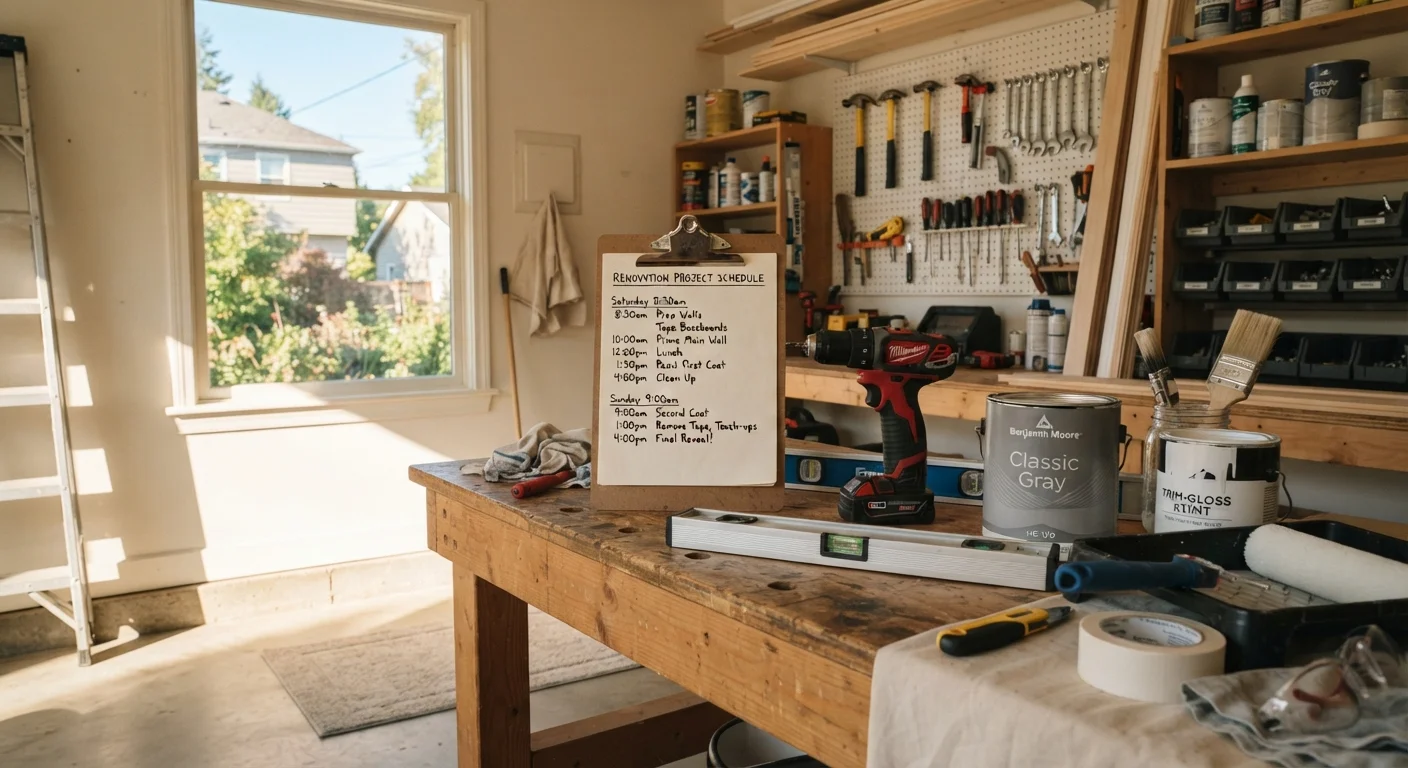
Every hour lost on Saturday morning to locating a stud finder or running out to buy painter's tape is an hour stolen from your actual project window. The Friday night rule is simple: treat the evening before your project as a paid work session. Stage all tools in the project space, verify material quantities, and do any store runs that evening.
Not sure what belongs in your core toolkit? Our guide on what to own, borrow, or skip entirely breaks down exactly that. For material sourcing without overspending, the Materials & Savings hub is worth a look before your store run.
Stud finder
Locates wall studs for secure anchoring of shelving, hardware, and fixtures.
Cordless drill/driver
Drives screws, installs hardware, and handles light demolition tasks throughout the project.
Painter's tape
Protects trim, ceilings, and adjacent surfaces during painting or finishing work.
Drop cloths
Covers floors and furniture to prevent damage from paint drips, dust, or debris.
Tape measure
Used for accurate measurement before cutting or installing any material.
Level (24-inch)
Ensures shelves, frames, tile lines, and fixtures are installed straight.
Putty knife or scraper
Preps surfaces by removing old caulk, loose paint, or adhesive residue before new material is applied.
Shop vacuum
Clears dust and debris between prep and finishing phases, keeping the workspace safe and surfaces clean.
Safety, Permits, and Knowing When to Stop
Weekend timelines are a practical framework - not a reason to rush past safety checkpoints. Tasks involving electrical panels, load-bearing walls, gas lines, or plumbing connections to the main supply are regulated work in most jurisdictions. Attempting them without permits or a licensed professional isn't a time-saver; it's a liability and a safety hazard.
Before finalizing your task list, verify with your local building department whether your project scope requires a permit or inspection. If any task on your list touches electrical, structural, or gas systems, plan to hire a licensed trade for that specific element and schedule accordingly - don't absorb it into your DIY weekend slot.
Stop Before You Start on Regulated Work
Electrical, gas, structural, and main-line plumbing tasks are regulated in most U.S. jurisdictions and commonly require a permit and licensed professional - regardless of your skill level. Attempting this work without proper authorization puts your safety, your home's insurability, and your resale value at risk. Always verify with your local building department before your project begins, and factor licensed trade scheduling into your timeline if any of these elements are involved.
If this is your first time tackling a weekend renovation, our ground-up guide for beginners covers tool basics, project selection, and how to recognize when a job exceeds safe DIY scope.
The content on this site is for informational purposes only and is not a substitute for professional advice. Always consult a qualified professional for guidance specific to your situation.