

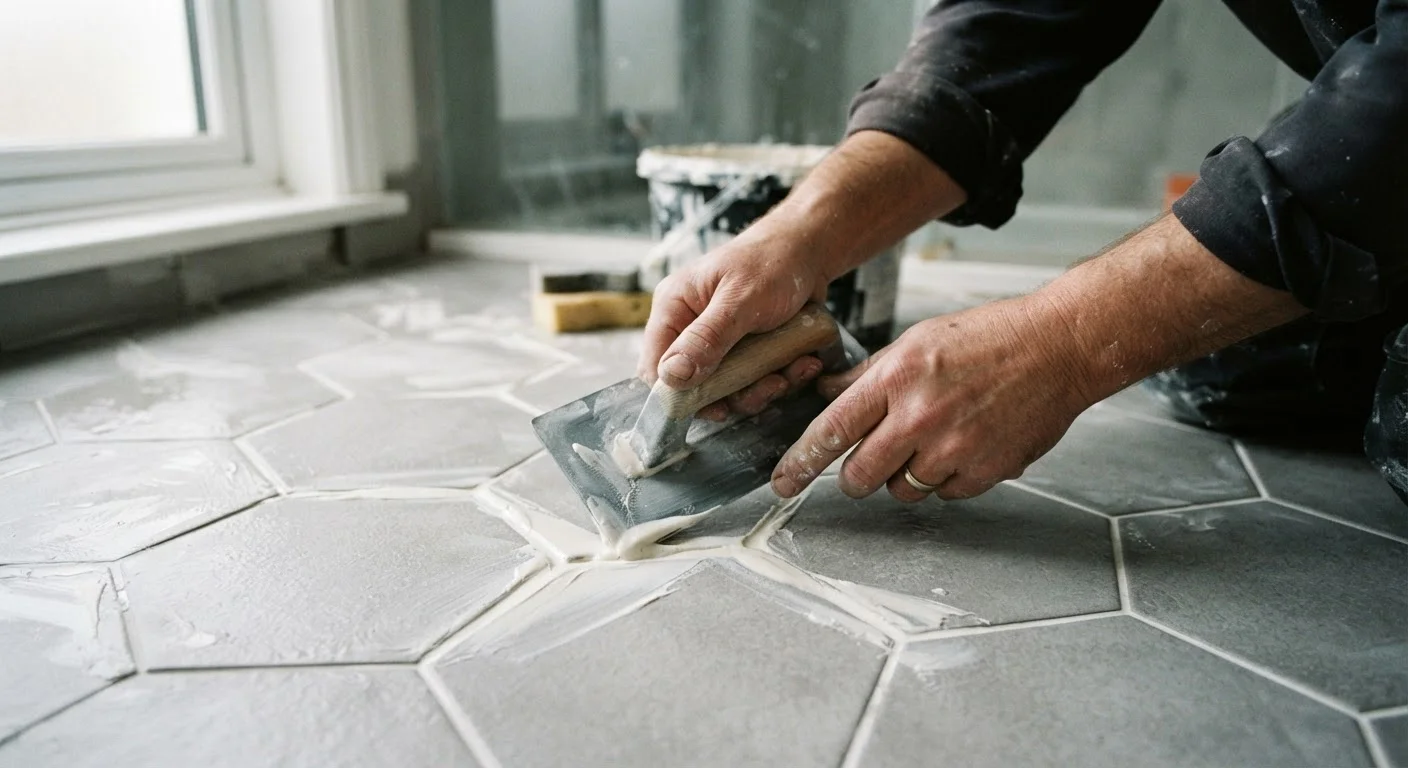
Why Grout Trips Up First-Timers
Grout looks like the easy part of a tile job. You apply it after the hard work is done, wipe it off, and you're finished. That assumption is exactly why so many DIY tile projects look great for six months and then start cracking, staining, or crumbling at the joints.
The mechanics of grout are straightforward, but the timing and consistency windows are tight. Mix it wrong, rush a step, or skip the sealer, and you're redoing the work sooner than you planned. This is especially true in bathrooms and kitchens, where moisture and foot traffic test grout daily.
The mistakes below are the ones that show up most often in first-timer tile jobs. Understanding why they happen makes them easy to avoid. For broader context on tile and floor repair, see our complete flooring repairs guide.
Mixing grout to the wrong consistency - usually too wet.
Why it happens: First-timers often add water until the grout becomes easy to spread, not realizing that a soupy mix weakens the final cure. Bag instructions are easy to misread or ignore.
Using the wrong grout type for the joint width.
Why it happens: Many beginners buy whatever grout is available without checking joint specifications. Unsanded grout used in joints wider than 1/8 inch will shrink and crack as it cures.
Waiting too long to clean grout haze off tile faces.
Why it happens: First-timers often finish grouting an entire floor or wall before starting cleanup, not realizing the haze sets firm within 30-60 minutes depending on temperature and humidity.
Applying sealer too soon after grouting.
Why it happens: Enthusiasm to finish the job leads people to seal within hours of grouting. Sealer applied before the grout fully cures traps moisture inside the joint, leading to discoloration and weakened adhesion.
Skipping grout sealer entirely in wet or high-traffic areas.
Why it happens: Sealing is often seen as optional or cosmetic. Many first-timers skip it to save time or cost, not realizing unsealed grout is highly porous and absorbs water, soap scum, and food stains rapidly.
Using too much water when cleaning, which washes pigment out of joints.
Why it happens: A soaking-wet sponge feels like the fastest way to remove grout residue. In practice, excess water dilutes the grout mix in the joint before it has cured, producing uneven, lighter-colored lines.
How to Recover When Things Go Wrong
Even with the best preparation, grout problems happen. Haze sets harder than expected, a joint cracks after curing, or the color dries several shades lighter than the sample chip. Knowing when a surface fix is enough - and when it isn't - saves significant time and money.
Light haze on unglazed or matte tile can often be lifted with a grout haze remover formulated for the tile type. Always test in a hidden corner first. Deeper discoloration or crumbling joints typically require removing the old grout with an oscillating multi-tool and a grout removal bit, then re-grouting cleanly. Our detailed article on when re-grouting is enough walks through that assessment step by step.
Recurring cracks in the same joint often point to substrate movement rather than a grout application error. If cracks reappear after repair, the underlying cause needs attention before the surface is touched again. See why grout keeps cracking for a diagnostic breakdown.
Don't Use Household Cleaners to Remove Grout Haze
Vinegar, bleach, and all-purpose sprays can etch certain tile finishes and degrade fresh grout before it fully cures. Always use a cleaner specifically formulated for grout haze removal, and verify it's safe for your tile type - especially natural stone, which is sensitive to acidic cleaners. When in doubt, test in an inconspicuous area first.
If you're also working with mortar on the same project, many of the same consistency and timing principles apply. The common mortar mixing mistakes article covers those pitfalls in parallel detail.
The content on this site is for informational purposes only and is not a substitute for professional advice. Always consult a qualified professional for guidance specific to your situation.