

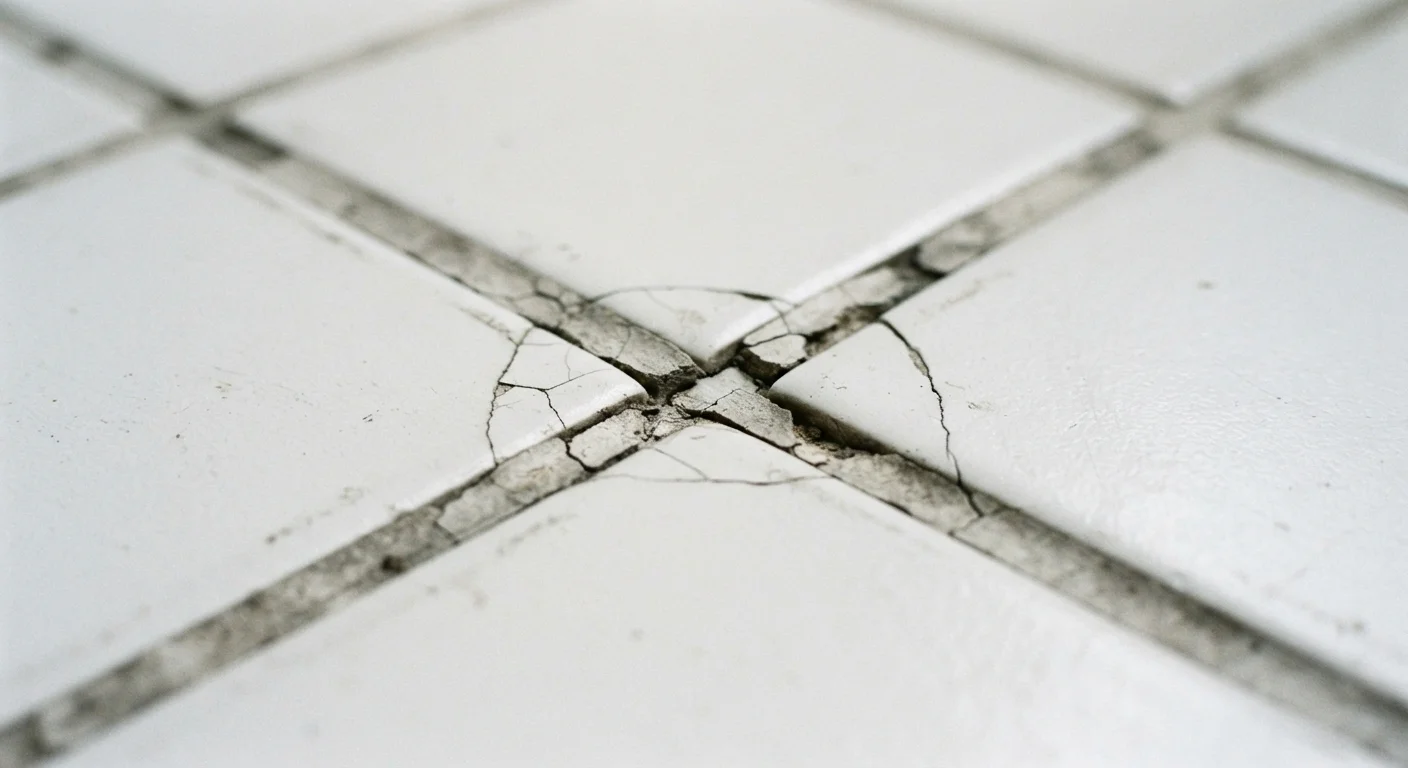
The Real Reason Grout Fails
Grout cracks frustrate DIYers because the damage shows up weeks or months after a job that looked perfect on the day. It's tempting to blame the product - wrong type, cheap brand, bad batch. In reality, the grout itself is almost never at fault. The causes almost always trace back to what happened before the grout was ever mixed: the substrate, the tile setting, the spacing, and the curing environment.
Understanding why grout fails starts with recognizing what grout actually is. It's a filler, not a structural adhesive. It fills gaps between tiles and sheds water, but it has no meaningful ability to absorb movement. Anything that causes the surface beneath it to shift - even slightly - will telegraph as a crack in the grout line. That's the core principle behind most of the mistakes below.
If you've also battled recurring cracks in other home surfaces, the underlying logic is similar: see why drywall cracks keep coming back for a parallel look at how movement drives surface failure.
Common Mistakes That Lead to Cracked Grout
The mistakes below each have a distinct cause and a clear fix. Work through them before you regrout - otherwise you're patching over a problem that hasn't gone away.
Installing tile over a substrate that has too much flex or movement.
Why it happens: DIYers often tile directly over an existing floor or wall without checking whether the substrate is rigid enough. Wood subfloors in particular can deflect under load.
Mixing grout too wet to make it easier to spread.
Why it happens: Stiff grout feels harder to work with, so many beginners add extra water for a smoother consistency. This seems harmless in the moment but significantly weakens the finished product.
Skipping expansion joints in larger tiled areas or at transitions between materials.
Why it happens: Expansion joints interrupt the visual flow of a tiled surface, so many installers omit them. But tile assemblies expand and contract with temperature and humidity changes.
Grouting too soon after setting the tile.
Why it happens: Impatience is the main driver. The mortar or mastic beneath the tiles looks set, and the urge to finish the job is strong.
Leaving grout joints too narrow for the tile type or size being used.
Why it happens: Narrow grout lines look sleek, and many DIYers choose the smallest spacers available without checking whether they suit the tile format or type.
Failing to dampen porous tiles or dry substrates before grouting.
Why it happens: This step is easy to overlook, especially when the surrounding environment feels dry and the installer wants to move quickly.
If you're also dealing with broader grout application questions, our guide on everything first-timers get wrong about grout covers consistency, timing, and sealing errors in depth.
Before You Regrout: What to Check First
Regrouting is straightforward when the root cause is fixed. If the substrate still flexes, if expansion joints are still missing, or if moisture is still wicking up from below, the new grout will crack on the same timeline as the old grout. Resist the urge to skip diagnosis and go straight to the repair.
Press on tiles gently around the cracked area. Any tile that moves, clicks, or sounds hollow when tapped has likely debonded from the substrate - that tile needs to be reset before grout goes in. Check the subfloor beneath: a floor that deflects more than 1/360th of its span under load is generally considered too flexible for ceramic or porcelain tile without reinforcement.
For floors, also confirm the subfloor thickness is adequate for the tile size you're using. Large-format tiles (generally 15 inches or larger) are particularly unforgiving of any flex. If you need to remove a damaged tile carefully to inspect underneath, the process of replacing a cracked or broken floor tile without disturbing the surrounding grid walks through how to do that without collateral damage.
1/360
Maximum subfloor deflection for ceramic tile
The Tile Council of North America's installation handbook states that floor systems should deflect no more than L/360 of the span length under live load to support a durable tile installation.
8-12 ft
Recommended spacing for movement joints
Industry installation standards generally recommend placing movement joints no more than every 8 to 12 feet in each direction across a tiled field area, and always at changes of plane.
Once you've confirmed the substrate is stable, remove all old grout to a depth that allows fresh grout to bond properly - typically at least two-thirds of the tile thickness. Applying new grout over old, crumbling grout is one of the most reliable ways to repeat the same failure.
Always verify local building codes and manufacturer installation guidelines before tiling over existing substrates, particularly in wet areas. When structural subfloor repairs are needed, consult a qualified contractor.
The content on this site is for informational purposes only and is not a substitute for professional advice. Always consult a qualified professional for guidance specific to your situation.