

Is Re-Grouting the Right Fix for Your Floor?
Before reaching for a grout saw, you need to honestly assess whether re-grouting will actually solve the problem - or just delay a bigger one. Re-grouting is appropriate when the grout is visibly crumbling, deeply stained beyond cleaning, or has shrunk away from tile edges, but the tiles themselves remain flat, firmly adhered, and uncracked.
Press firmly on individual tiles across the affected area. Any tile that flexes, clicks, or sounds hollow when tapped has lost its bond with the substrate beneath. Re-grouting hollow or loose tiles traps moisture and accelerates failure - those tiles need to be reset before any grout work begins. See our guide on replacing individual damaged floor tiles if you find tiles that need resetting.
Also examine the pattern of grout failure. If cracks are appearing in consistent lines - especially across a room's midpoint or along a wall - this often points to subfloor movement, inadequate expansion joints, or a substrate that was never properly prepared. Re-grouting in these situations produces grout that will crack again, often within months. For a deeper understanding of what drives recurring cracks, learn what's actually causing your grout to crack before committing to any repair.
If your assessment confirms that tiles are solid, the subfloor is stable, and the grout failure is genuinely superficial, you're ready to proceed.
What you will need
Choosing the Right Grout and Tools
Matching grout type and joint width matters more than most beginners expect. Unsanded grout is formulated for joints narrower than 1/8 inch; sanded grout handles anything wider. Using the wrong type leads to shrinkage, cracking, or joints that never fully cure. For joints wider than 1/2 inch, consider an epoxy-based grout, which is significantly more durable and stain-resistant, though it demands faster, more deliberate working technique.
Colour matching deserves careful attention, particularly in older floors where existing grout has shifted in tone with age. Manufacturers' sample chips rarely match cured, aged grout precisely. Our guide to colour matching repaired floors walks through practical strategies for achieving a consistent result across new and existing material.
Oscillating multi-tool with grout blade
Efficiently removes old grout from joints without chipping surrounding tile edges.
Manual grout saw
Used for small repairs or corners where a power tool cannot reach safely.
Rubber grout float
Presses grout into joints and scrapes excess from tile faces during application.
Bucket and margin trowel
Used for mixing grout to the correct consistency.
Large hydra sponge
Cleans haze from tile surfaces during the finishing stage without disturbing joints.
Shop vacuum
Clears grout dust and debris from open joints before new grout is applied.
Penetrating grout sealer
Applied after curing to protect finished joints from moisture and staining.
Safety glasses and dust mask (N95)
Protects eyes and lungs from grout dust during removal and mixing.
How to Remove Old Grout Safely and Thoroughly
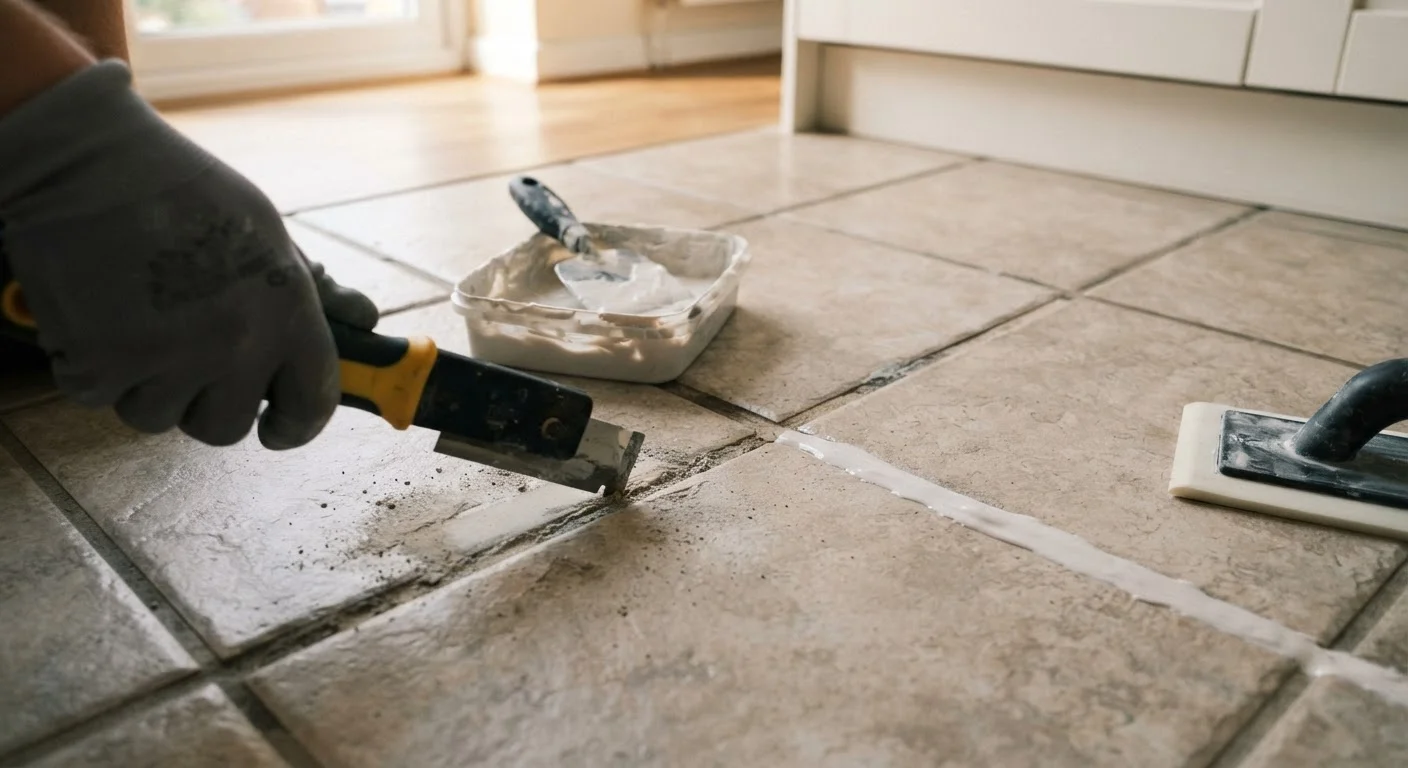
Thorough removal is the single step most DIYers undercut. New grout applied over old grout, even thin remnants, bonds poorly and tends to crack or delaminate early. The goal is to remove grout to a depth of at least 2-3mm - roughly two-thirds of the joint depth - while leaving tile edges completely intact.
An oscillating multi-tool with a grout removal blade is the most efficient option for larger areas; a manual grout saw works well for small repairs or tight corners. Work slowly, keeping the tool aligned with the joint. Tile edges, especially on glazed ceramic, chip easily if the blade drifts. Vacuum the joints thoroughly after removal to clear all dust and debris - any remaining particles compromise the bond of the new grout.
If you notice that the thinset (tile adhesive) beneath any tiles has crumbled or pulled away during this process, stop and reassess. Disturbed adhesive that wasn't previously causing problems may now leave a tile unsupported.
Mixing and Applying New Grout
Mix grout to a peanut-butter-like consistency - firm enough to hold shape but workable enough to press into joints without air pockets. Add water to powder gradually; the reverse makes lump-free mixing difficult. Let the mixture slake (rest) for five minutes after initial mixing, then stir once more before use. Do not add more water after slaking.
Dampen the open joints
Lightly mist the cleaned joints with water before applying grout. Dry joints absorb moisture too quickly from the grout mix, weakening the bond and causing premature cracking. The substrate should be damp but not puddled.
Load the float and work in small sections
Scoop a manageable amount of grout onto the rubber float. Hold the float at a roughly 45-degree angle to the tile surface and sweep diagonally across the joints, pressing firmly to pack grout fully into each gap. Work in 3-4 square foot sections to maintain control before the grout begins to set.
Scrape excess from tile faces
Once joints in a section are filled, hold the float at a steeper angle (close to 90 degrees) and use it like a squeegee to remove as much excess grout as possible from tile faces. The less haze left on tile, the easier cleanup will be.
Initial sponge wipe
Wait 10-20 minutes after filling a section - until a light haze begins forming on tile surfaces - then wring out a damp (not wet) sponge and wipe diagonally across tiles. Rinse the sponge frequently. The goal at this stage is to level the grout surface and remove bulk haze, not to achieve a perfectly clean tile.
Final buff and haze removal
After the grout has firmed up - typically 30-60 minutes after the initial wipe - buff remaining haze from tile faces using a clean, dry microfibre cloth. Stubborn haze on glazed tile can be removed with a damp cloth and light circular pressure. On textured or matte tiles, residue may require a dedicated grout haze remover applied carefully per product instructions.
Common first-timer errors during application - including wrong water ratios and premature sealing - are covered in detail in our companion piece: everything beginners get wrong about grout.
Finishing, Sealing, and What to Watch For
Allow grout to cure fully before sealing - typically 48 to 72 hours for cement-based grouts, though manufacturer guidance should always take precedence. Sealing too early traps moisture inside the joint and can cause discolouration or weakened cure. Apply a penetrating grout sealer using a small foam applicator or brush, keeping product off tile faces where possible. Wipe excess within the time window specified on the product label.
Inspect the finished joints after 24 hours of curing for any hairline cracks, pinholes, or sections that appear powdery - these suggest mixing or application issues that should be addressed before sealing. Minor surface imperfections can sometimes be corrected by dampening the grout slightly and smoothing with a gloved fingertip, but significant cracking at this stage usually means the joint needs to be redone.
If grout cracks reappear within weeks of a completed re-grout job, the cause is almost certainly structural. Review subfloor deflection, look for missing expansion joints along walls, or consult a flooring professional before attempting another surface repair.
The content on this site is for informational purposes only and is not a substitute for professional advice. Always consult a qualified professional for guidance specific to your situation.