

Summary
22 items · 30-75 minutes
Why Assessment Comes First - Every Single Time
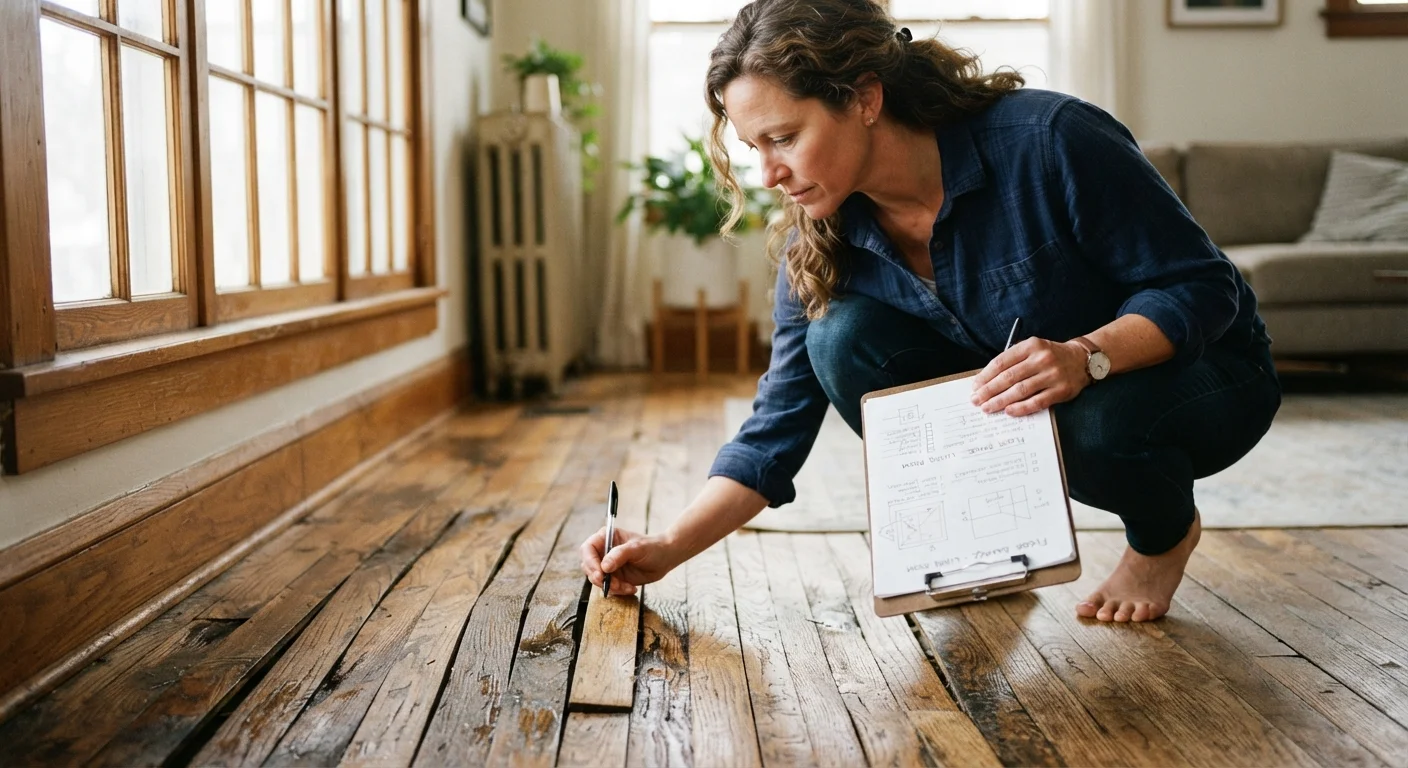
It's tempting to grab materials and get to work the moment you spot damaged flooring. But buying patch kits, replacement planks, or adhesives before you understand what you're dealing with is how homeowners end up making two trips to the hardware store - or worse, completing a repair that fails within a season.
This checklist walks you through a structured pre-repair assessment designed to answer three questions before you spend a dollar: What type of damage is it? What caused it? And how far does it actually extend? Getting those answers right shapes every decision that follows, from the tools you'll need to whether this is a project you should handle yourself at all.
For a broader picture of how assessment fits into the full repair workflow, see our guide to flooring repairs from start to finish - it covers how diagnosis connects to planning and execution across all major flooring types.
If you're a renter rather than an owner, the assessment process has additional considerations. Our article on floor repair responsibilities for renters clarifies which repairs are typically your responsibility and which require landlord involvement before you act.
Don't Skip the Root Cause Step
Repairing visible floor damage without identifying and fixing its underlying cause is one of the most common and costly DIY mistakes. If moisture, a plumbing leak, or a ventilation problem drove the damage, the same issue will destroy your new repair within months. Always resolve the source before touching the surface.
Structural and Mold Concerns Require Professional Evaluation
If your assessment reveals significant subfloor rot, active mold growth, or suspected pest damage to floor joists, stop and contact a licensed contractor or structural specialist. These conditions can affect the safety of the floor and the home's structural integrity. Working around them without proper remediation may violate local building codes and create liability.
How to Use This Checklist
Work through the checklist groups in order - the sequence is intentional. The visual survey establishes a baseline; damage type identification narrows your diagnosis; root cause investigation prevents repeat failures; and the subfloor assessment tells you whether you have a surface problem or a structural one.
Bring your tools with you during the walkthrough rather than making separate passes. A moisture meter, flashlight, and something to take notes with are all you need to complete 90% of this assessment. Use your phone camera liberally - photos taken now will be invaluable when you're comparing materials at the store or describing the problem to a contractor.
Pin-type moisture meter
Measures moisture content in wood flooring to confirm whether water intrusion is an active or recent underlying cause.
Coin or small hammer
Used to tap-test tile and stone floors for hollow spots indicating failed adhesive bonds.
Tape measure
Accurately measures the dimensions of damaged areas and total square footage for material calculations.
Flashlight or headlamp
Illuminates low-light areas including under cabinets, in crawl spaces, and along baseboards during inspection.
Notepad and pen (or notes app)
Records damage observations, measurements, and photographs systematically during the assessment.
Utility knife
Allows a small, careful test cut into carpet backing or vinyl edges to inspect what lies beneath the surface material.
Once you've completed the assessment, you'll have concrete data: damage type, probable cause, affected square footage, and a sense of whether the subfloor is sound. That's the point at which material shopping becomes straightforward. Our pre-purchase materials checklist can help you confirm dimensions, quantities, and compatibility before you commit to buying anything.
The Checklist
Initial Visual Survey
Damage Type Identification
Root Cause Investigation
Subfloor and Structural Assessment
Scope and Material Planning
Permits May Be Required for Subfloor Work
In many US jurisdictions, repairs that involve replacing or significantly altering structural subfloor components may require a building permit or inspection. Requirements vary by municipality, scope of work, and whether the home is owner-occupied or rented. Check with your local building department before beginning any work that goes beyond the surface flooring layer.
After completing this checklist, hardwood repairs are a common next step. See our guide to patching hardwood floors for step-by-step repair instructions once your assessment confirms the damage type and scope. If you're sourcing reclaimed wood to match older flooring, also review what to inspect before bringing reclaimed wood into your home - hidden moisture or pest issues in salvaged material can introduce new problems.
The content on this site is for informational purposes only and is not a substitute for professional advice. Always consult a qualified professional for guidance specific to your situation.