

Summary
22 items · 20-45 minutes
Why This Checklist Exists
Hanging wall decor feels like the fun part - and it is, once you've done the groundwork. Skip the prep, though, and you're looking at stripped anchors, crooked frames, or patch jobs that need their own checklist before you can paint over them. (Speaking of which, our guide to painting over patched walls walks you through exactly that fix.)
This checklist covers everything that should happen before your drill or hammer comes out - from identifying your wall material to double-checking rental rules. Run through it once and you'll hang with confidence every time.
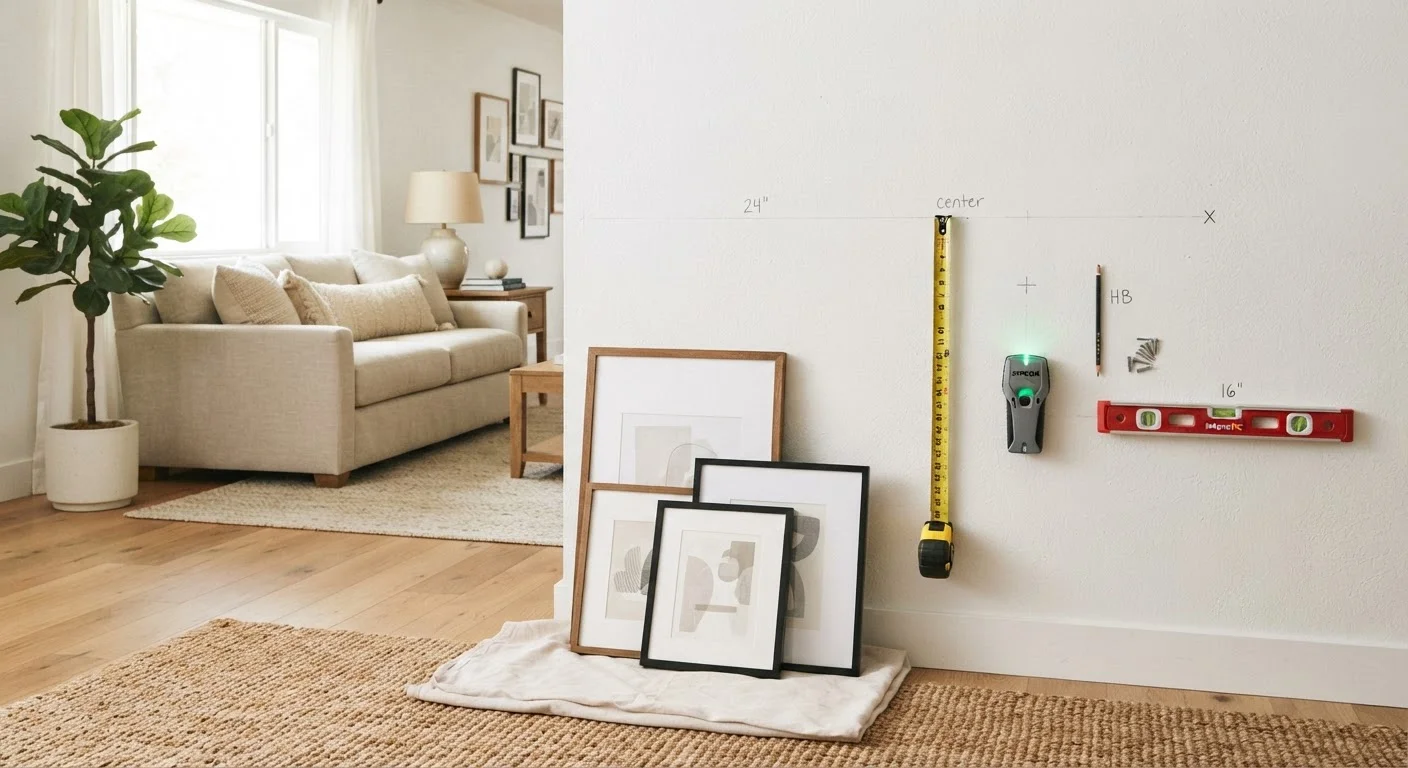
Stud Finder
Locates wall studs so you can anchor heavy pieces into solid framing rather than unsupported drywall.
Level (Bubble or Digital)
Ensures frames and shelves are hung straight - essential for any multi-point installation.
Measuring Tape
Used to calculate height, center placement, and distance between hanging points on the back of each piece.
Pencil
Marks anchor and nail positions lightly on the wall so they can be adjusted before drilling.
Live-Wire Detector or Multi-Scanner
Identifies electrical wiring and pipes behind the wall before you drill, preventing hazardous contact.
Painter's Tape
Used to mark stud locations temporarily and to create paper template mockups for gallery walls.
Kraft Paper or Newspaper
Used to trace frame outlines for gallery wall mock-ups before committing to nail positions.
The Full Pre-Hanging Checklist
Work through these groups in order. The first few items take only minutes but will shape every decision that follows - especially the hardware you buy and how you position each piece.
Know Your Wall
Locate Studs and Understand Load
Check Rental and Building Rules
Gather Tools and Plan Placement
Final Safety and Utility Check
If your project involves wall-mounted shelving or heavier storage units rather than decorative pieces, the same principles apply at a larger scale. Our garage wall storage and mounting guide explains load limits and when a professional is the right call.
Laying Out a Gallery Wall Before You Commit
Multi-piece arrangements deserve their own planning step. Trace each frame onto kraft paper or newspaper, cut out the shapes, and use painter's tape to stick them on the wall. Stand back, live with the layout for a day, then adjust positions freely - no holes yet. Mark your final nail or anchor spots through the paper templates with a pencil before removing them.
This approach also works beautifully for planning shelf arrangements or any grouping of mixed-media pieces. It's the same pre-build thinking we recommend in our organizer project planning checklist - measure, mock up, then commit.
Adhesive Strips Have Real Weight Limits
Damage-free adhesive hanging products are rated for specific maximum weights - often much lower than people assume. Overloading them can cause frames to fall suddenly, damaging the piece and the wall surface beneath. Always check the rated capacity on the product packaging and stay well within it. Heavier art and mirrors should be anchored into studs with appropriate hardware.
Once every item on this checklist is ticked off, the actual hanging goes faster than you'd expect. And if your walls need a refresh to complement the new arrangement, our room prep and color decision checklist is a great companion read before you crack open any paint.
This article is for general informational purposes only. Always follow manufacturer guidelines for hardware and anchors, verify local building codes where applicable, and consult a licensed professional for any structural or load-bearing concerns.
The content on this site is for informational purposes only and is not a substitute for professional advice. Always consult a qualified professional for guidance specific to your situation.