

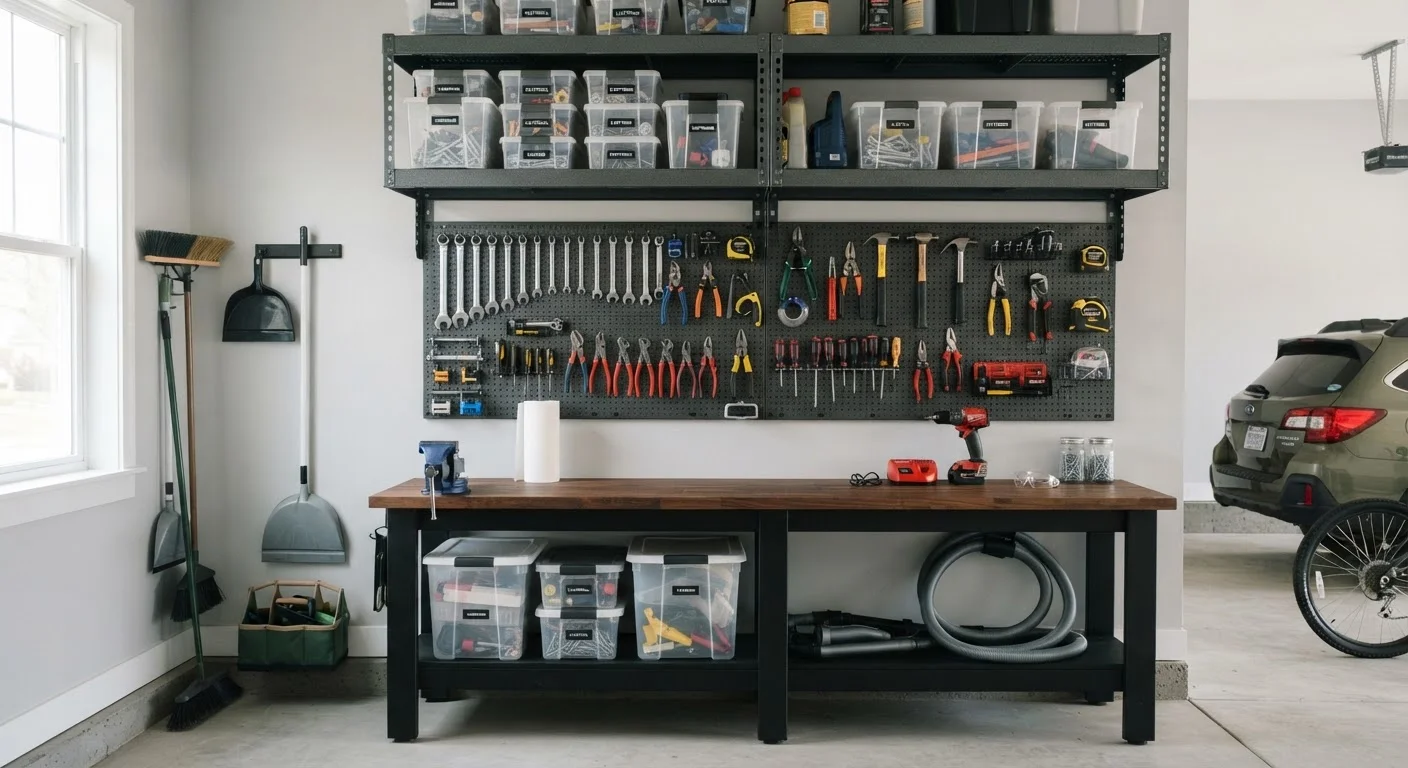
Understanding Your Garage Walls Before You Mount Anything
Garage walls come in several forms - drywall over wood studs, bare OSB (oriented strand board), poured concrete, concrete block (CMU), and in older homes, plain plaster. Each surface demands a different fastener strategy, and choosing the wrong one is the most common reason wall storage fails or pulls away under load.
Before purchasing any system, run a stud finder along the wall and mark every stud. In North American construction, studs are often - but not always - 16 inches apart. Older garages and walls adjacent to corners or windows frequently break that pattern. See common garage storage myths examined for more on why the "always 16 inches" assumption can lead you astray.
For concrete or block walls, you'll need a hammer drill and masonry anchors rated for the intended load. Drywall anchors alone are not adequate for heavy storage - they're suitable only for lightweight items like a single cord organizer or a light hook for a bicycle helmet. Always check the anchor manufacturer's rated load, and treat that number as an absolute ceiling, not a target.
What you will need
The Main Mounting Systems Compared
Three systems dominate DIY garage wall storage. Understanding their practical differences helps you choose the right fit before spending money.
Pegboard
Standard pegboard (typically 1/4-inch hardboard with 1-inch hole spacing) is inexpensive and highly flexible. Hooks, baskets, and shelves reconfigure in seconds. Its limitation is load: most standard pegboard is suited to lighter hand tools and accessories rather than heavy power tools or stacked bins. It must be mounted with a 1/2-inch standoff behind the panel so hooks engage properly. Compare pegboard, slatwall, and grid panel systems in detail before committing to one approach.
Slatwall Panels
Slatwall - the grooved panels common in retail stores - offers higher load ratings per bracket and a cleaner aesthetic. PVC slatwall resists moisture better than MDF versions, making it a smarter choice for non-climate-controlled garages. Heavier accessories like deep shelving or bike hooks mount securely when the panel itself is fastened into studs at every groove row that crosses a stud.
French Cleat Systems
A French cleat is a strip of plywood or aluminum cut at a 45-degree bevel. The wall strip accepts any cabinet, shelf, or tool holder cut to match. Because the cleat spans multiple studs, the load distributes broadly - this is generally the strongest DIY option for heavy storage like cabinet banks or large tool holders. Plywood cleats are typically cut from 3/4-inch material for rigidity. Organizing your garage into activity zones can help you decide which wall sections each system should occupy.
Step-by-Step: Installing a Basic Wall Storage System
Follow these steps for a standard pegboard or slatwall installation on a wood-stud drywall garage wall. Concrete walls follow similar logic but substitute masonry anchors and a hammer drill at each fastener location.
Map your studs and mark the mounting zone
Use a reliable stud finder to locate and mark every stud across your planned mounting area. Verify each find by driving a small finish nail at the mark - if it sinks into wood cleanly, you've confirmed the stud. Use painter's tape to flag stud centerlines vertically from floor to ceiling so they stay visible throughout the project.
Mark and level your top mounting line
Use a 4-foot level (or a laser level) to draw a horizontal reference line at the desired top edge of your panel. This line is your anchor - everything below it should be plumb and square. For slatwall, also mark horizontal lines at every stud crossing so you know exactly where fasteners will go.
Pre-drill and install the top row of fasteners
For drywall-over-stud walls, use 2.5-inch to 3-inch coarse-thread wood screws driven through the panel and drywall into the stud. Pre-drill to prevent splitting. For pegboard, first attach 1/2-inch furring strips to the studs, then screw the pegboard to those strips. Space fasteners no more than 16 inches apart horizontally along each row that hits a stud.
Secure remaining rows and check for rigidity
Work from top to bottom, fastening every row that crosses a stud. Once all screws are seated, push and pull the panel firmly in multiple directions. There should be zero flex or movement. Any panel section that moves when loaded with moderate pressure needs an additional fastener into the next nearest stud.
Load accessories and respect the weight limits
Add your hooks, shelves, and bins progressively. Distribute weight evenly across the panel rather than concentrating heavy items in one section. Consult the accessory manufacturer's rated load for each bracket or hook - a hook rated at 25 lbs means 25 lbs maximum per hook, not per row. Keep heaviest items at waist height or below so retrieval is safe and the load center of gravity stays low.
When to Call a Professional - No Exceptions
DIY wall storage is genuinely accessible for most homeowners, but several scenarios put it firmly in professional territory:
- Electrical proximity: If your planned mounting area is within 12 inches of a panel box, outlet, or conduit run, stop and consult a licensed electrician. Drilling blind into walls near wiring carries serious shock and fire risk.
- Gas lines: Garage walls sometimes conceal gas supply lines. If you're unsure of routing, contact your utility provider or a licensed plumber before drilling.
- Load-bearing walls: Adding heavy, fully-loaded cabinet banks to a load-bearing wall without structural assessment is not advisable. A structural engineer or licensed contractor can confirm whether your plan is safe.
- Heavy overhead systems: Ceiling-mounted storage platforms and motorized hoists involve structural load calculations that go beyond standard DIY scope.
For the spatial and safety decisions that shape a functional garage workspace more broadly, see setting up a safe home workshop. And before any drilling project, run through this pre-project wall checklist to catch overlooked variables.
Zone Your Wall Before You Install
Assign wall sections to specific activity categories - tools, garden supplies, sports gear, seasonal items - before mounting any hardware. This prevents you from realizing mid-project that the bike hooks are in the way of the workbench zone. A quick zone map on paper takes ten minutes and saves hours of rework.
This article provides general educational guidance only. Always verify local building codes, and consult a licensed professional for any work involving electrical systems, gas lines, or structural elements.
The content on this site is for informational purposes only and is not a substitute for professional advice. Always consult a qualified professional for guidance specific to your situation.