

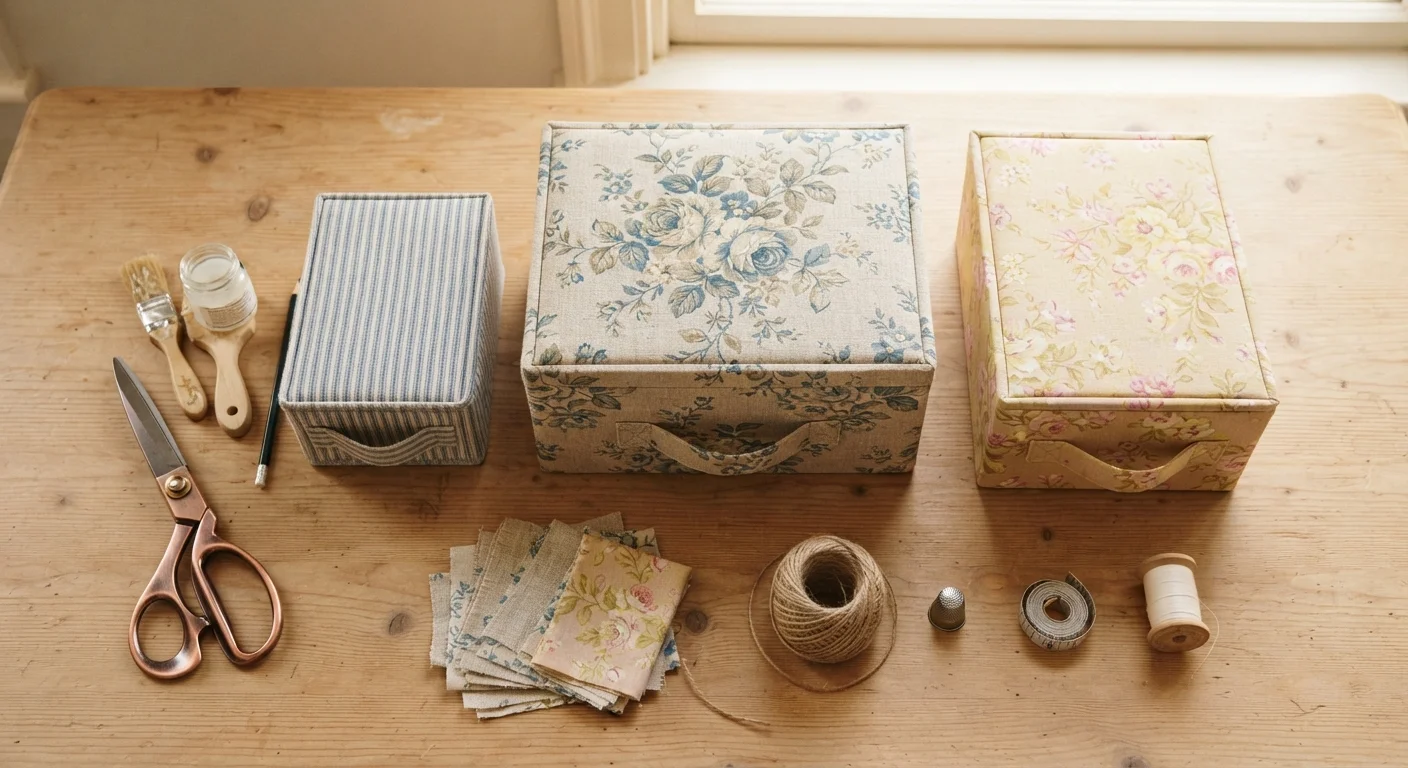
Why Fabric-Wrapped Boxes Are Worth Your Time
Fabric-wrapped storage boxes sit at the sweet spot between functional organization and intentional decor. Unlike plain baskets or plastic bins, they let you match your storage to a room's color palette, pattern play, or seasonal theme - and the whole project costs a fraction of what you'd spend on boutique organizers.
They're also a genuinely satisfying beginner craft. The core skills - cutting cleanly, applying adhesive evenly, and folding corners neatly - transfer directly to dozens of other DIY projects. If you're just getting started with handmade storage, consider pairing this with our plain-language beginner guide for a fuller foundation.
Once finished, these boxes look equally at home on open shelving, a coffee table tray, or tucked into a closet. For more inspiration on storage that doubles as decor, see living room storage that doesn't look like storage.
What you will need
Gathering Your Materials
The beauty of this project is that most of what you need is likely already at home. For the box base, look for rigid corrugated cardboard boxes - shoe boxes and shipping boxes are ideal because their walls don't flex. Avoid wax-coated boxes (like some produce boxes), as adhesive won't grip them well. For a deeper dive into how cardboard performs versus other materials for DIY storage projects, check out cardboard vs. foam board for DIY organizers.
For fabric, woven cotton and linen are easiest to work with - they fold crisply and don't stretch out of shape under glue. Avoid very stretchy knits or heavy canvas for your first attempt. Fat quarters from a fabric store or sections cut from worn but clean cotton linens work perfectly.
Rigid cardboard box
Forms the structural base that the fabric wraps around and adheres to.
Cotton or linen fabric (exterior)
Covers the outside of the box to create the decorative surface.
Coordinating fabric (interior lining)
Lines the inside of the box for a polished, finished appearance.
PVA craft glue or Mod Podge
Bonds fabric firmly to the cardboard surface without warping thin boxes.
Foam brush
Spreads adhesive evenly over large flat surfaces without leaving bristle marks.
Sharp scissors or rotary cutter
Cuts fabric precisely to reduce fraying and improve corner neatness.
Binder clips or clothespins
Hold fabric corners snug against the box while adhesive sets.
Step-by-Step Instructions
Work on a protected, flat surface and keep a damp cloth nearby to wipe adhesive from your fingers between steps. Rushing drying time is the single most common cause of bubbled or puckered fabric - give each layer the time it needs.
Measure and cut your exterior fabric
Place your box in the center of the fabric. You need enough fabric to wrap up each side and fold 1.5-2 inches over the top edge to the inside. A reliable method: unroll the box flat (trace its silhouette by tipping it along each face) and add 2 inches on every edge. Cut one large piece for the four sides and a separate piece for the base.
Apply adhesive to the box exterior
Using your foam brush, apply a thin, even layer of PVA glue or Mod Podge to one large side of the box. Work one face at a time rather than coating the entire box at once - adhesive dries faster than you expect, causing the fabric to bond unevenly if you cover too much area.
Press and smooth the fabric onto each side
Starting with the base of the box, press the fabric firmly against the adhesive-coated surface, smoothing from the center outward with your palm to push out air bubbles. Rotate the box and repeat for each side, keeping the fabric taut but not stretched. Let each face tack slightly before moving to the next.
Fold and miter the corners
At each vertical corner of the box, make a small diagonal clip in the fabric right at the corner point (cutting at a 45-degree angle toward the corner, stopping about 2mm from the box edge). This reduces bulk. Apply a thin line of glue to the box edge, fold one fabric flap snugly over it, then lap the adjacent flap on top, pressing firmly. Use a binder clip to hold the corner while it sets - about 10-15 minutes.
Wrap the top edge to the interior
Once the sides are dry, apply glue just inside the top rim of the box. Fold the excess fabric over the edge and press it flat against the interior wall. Clip if needed. At the corners, fold neatly as you would a gift wrap fold - tuck one side first, then fold the adjacent side over it flat. Allow to dry fully before lining.
Cut and apply the interior lining fabric
Cut a rectangle of lining fabric to fit the four interior walls, adding about 0.5 inches at top and bottom. Brush adhesive onto the interior walls in sections and press the lining fabric in place, smoothing firmly. For the base, cut a separate piece that fits exactly inside the box floor and glue it down last. This covers any raw edges from the wrapped top fold.
Apply a sealing top coat (optional but recommended)
For boxes that will see regular use or be handled frequently, brush one thin, even coat of Mod Podge over the entire exterior once the fabric is fully dry. This adds light water resistance and helps prevent the fabric edges from lifting over time. Let it dry completely - typically 30-45 minutes - before stacking or filling the box.
Finishing Touches and Styling Ideas
Once your box is fully dry (allow at least two hours after the final layer), you can add optional embellishments: a grosgrain ribbon glued around the top edge, a hand-stamped label on the front, or small leather tab handles punched and riveted to the sides for easy pulling from a shelf.
Group boxes in odd numbers - sets of three or five - in a mix of sizes for a curated shelf display. Mixing a bold print with two solids in the same color family creates a cohesive but visually interesting arrangement. These boxes fit naturally into the broader world of DIY organizer projects and work across every room in your home. For room-specific storage inspiration, browse our room-by-room storage hub.
You might also be surprised how many everyday household items can complement handmade storage - see unexpected household items that work as organizer components for creative combinations.
The content on this site is for informational purposes only and is not a substitute for professional advice. Always consult a qualified professional for guidance specific to your situation.