

Why Drywall Myths Are Especially Costly
Drywall repair looks deceptively simple - patch it, sand it, paint it. That apparent simplicity is exactly why so many DIYers walk into the job carrying assumptions that quietly undermine the result. Unlike a paint mistake you can roll over, a bad drywall repair often means scraping everything back and starting over. Understanding where common beliefs go wrong is the fastest way to avoid that frustrating and costly cycle.
If you want a broader view of the full spectrum of drywall damage and the right approach for each type, see what every DIYer should know about drywall repair before you pick up a tool. And if you've already run into problems mid-repair, understanding what goes wrong and why can help you course-correct.
Myth
You can skip primer after a drywall repair and just paint straight over the compound.
Fact
Unprimed joint compound absorbs paint unevenly, creating a dull, flat spot called 'flashing' that remains visible even after multiple paint coats.
Joint compound is highly porous compared to the surrounding painted drywall. When latex paint hits unprimed compound, the compound wicks moisture from the paint faster than the surrounding surface does, producing a sheen difference that's especially obvious in raking light. A coat of drywall primer-sealer - or a PVA-based drywall primer - equalizes the porosity so the topcoat applies uniformly. This single step is the most commonly skipped and the most reliably regretted. For more on how primer interacts with finish coats, common assumptions about paint quality are worth examining before your next coat.
Myth
All joint compound is essentially the same - any tub off the shelf will do the job.
Fact
All-purpose, lightweight, topping, and setting-type compounds each have different strengths, drying times, and shrinkage rates suited to specific stages of the repair process.
All-purpose compound is versatile but shrinks noticeably as it dries, making it less ideal for finish coats where you need a flat surface. Lightweight compound shrinks less and sands more easily, making it well-suited for second and third coats. Setting-type compounds (also called hot mud) harden through a chemical reaction rather than air-drying, so they're harder, faster-curing, and more resistant to shrinkage - useful for filling deep voids or when you need to apply multiple coats in one day. Using the wrong compound for a given coat can mean more shrinkage cracking, more sanding, or adhesion problems. Read the label and match the product to the task. Also see smart material sourcing strategies to avoid overspending on premium products where standard ones perform equally well.
Myth
Mesh tape is always better than paper tape because it's self-adhesive and easier to apply.
Fact
Mesh tape is appropriate for small holes and cracks, but paper tape provides superior strength on flat tapered joints and butt joints where tension and cracking are more likely.
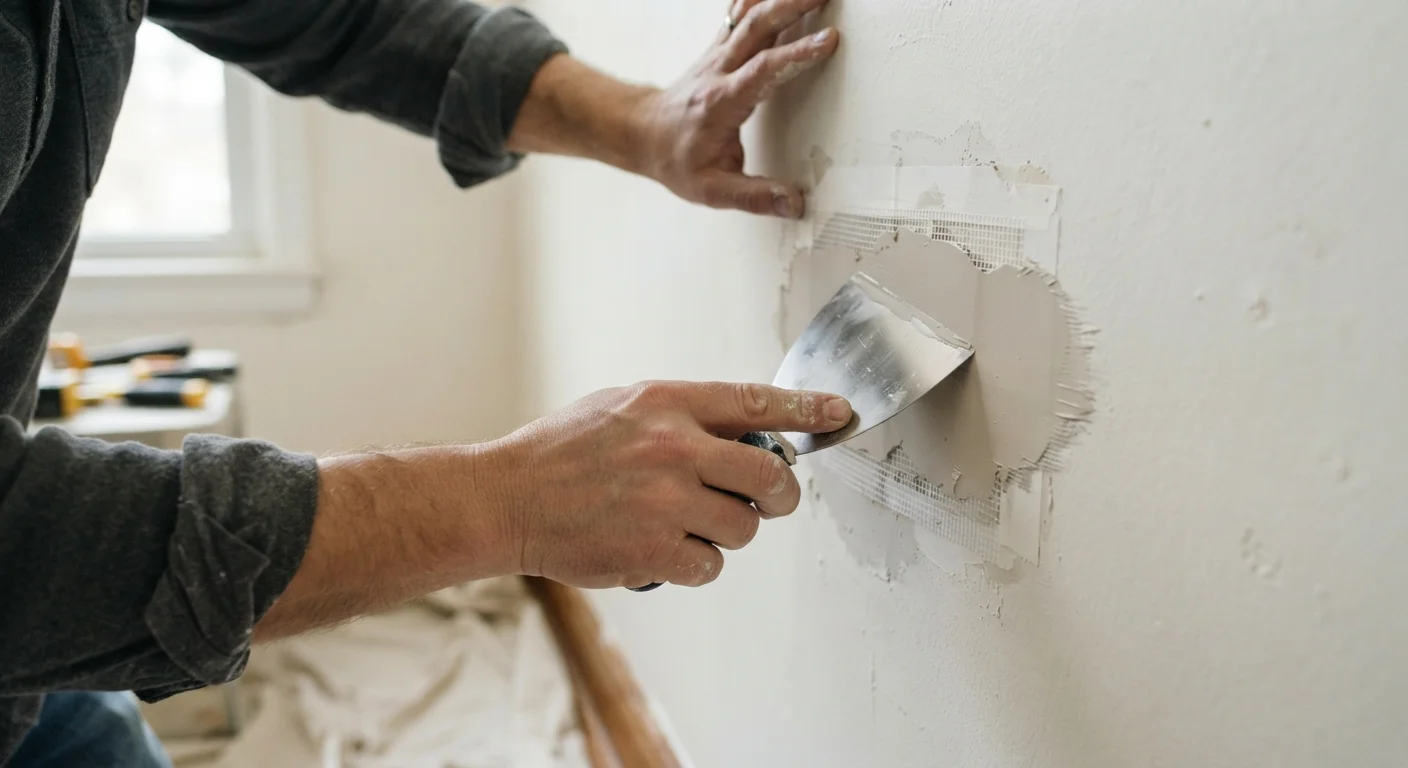
Fiberglass mesh tape sticks to the wall without an initial bed of compound, which makes it convenient for patching small openings. However, it's less flexible than paper and more prone to cracking over flat joints where walls expand and contract seasonally. Paper tape, embedded in a thin layer of compound, creates a continuous fiber bond that resists cracking far better in high-movement areas. Using mesh tape across a long butt joint - where two un-tapered drywall edges meet - is one of the more common causes of visible cracks returning after a repair. Understanding why cracks come back can help you identify which tape choice contributed to a recurring problem.
Myth
Sanding aggressively smooths everything out and fixes a lumpy compound application.
Fact
Over-sanding drywall damages the paper face of the board, creating a fuzzy, uneven surface that absorbs paint differently and is difficult to finish smoothly.
The paper facing on drywall is a structural layer - it gives the board tensile strength and provides a consistent surface for compound adhesion. When you sand through the compound and into that paper, the fibers raise and absorb compound and paint unevenly. The fix requires applying a skim coat of compound, letting it fully dry, and sealing with primer before any finish work. The better approach is to feather compound correctly during application - extending each coat 6 to 8 inches wider than the last - so the finished surface needs only light sanding to knock down ridges, not heavy abrasion to flatten lumps. Practical solo drywall strategies also covers how proper application technique reduces the finishing burden significantly.
Myth
One thick coat of joint compound is more efficient than multiple thin coats.
Fact
Thick single coats crack and shrink significantly as they dry; thin coats applied in sequence produce a flatter, more durable result with less remediation.
Joint compound dries by releasing moisture into the air. A thick application traps moisture in the center while the outside surface skins over, causing the compound to shrink unevenly and crack. Standard practice calls for at least three coats: a taping coat to embed tape and fill the joint, a second (filler) coat to build up and feather, and a finish coat to refine the surface. Each coat should be thinner than the last, and each must be fully dry before the next is applied. Rushing this process - or combining coats into one heavy application - is one of the most reliable ways to end up sanding back to bare tape and starting over. This same patience-over-speed principle applies across repair work; what DIYers underestimate about floor refinishing makes a similar case for sequential, deliberate technique.
Compound, Tape, and Sanding: Where Technique Myths Do the Most Damage
Most rework happens not during the patch itself but during finishing. Compound choice, tape selection, and sanding technique each carry their own set of myths, and errors in any one of them can undo solid earlier work. The sections below address the most consequential ones.
Don't Sand Drywall Dust Without Protection
Drywall dust is a fine particulate that can irritate the respiratory tract with repeated exposure. Always wear an N95 or higher-rated dust mask when sanding joint compound - a basic paper dust mask is not sufficient. Keep the work area ventilated and consider using a sanding pole with a dust-collecting attachment to reduce airborne particles.
Myths about drywall materials don't exist in isolation - similar pattern-recognition failures show up across home repair disciplines. You'll find comparable traps documented in plumbing myths that cost homeowners real money and floor repair myths that cost homeowners time and money. The underlying dynamic is the same: a plausible-sounding shortcut leads to expensive rework.
For recurring wall issues that go beyond surface finishing, such as cracks that return after repair, the root cause is often structural or seasonal rather than technique-related. Why drywall cracks keep coming back covers those underlying causes in detail.
The content on this site is for informational purposes only and is not a substitute for professional advice. Always consult a qualified professional for guidance specific to your situation.