

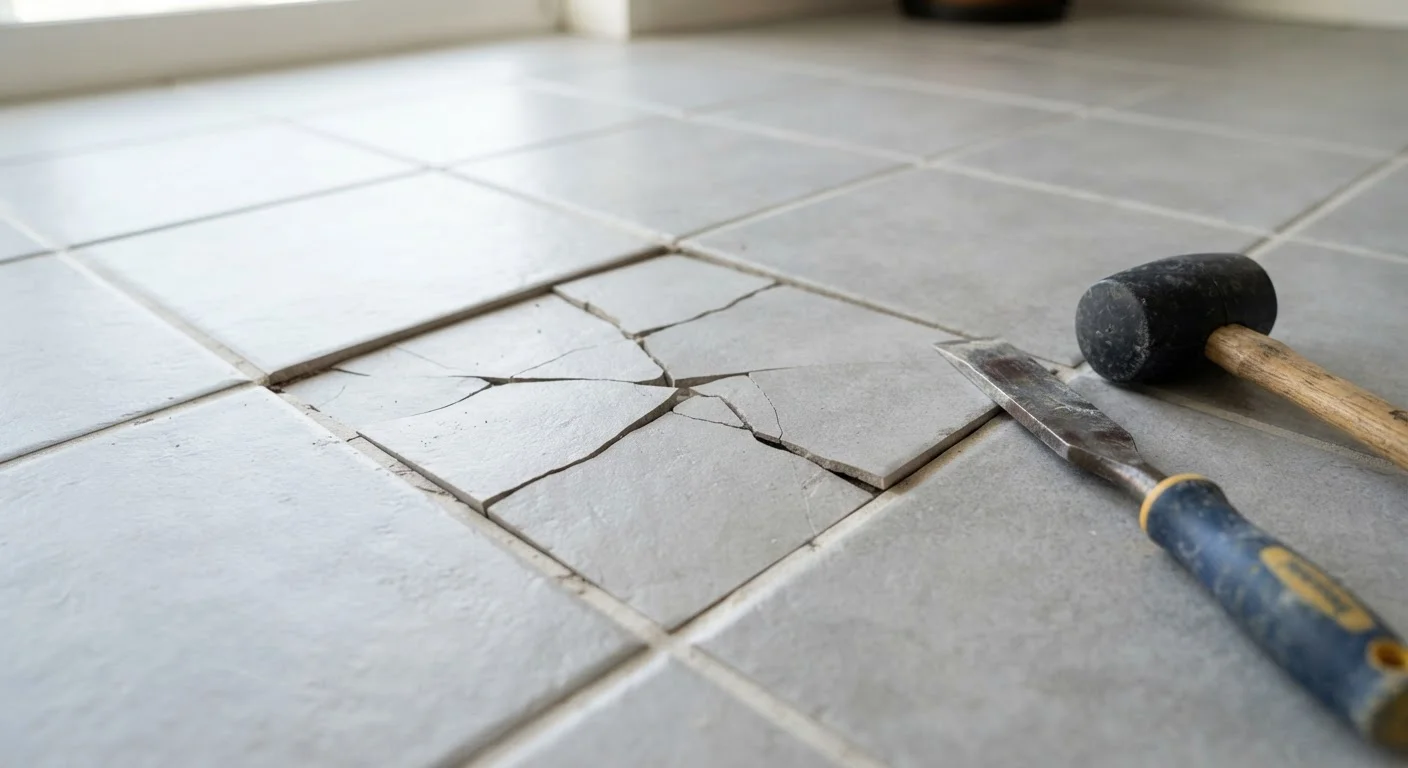
Why This Repair Demands Patience and Precision
A cracked or broken floor tile is one of those repairs that looks deceptively simple - until you crack a perfectly good neighboring tile while trying to remove the damaged one. The real challenge isn't placing a new tile; it's extracting the old one cleanly. Every tile in a floor grid is bonded with mortar or adhesive and locked in by grout on all four sides, meaning brute force is the enemy of a tidy outcome.
Before you touch a tool, identify whether your tile is set over a cement backer board, a plywood subfloor, or a concrete slab. This affects how the mortar behaves and how aggressively you can work. Also confirm that the tile you're replacing is cracked rather than hollow-sounding all the way through - if several surrounding tiles feel spongy or knock hollow, there may be a substrate problem worth investigating before doing a single-tile fix. See our comprehensive flooring repair guide for help diagnosing underlying issues.
If the grout around the damaged tile is also crumbling or discolored, it's worth reading about when re-grouting alone is the right call - sometimes a full tile replacement isn't necessary.
What you will need
Tools and Materials You'll Need
Gather everything before you start. Stopping mid-repair to find a tool risks the mortar skinning over or dust contaminating the adhesive bed.
Grout saw or oscillating multi-tool with grout blade
Cuts and removes grout from all four joints surrounding the damaged tile without chipping neighboring tiles.
Cold chisel and rubber mallet
Breaks up and pries out the damaged tile in controlled fragments from the center outward.
Margin trowel or putty knife
Scrapes old mortar and adhesive residue off the subfloor to create a clean, flat bonding surface.
Notched trowel (typically 3/16" V-notch for floor tile)
Combs the fresh thin-set mortar into ridges that promote full tile contact and adhesion.
Tile spacers
Maintains consistent joint width on all four sides to match the existing grout line width.
Rubber grout float
Presses grout into the joints and removes excess without scratching the tile surface.
Grout sponge and clean bucket
Wipes haze from the tile face during grouting before it hardens.
Angle grinder with diamond blade
Cuts the replacement tile if it requires trimming to fit the space precisely.
Step-by-Step: Removing and Replacing the Tile
Follow these steps in order. Each stage protects the work already done and sets up the next stage for success.
Score and remove the surrounding grout
Using a grout saw or oscillating multi-tool fitted with a grout removal blade, carefully cut along all four joints surrounding the damaged tile. Work slowly and keep the tool angled away from the adjacent tiles. The goal is to cut the grout down to the subfloor level - typically 1/8" to 3/16" deep - creating a clean break that prevents the neighboring tiles from being pulled up when you remove the damaged one.
Vacuum out the loose grout debris before proceeding.
Break up the damaged tile
Place your cold chisel at the center of the cracked tile - typically at the existing crack - and strike firmly with the rubber mallet. Work from the center toward the edges in small increments, prying up fragments as they loosen. Never start at the edges; edge-first removal dramatically increases the risk of cracking adjacent tiles.
Wear safety glasses throughout this step - tile shards can project unpredictably.
Clean the substrate
Once all tile fragments are removed, use a margin trowel or stiff putty knife to scrape every trace of old mortar, adhesive, and grout residue from the exposed subfloor. The surface must be flat, clean, and free of loose material - any high spots will prevent the replacement tile from sitting level with the surrounding floor.
Check the recess depth against the surrounding tile edges. If the subfloor has a low spot, you can compensate slightly with a thicker mortar bed, but significant depressions may need a skim of floor-leveling compound before proceeding.
Set the replacement tile
Mix your thin-set mortar to a smooth, peanut-butter consistency following the manufacturer's ratio of powder to water. Using your notched trowel, spread mortar in the recess, then comb it into ridges with the notched edge held at roughly a 45-degree angle.
Apply a separate thin layer of mortar directly to the back of the replacement tile - a technique called back-buttering. This fills any surface irregularities and ensures full coverage, eliminating hollow spots that can cause the tile to crack again under load. Press the tile firmly into place with a slight twisting motion, then set your tile spacers on all four sides to maintain consistent joint width.
Allow full mortar cure before grouting
Leave the tile undisturbed for at least 24 hours - or the full cure time specified for your thin-set product. Do not walk on the tile during this period. Once cured, remove the tile spacers and inspect all four joints to confirm they are clear of mortar residue.
For common mistakes to avoid when mixing and applying grout in the next step, our guide on first-timer grout errors is worth a quick read before you proceed.
Grout the joints
Mix your grout - using the same type (sanded or unsanded) as the surrounding floor - to the consistency specified on the package. Sanded grout is used for joints wider than 1/8"; unsanded for narrower joints. Using a rubber grout float held at a 45-degree angle, pack grout firmly into all four joints, working diagonally across the tile face to fill without pulling grout back out of the joints.
Allow the grout to firm up for 15-20 minutes, then wipe the tile face with a damp (not soaking) sponge in circular motions. Rinse the sponge frequently. Once the haze begins to form, buff it off with a clean dry cloth. Allow the grout to cure fully - typically 24-72 hours - before mopping or allowing heavy foot traffic.
Getting the Finish Right
The mechanical repair is done once the grout cures, but visual consistency is its own challenge. Grout color is the most common place repairs reveal themselves - even a shade off will catch the eye under raking light. Before mixing, hold a dry sample of your grout powder against the existing joints. Manufacturers often sell small sample quantities, which is practical when you only need enough for one tile's perimeter.
Sheen and texture matter too. If your floor has been in place for several years, the existing grout has likely dulled and developed a slight patina. A fresh, overly bright grout joint will stand out initially, though it typically blends closer to the surrounding floor over months of foot traffic and cleaning. For more strategies on making repairs less visible, see our guide on keeping repaired floors looking consistent.
Finally, if you notice that the grout in this or adjacent joints has been cracking repeatedly, the cause may be deeper than a single tile. Persistent cracking often signals movement in the substrate. Our article on why tile grout keeps cracking walks through the structural and application causes worth ruling out before calling the repair complete.
The content on this site is for informational purposes only and is not a substitute for professional advice. Always consult a qualified professional for guidance specific to your situation.