

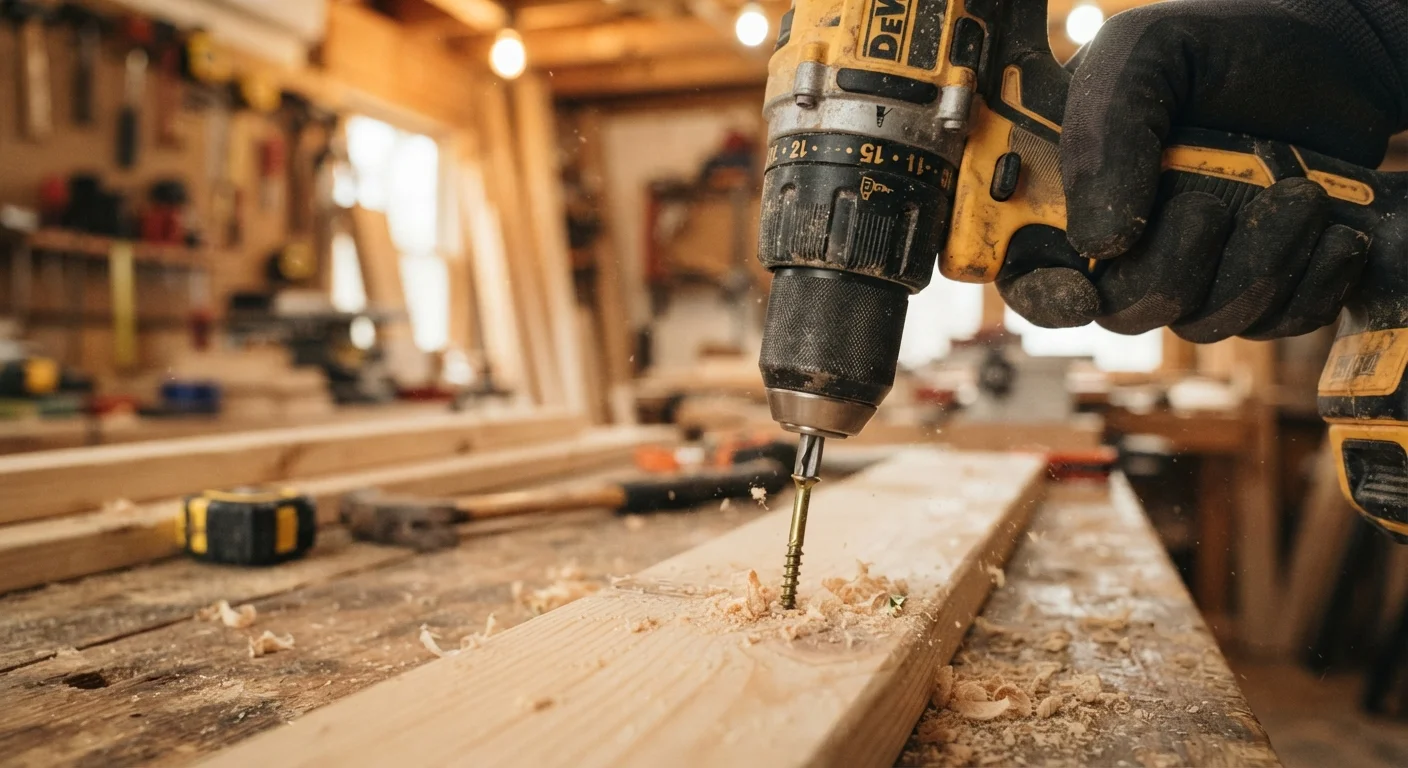
Why Stripping Happens More Often Than It Should
A stripped screw - one whose head recess has been ground smooth so no bit can grip it - is frustrating because it feels random. In reality, it's almost always predictable. The drill applies rotational force, and if anything prevents that force from transferring cleanly into the fastener, the bit spins against the soft metal of the head and erodes it within seconds.
The good news: every cause has a fix. If you're new to power tools, it helps to first get a solid foundation. Our plain-language overview of power tools explains how drill/drivers work before you dig into the specific technique adjustments below.
The five mistakes below account for the overwhelming majority of stripped screws in home DIY work. Tackle them one at a time and you'll notice the difference on your very next project.
The Five Mistakes That Strip Screws - And How to Fix Each One
Each of the errors below involves either a setting, a material choice, or a technique habit. None requires new equipment to fix - just a shift in approach.
Using the wrong clutch setting - or ignoring the clutch entirely.
Why it happens: Many beginners don't know what the numbered ring on a drill/driver actually does, so they leave it maxed out for every task. This delivers full torque right through the screw, camming out the head or burying the fastener past flush.
Choosing a bit that doesn't match the screw head precisely.
Why it happens: A Phillips #2 looks close enough to a #1 or even a square-drive bit, so beginners grab whatever's handy. An ill-fitting bit rocks in the recess, concentrating force on the edges rather than the flanks and chewing out the head instantly.
Driving screws at an angle instead of in a straight line.
Why it happens: Awkward workpiece positions, rushing, or not securing the material causes the drill to tilt. Even a few degrees off-axis redirects torque sideways rather than into the fastener, and the bit cams out with each rotation.
Running the drill at too high a speed for the material.
Why it happens: High speed feels powerful and fast, so beginners default to it. But speed without sufficient torque control generates heat and spins the bit before it can engage properly, especially in hardwood or when using coarse-thread screws.
Not applying enough downward (axial) pressure while driving.
Why it happens: It feels counterintuitive to push hard on a power tool, so many beginners let the drill's weight do the work. Without firm pressure keeping the bit seated, it skips out of the recess the moment resistance increases.
If you're also comparing which tool to reach for first, our guide on choosing between a drill, driver, and hammer drill clarifies which mode to use for fastening versus boring holes - a distinction that directly affects stripping risk.
Building Habits That Prevent Stripping Long-Term
Don't Force a Stripped Screw Deeper
If a screw starts spinning without biting, stop immediately. Continuing to drive it grinds away the head further, making extraction far harder. A rubber band pressed between the bit and the screw head can sometimes restore enough grip to back it out before the damage becomes irreversible.
Preventing stripped screws ultimately comes down to three consistent habits: match the bit to the screw every single time, set the clutch before you drive (not after the damage is done), and keep the drill perpendicular to the surface with firm axial pressure throughout.
It's also worth examining assumptions about your other tools. Stripped screws are sometimes blamed on cheap bits when the real issue is technique - a pattern that mirrors broader DIY misconceptions. Our piece on common myths DIYers hold about hand tools explores how faulty beliefs about tools lead to avoidable mistakes.
Build these habits now, and stripping screws will become a rare exception rather than a routine frustration.
The content on this site is for informational purposes only and is not a substitute for professional advice. Always consult a qualified professional for guidance specific to your situation.