

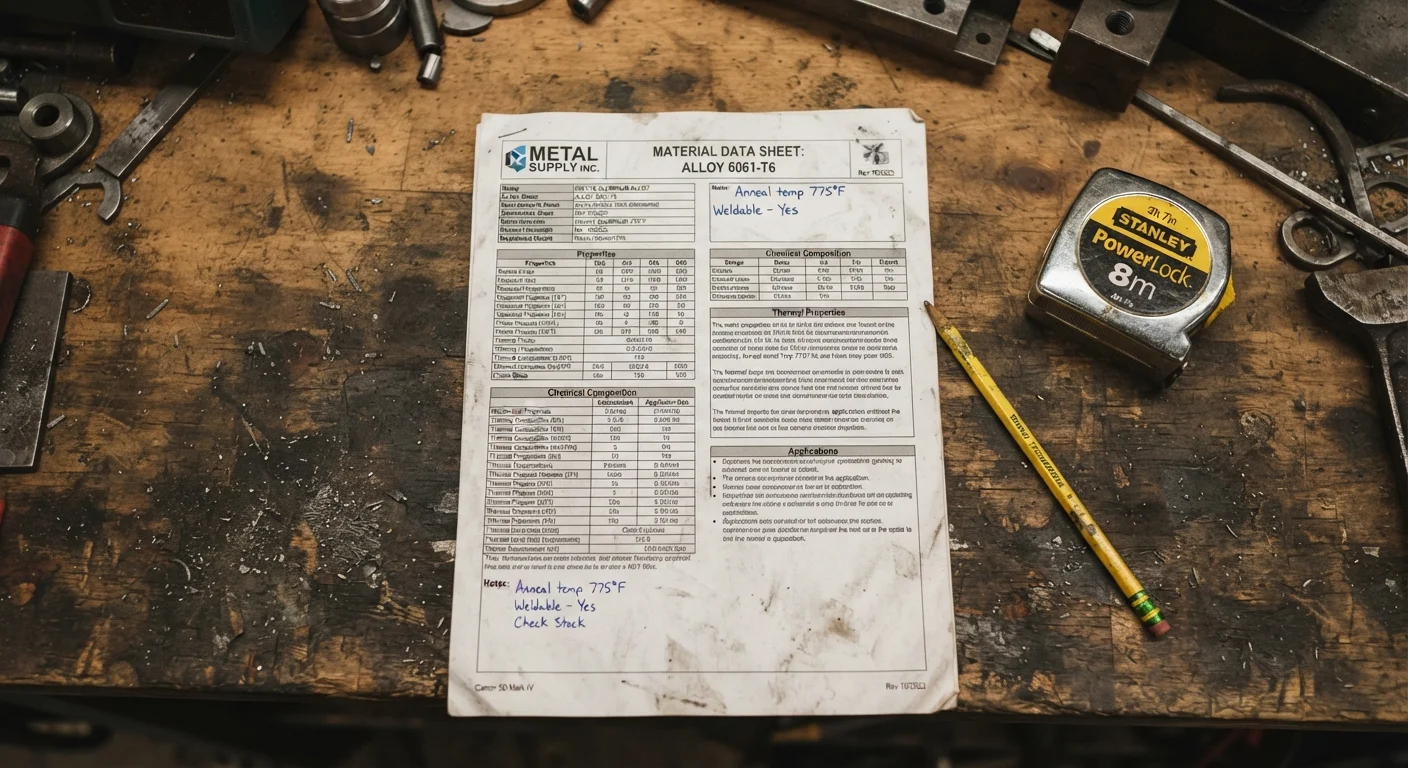
What a Material Data Sheet Actually Is
A material data sheet (MDS) - sometimes called a product data sheet or technical data sheet - is a manufacturer-issued document that lists the verified, tested performance characteristics of a building material. It is distinct from the Material Safety Data Sheet (MSDS), which focuses on chemical hazards and safe handling. If you want a primer on that safety document, see how to read an MSDS.
An MDS is where the real performance story lives. Packaging copy is written by marketing teams; data sheets are written for architects, engineers, and contractors who need numbers they can actually rely on. As a DIYer, tapping into that same information puts you on equal footing when comparing materials and avoiding expensive mismatches. You can usually find an MDS by searching the product name plus "technical data sheet" or by visiting the manufacturer's website directly.
Download Before You Shop
Most manufacturers post data sheets on their websites under "Resources," "Technical Info," or "Downloads." Pull the MDS before you visit the store so you can compare products at home without time pressure. Having the document in hand also lets you ask more specific questions if store staff are involved.
The Four Specs That Most Often Affect DIY Outcomes
Not every line on a data sheet is relevant to a typical home project. Focus your reading on these four categories:
1. VOC Content
Volatile organic compounds (VOCs) are chemicals that off-gas at room temperature. They matter for two reasons: health (higher VOC content requires better ventilation and protective equipment during application) and code compliance (some localities restrict VOC levels for certain product categories). The MDS will list VOC content in grams per liter (g/L). Lower is better for indoor use. Cross-reference this with what your local air quality district allows if you are working on a commercial or rental property.
2. Compressive Strength
For any material bearing weight - concrete patch, rigid foam insulation, flooring underlayment - compressive strength tells you how much load it can take before deforming. It is expressed in pounds per square inch (PSI). A rigid foam board used under a tile floor, for example, generally needs a compressive strength of at least 25 PSI; some applications call for 40 PSI or higher. Using an undersized product causes long-term cracking and failure that no amount of surface repair will fix.
3. R-Value
R-value measures thermal resistance - how well a material slows heat transfer. A higher R-value means better insulating performance. The spec sheet will show R-value per inch of thickness, which lets you compare products of different thicknesses on a level basis. Our insulation quick-reference lists typical R-values by material type if you need a baseline for comparison. For a deeper dive on where R-value targets come from, the complete home insulation guide covers climate zones and installation zones in detail.
4. Coverage Rate
Coverage rate - expressed in square feet per gallon, square feet per bag, or similar - directly affects your material budget. The figure on a data sheet is typically measured under ideal conditions (smooth substrate, correct temperature, standard application thickness). Real-world coverage runs 10-20% lower. Calculate your project area, divide by the realistic coverage rate, and budget accordingly. Skipping this step is one of the most common causes of mid-project supply runs and color-match headaches.
How to Compare Two Data Sheets Side by Side
Once you have MDS documents for two competing products, the comparison is straightforward if you follow a consistent process.
Identify the application-critical specs
Before opening either data sheet, write down what your project actually demands. Is the material going indoors (prioritize VOC content)? Will it bear load (check compressive strength)? Is it insulation (R-value per inch)? Is it a finish product like paint or adhesive (coverage rate matters most)? This prevents spec-sheet overwhelm and keeps your comparison focused.
Confirm the test standards cited
A data sheet is only as useful as the test behind the number. Look for references to ASTM, ICC, or other recognized standards next to each value (e.g., "R-value per ASTM C518" or "compressive strength per ASTM D1621"). If a spec has no cited standard, treat it as an unverified marketing claim rather than a tested performance figure.
Normalize values to a common unit
Products are sometimes specified at different thicknesses or dilution ratios. Convert everything to the same basis before comparing. For insulation, use R-value per inch. For coatings, use coverage per gallon at the same wet-film thickness. Many data sheets include a "typical properties" table that already normalizes this - look for it before doing the math yourself.
Factor in limitations and compatibility notes
Scroll to the sections labeled "Limitations," "Substrate Requirements," or "Conditions of Use." These tell you when a product's advertised specs do not apply - certain substrates, humidity ranges, or temperature conditions that void the performance claims. A cheaper product with a narrow compatibility window can cost more in rework than a more versatile option priced slightly higher.
Calculate true cost per unit of performance
Divide the product price by the relevant performance metric to get a cost-per-unit figure. For insulation, that might be cost per R-value per square foot. For paint, it is cost per square foot of actual coverage. This calculation often reverses the apparent value comparison - a lower sticker price per gallon can deliver worse value once realistic coverage rates are applied.
Understanding material specs also connects to broader material literacy. The DIY decor materials reference covers adhesives, substrates, and finishes that appear across many projects, and many of those product categories have data sheets worth reviewing. For structural and exterior materials, the building materials hub provides useful context for evaluating product categories.
This article is for informational purposes only. Always verify local building codes, permit requirements, and manufacturer instructions before beginning any renovation project. Consult a licensed professional for work involving structural, electrical, gas, or other regulated systems.
The content on this site is for informational purposes only and is not a substitute for professional advice. Always consult a qualified professional for guidance specific to your situation.