

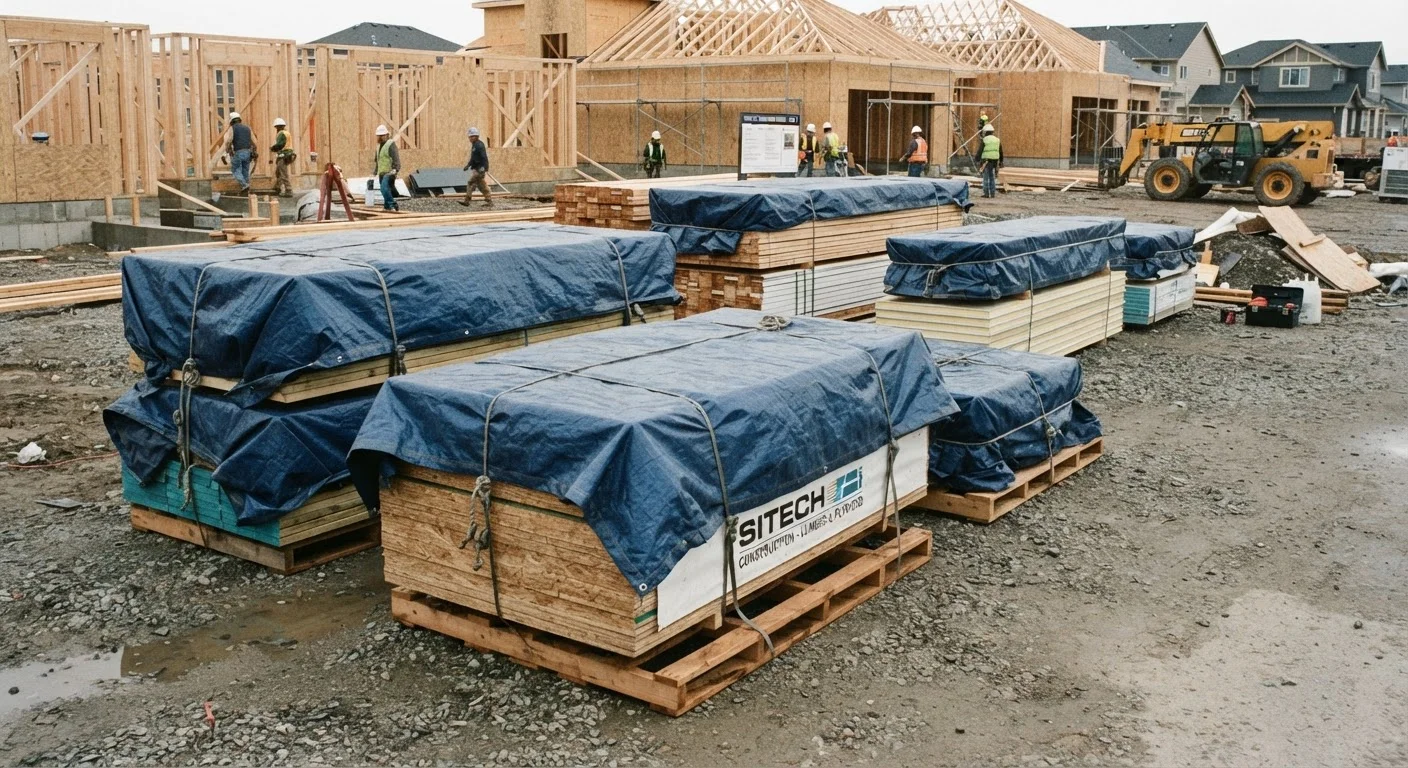
Why On-Site Storage Matters More Than Most DIYers Expect
Building materials represent the biggest single cost in most renovation projects, yet they're frequently left exposed on driveways or propped against fences after delivery. A week of rain, an uneven stack, or direct ground contact can warp studs, swell sheet goods, or turn a bag of cement into a solid block - before a single nail is driven.
Poor storage doesn't just waste money. It creates extra work: re-ordering materials, cutting around damaged sections, and troubleshooting problems caused by compromised stock. For a deeper look at how material waste silently erodes project budgets, see where renovation budgets leak.
The good news is that proper on-site storage doesn't require elaborate setups. A few consistent habits protect virtually every material category.
Best Practices for Storing Common Building Materials
Each material type has specific vulnerabilities. The practices below address the most common failure points for timber, sheet goods, bagged products, and metal components.
Always store timber and lumber off the ground on level supports
Direct ground contact transfers moisture into wood within days, causing swelling, staining, and eventual rot. Uneven support points create stress along the length of a board, leading to bows and twists that make the lumber difficult or impossible to use straight.
Cover sheet goods - plywood, OSB, MDF - and keep them flat
Sheet products absorb moisture rapidly through their edges and face veneers, causing swelling, delamination, and warping. MDF is particularly unforgiving; even light rain exposure can permanently swell edges and ruin joints. Storing sheets vertically encourages bowing under their own weight.
Store bagged cement, mortar, and plaster elevated and sealed from air
Cement and similar materials begin hydrating the moment they contact atmospheric moisture - not just liquid water. A bag stored on cold concrete can absorb enough humidity through the paper to partially set, creating lumps and reducing mix strength even if it looks dry.
Keep steel, fasteners, and metal components in sealed, dry containers
Surface rust on fasteners reduces holding strength and can cause structural connections to fail prematurely. Even stainless or galvanized fixings can corrode in coastal or high-humidity environments if left in open boxes exposed to condensation.
Label all stored materials by type, grade, and intended use
Unlabeled material creates confusion under time pressure, leading to wrong stock being cut, mixed, or installed. This is especially critical when multiple grades of the same material - structural versus non-structural framing timber, for example - are on site together.
Sequence your storage layout to match the order of construction
Materials that need to be moved repeatedly to access something else suffer handling damage - chipped edges, bent lengths, punctured bags. Planning the layout so first-needed materials are at the front reduces unnecessary movement and keeps the site safer.
Quick Actions You Can Take Before the Next Delivery Arrives
Don't wait until materials are already on the ground to think about storage. A little preparation before delivery day pays dividends throughout the project.
If you're working with hazardous or chemically sensitive materials - adhesives, solvents, coatings - reviewing the product's safety data sheet before storage is essential. Our guide to reading a Material Safety Data Sheet explains what to look for, including specific storage temperature ranges and incompatibility warnings.
Keeping the Whole Site Organized Through the Project
Storage isn't a one-time setup - it's an ongoing discipline. As a project progresses, materials get shuffled, partially used bundles get left uncovered, and offcuts pile up. Maintaining order throughout protects what you have left and speeds up the work itself.
Group materials by when they'll be needed, placing first-use items most accessible and sealing or re-covering anything not needed for several days. Damaged or unusable offcuts should be removed promptly rather than mixed back into usable stock. This ties directly into good hand and power tool habits too - a tidy, well-organized site reduces the chance of tool damage from stray materials or moisture. See our guides on keeping hand tools in working order and storing and maintaining power tools for complementary advice.
Finally, always confirm material specifications - grade, dimensions, and quantities - before a delivery arrives. Our pre-purchase checklist helps you avoid receiving the wrong stock in the first place, which is the easiest waste to prevent of all.
This article is for general informational purposes only. Always verify local building codes, permit requirements, and material handling guidelines specific to your project and region before beginning work.
The content on this site is for informational purposes only and is not a substitute for professional advice. Always consult a qualified professional for guidance specific to your situation.