

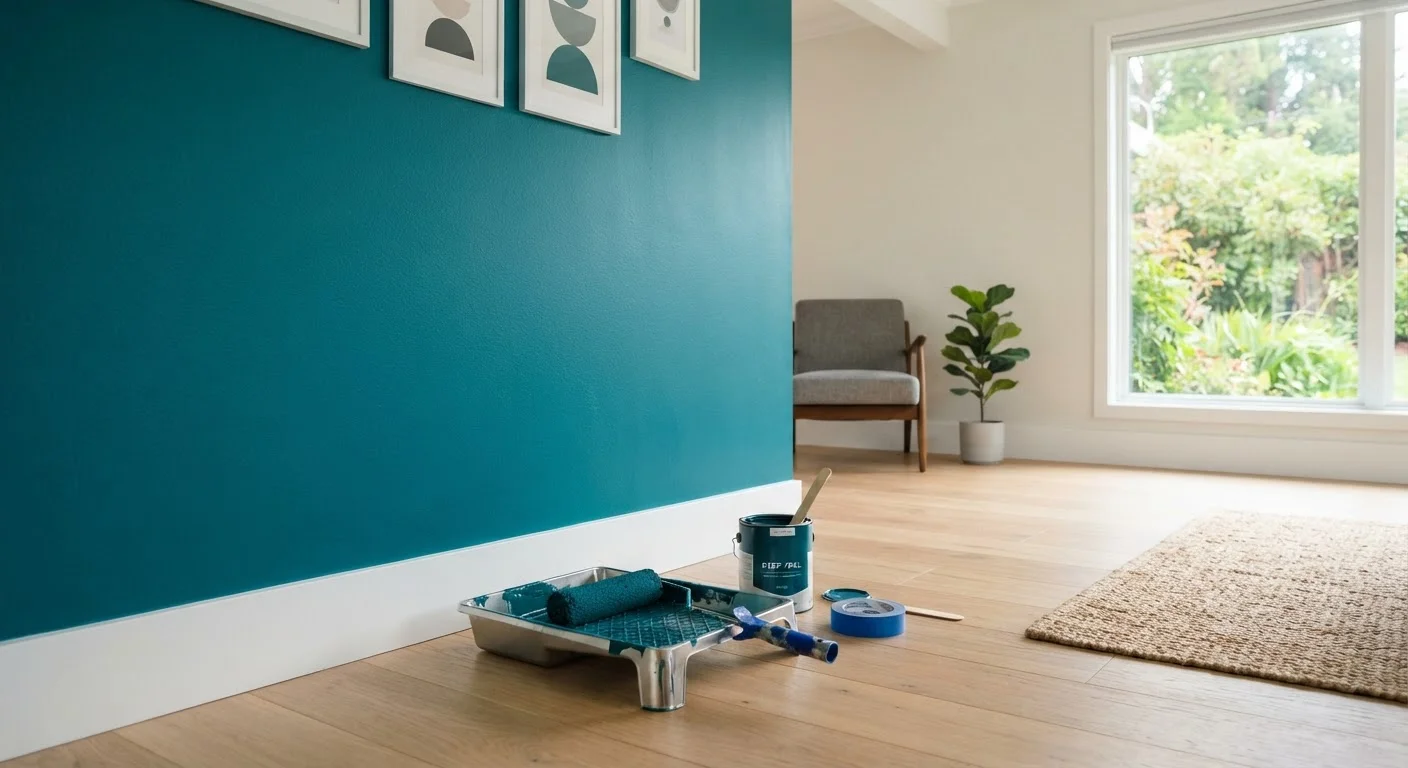
Why One Wall Changes Everything
An accent wall works because it gives a room a clear focal point without requiring a full repaint or renovation. It directs attention, anchors furniture groupings, and introduces color or texture at a fraction of the cost of other improvements. The challenge isn't commitment - it's knowing which treatment fits your wall, your timeline, and your skill level.
Paint is the entry point: a gallon of interior paint typically covers 350-400 square feet, meaning a standard 10x9-foot wall costs $15-$35 in material, plus primer if you need it. Peel-and-stick wallpaper runs roughly $1-$3 per square foot depending on the pattern and brand, placing a full bedroom accent wall in the $60-$150 range. Pre-primed MDF shiplap or tongue-and-groove panels add more, typically $80-$200 in material, but the textural payoff is significant. For ideas on what can go wrong with placement and proportion, this breakdown of why accent walls sometimes feel off is worth a read before you start.
What you will need
Choosing the Right Method for Your Space
Each accent wall treatment has a practical ceiling and a practical floor. Paint suits nearly every surface and every skill level, but it's permanent and requires full prep to look professional. Peel-and-stick wallpaper is ideal for renters or anyone who wants reversibility - but it demands a smooth, properly cured paint surface to adhere well, and the same trade-offs apply to peel-and-stick tile if you're considering a tiled backsplash in the same project. Shiplap and panel treatments demand a miter saw, comfort with measuring and fastening, and an extra hour or two - but they add genuine architectural interest that paint cannot replicate.
If you're working with a bold or high-contrast pattern, it's worth thinking through the visual commitment first. The case for and against bold wallpaper lays out the trade-offs clearly. Alternatively, if you're drawn to pattern but want to keep costs minimal, stencilling vs. wallpaper is a useful comparison for budget-conscious projects. The Drywall & Walls hub also covers prep-related repairs - patching, skim-coating, and surface finishing - if your wall needs more work before any treatment goes on.
Use a Laser Level for Panels and Strips
A basic laser level (available to rent at most home improvement stores) eliminates the guesswork of keeping shiplap rows or wallpaper strips plumb. Even a wall that looks perfectly square rarely is, and starting even slightly off-level compounds with every subsequent row. A five-minute setup with a laser level saves hours of correction later.
Whichever method you choose, allocate at least 30 minutes purely to prep and planning. Rushed wall prep is the single biggest predictor of a result that looks amateur rather than intentional.
The content on this site is for informational purposes only and is not a substitute for professional advice. Always consult a qualified professional for guidance specific to your situation.