

Why Hardware Punches Above Its Weight
Cabinet hardware is the jewelry of a kitchen or bathroom - small in scale but responsible for a disproportionate share of the room's visual character. When everything else stays the same (paint color, cabinet boxes, countertops), new knobs and pulls can shift a space from dated to deliberate in a single afternoon. As part of a broader look at which room updates deliver the most visual return, hardware consistently ranks near the top for effort-to-impact ratio.
The financial case is equally straightforward. A full kitchen re-hardware - say, 20 pulls and 10 knobs - can run anywhere from $60 to $400 depending on style, compared with thousands for new cabinet doors or a full refacing. If your cabinet boxes are structurally sound and the doors are in good shape, new hardware is almost always the right first move. Pair it with a bathroom refresh using the same finish and the effect compounds across your home.
Use Painter's Tape as a Free Template
Press a strip of painter's tape over each drawer front and mark hole positions through the existing holes onto the tape. Transfer the tape to new hardware or use it as a drilling guide. This method costs nothing and keeps your spacing consistent across every cabinet face.
What You'll Need Before You Start
The tool list for this project is genuinely minimal. Most homeowners already own everything required to replace knobs, and only need a template or drill for pulls that require repositioning.
Tape measure or ruler
Measures center-to-center hole spacing on existing hardware and cabinet faces.
Phillips-head screwdriver
Removes existing hardware screws and drives new mounting screws.
Power drill with bit set
Required only if new hole placement differs from existing holes.
Hardware installation template
Ensures consistent hole placement across all cabinet doors and drawer fronts.
Painter's tape
Creates a no-cost DIY template and protects cabinet surfaces during drilling.
Backer board (scrap wood)
Placed behind cabinet faces during drilling to prevent veneer tear-out.
What you will need
Sourcing tips: hardware stores, home centers, and online retailers all carry standard cabinet hardware. Check return policies before buying in bulk - most reputable retailers allow returns on unused hardware, which matters if you measure correctly but decide the finish isn't right under your lighting. For general guidance on getting the most from your renovation budget, the Materials & Savings hub covers smart sourcing strategies that apply here too.
Installation: Step-by-Step
Follow the steps below in sequence. The process is the same for kitchens and bathrooms, and the same logic applies whether you're working with frameless Euro-style cabinets or traditional face-frame construction.
Check Hole Spacing Before You Buy
Cabinet pulls use two mounting screws set a fixed distance apart - commonly 3 inches (76 mm) or 3.75 inches (96 mm) on center. If you purchase pulls without confirming your existing hole spacing, you may end up with hardware that doesn't fit without re-drilling. Measure every drawer face individually, as spacing can vary even within the same kitchen.
Measure existing hole spacing
For any existing pull, measure the distance between the centers of the two mounting holes - this is called the center-to-center (CTC) spacing. Write it down. Common sizes are 3 in (76 mm) and 3.75 in (96 mm). For knobs, which use a single hole, note the hole diameter (typically 3/16 in). Measure several cabinets - spacing can differ between upper and lower units or between doors and drawers.
Choose hardware that matches your measurements
Select pulls or knobs with a CTC measurement that matches your existing holes. If you're deliberately changing the placement, account for the extra work and risk of drilling. Consider the finish - brushed nickel, matte black, antique brass, and satin brass are common choices. For a cohesive look, match or intentionally contrast the finish with your faucet and hinges. Cabinet hardware costs typically range from roughly $1-$5 per knob and $3-$15 per pull, depending on material and style.
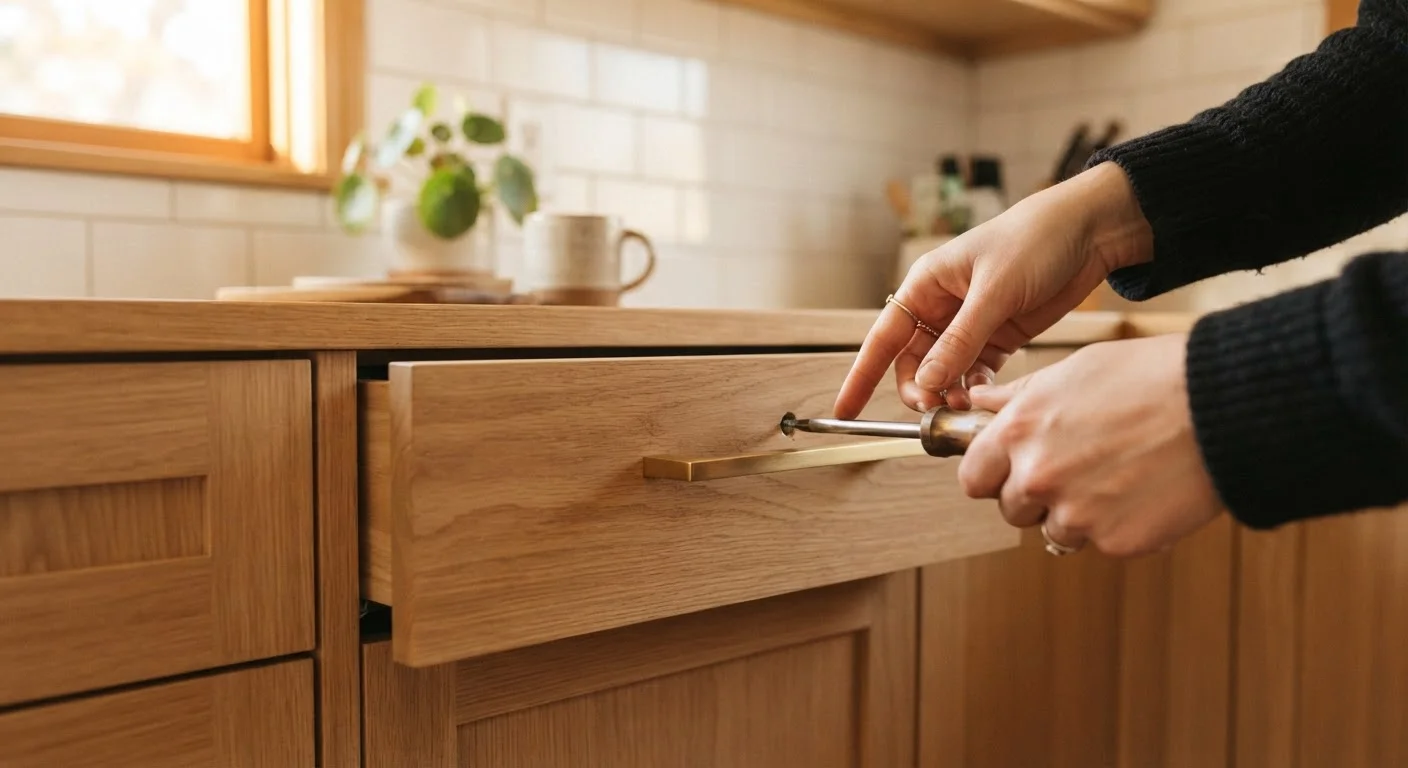
Remove existing hardware
Open each cabinet door or drawer fully for access. Most pulls and knobs are held by a single machine screw threaded through the face from inside. Use a screwdriver to back out the screw while holding the hardware in place with your other hand to prevent it dropping. Keep all removed screws in a labeled bag in case the new hardware uses the same thread and length.
Install new hardware using existing holes
Thread the new screw or bolt through the back of the cabinet face, align the hardware on the front, and tighten by hand first. Once aligned, snug the screw with a screwdriver - firm, not overtightened, which can crack wood or strip the hole. For pulls, drive both screws alternately to keep the pull level as it seats. Test the door or drawer before moving on.
Drill new holes if placement changes (optional)
If new hardware requires different hole placement, use a printed or shop-bought cabinet installation template, or create one from painter's tape as described in the tip above. Clamp a backer board on the inside of the door before drilling. Use a sharp, appropriately sized bit and drill at low speed. Clean up any tear-out with a fine-grit sanding block before installing hardware.
Step back and assess consistency
Once all hardware is installed, close all doors and drawers and stand back to evaluate. Check that pulls are level, knobs are centered, and no hardware wobbles when tested. Tighten any loose pieces and confirm the finish looks consistent in your room's lighting - natural and artificial light can shift how metal finishes read.
Drilling New Holes Risks Cabinet Damage
If new hardware doesn't match existing hole placement, re-drilling is an option - but one wrong measurement can split a face frame or blow out a veneer. Always use a drilling template and clamp a backer board behind the door or drawer front to prevent tear-out. When in doubt, choose hardware that covers old holes rather than requiring new placement.
Once complete, a freshly re-hardwared kitchen pairs naturally with better organization inside the cabinets. See organizing a small kitchen without buying a single new cabinet for practical ideas that complement your updated exterior. And if you're thinking about where hardware fits within a larger home improvement sequence, upgrading home systems on a tight budget can help you prioritize what comes next.
The content on this site is for informational purposes only and is not a substitute for professional advice. Always consult a qualified professional for guidance specific to your situation.