

The Real Problem in Small Kitchens
Most small kitchens aren't short on space - they're short on structure. Shelves hold a jumble of mismatched items stacked two deep. Drawers fill with tools that belong in three different categories. Cabinets get crammed to the door because there's no internal logic guiding where things land.
The good news: you don't need new cabinets or a renovation budget to fix this. What you need is a system built from simple materials - many of which are already in your home. For a broader view of how each kitchen zone can work harder, see Kitchen Storage From Counter to Cabinet, which covers the full range of storage opportunities from countertops to pantry.
The strategies below use basic hardware, repurposed containers, and a bit of lateral thinking. No power tools required for most of them.
Use tension rods to create vertical dividers inside cabinets
Tension rods - the kind sold for curtains or shower curtains - can be installed vertically inside a lower cabinet to create narrow slots for baking sheets, cutting boards, and serving trays. Instead of pulling out an entire unstable stack to reach the bottom item, each piece stands upright and slides out independently.
Measure the interior height of your cabinet before selecting a rod length. Install two or three rods spaced three to four inches apart to customize slot width. No drilling, no damage to the cabinet interior, and completely reversible.
Tension rods turn a single chaotic shelf into organized vertical slots without any drilling.
Repurpose tin cans and glass jars as drawer organizers
Utensil drawers accumulate clutter partly because every item is the same depth and nothing has a dedicated lane. Clean tin cans and glass jars - grouped by diameter to fit the drawer - create instant compartments for spatulas, peelers, whisks, and measuring spoons.
For a more cohesive look, cover the cans with kraft paper or a strip of leftover contact paper. Line the drawer with a non-slip mat cut to size so the containers don't shift when you open and close it. This approach costs nothing if you cook regularly and save containers.
Repurposed tins and jars cost nothing and outperform most plastic drawer inserts.
Mount a tension rod under the sink for spray bottle storage
The under-sink cabinet is one of the most wasted spaces in any kitchen. A single tension rod installed horizontally - about six inches from the back wall - lets you hang spray bottles by their trigger handles, freeing up the cabinet floor for larger items.
This doubles usable floor area without a single screw. Pair it with a small open bin on the floor for sponges and scrubbers. If you want a more structural solution for this zone, a two-tier pull-out organizer adds even more capacity.
A single tension rod under the sink creates hanging storage that doubles floor space instantly.
Build a simple dowel rack for lids and pot covers
Pot and pan lids are awkward to store upright, but a short section of wooden dowel - available at hardware stores for very little - can be cut and wedged horizontally across a drawer or cabinet shelf to act as a lip that holds lids in place. Two dowels glued or notched into a small wooden base make a freestanding lid rack that slides into any cabinet.
This requires only a hand saw and sandpaper. Cut the dowels slightly longer than the lid diameter you're working with, drill shallow holes in a scrap of wood at even intervals, and seat each dowel with a drop of wood glue. Let it dry overnight before loading it.
A dowel rack built from scrap wood costs almost nothing and ends the lid-avalanche problem for good.
Apply zone-based thinking to your counter and shelf layout
Random placement is the root cause of most small-kitchen frustration. Zone-based storage means grouping items by task - a breakfast zone near the toaster, a prep zone near the cutting board, a baking zone near the oven - so everything you need for one activity lives in one place.
Draw a rough sketch of your counter and cabinet layout, then assign each zone a category. Move items to match. No new containers needed. This strategy works in conjunction with room-by-room storage thinking and is one of the highest-impact changes you can make without spending anything.
Zone-based layout is free to implement and often makes a bigger difference than any new organizer.
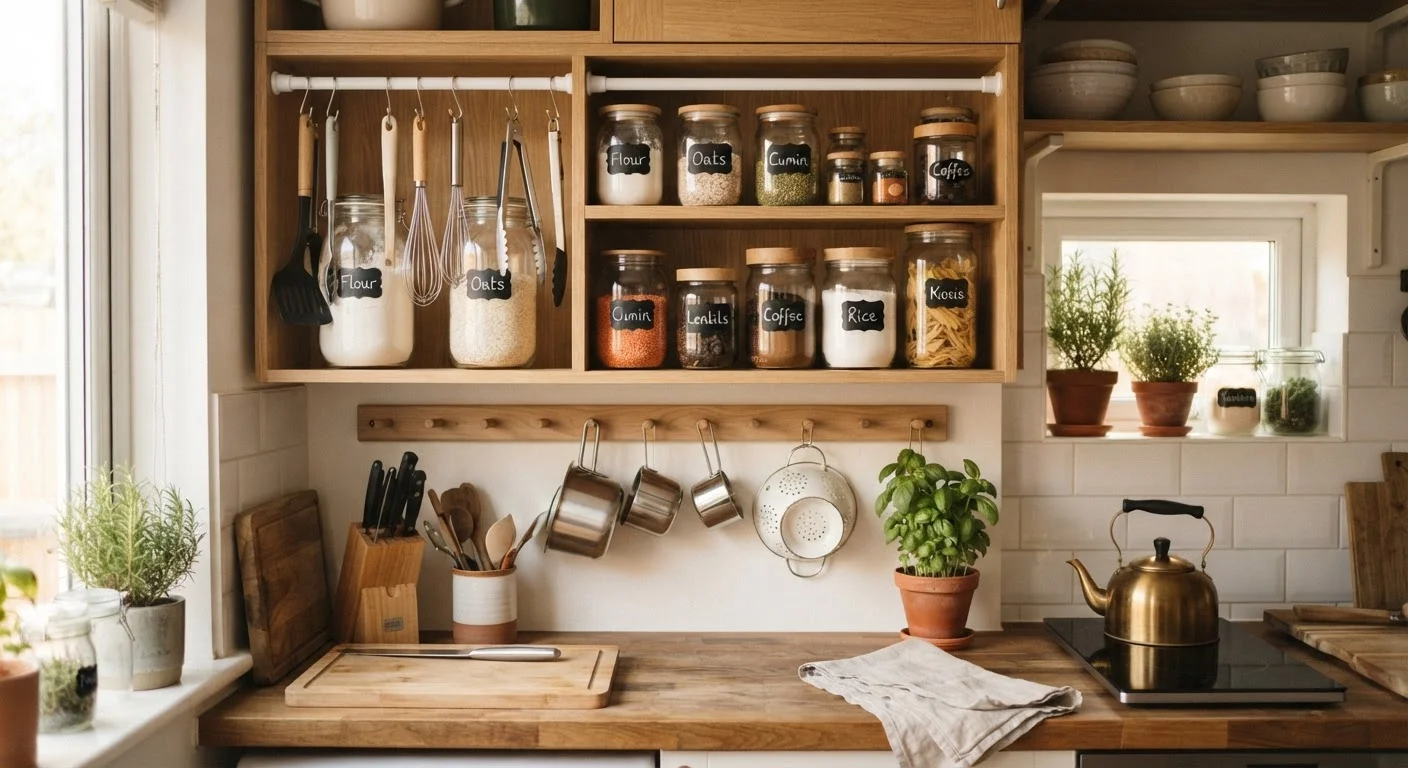
Label everything, even if it feels obvious
Systems fail when household members can't maintain them - usually because the categories aren't visible. Masking tape and a permanent marker is all you need to label the front edge of a shelf, the side of a container, or the face of a drawer. Clear labels turn your personal logic into shared logic.
Consistent labeling is especially useful in pantries and deep cabinets where items disappear behind other items. Rotate labels whenever you reorganize so the system stays accurate. If you're interested in styling your space while staying organized, room styling tips offer ways to keep labeled storage looking intentional rather than makeshift.
Labels transform a personal system into one the whole household can maintain without a briefing.
Putting It All Together
None of these ideas require perfection on day one. Start with the drawer or shelf that frustrates you most, apply one fix, and let that success guide the next step. If you're curious about why cabinets feel full even after a clear-out, Why Your Kitchen Cabinets Always Feel Full explains the layout habits most likely to blame.
For readers who want to go further with DIY storage builds - including under-sink zones - Under-Sink Chaos to Calm walks through a practical plywood project that uses the same no-waste mindset. And if you find yourself reaching for items you didn't know could organize, Unexpected Household Items That Work as DIY Organizer Components offers even more creative starting points.
The best kitchen organization system is one you'll actually maintain - so keep it simple, keep it visible, and build it from what you have.
Start With One Problem Spot
Rather than reorganizing the entire kitchen at once, pick the single drawer or shelf that causes the most daily friction and apply one fix there first. A visible win in one spot builds momentum and helps you evaluate what works before committing the same approach everywhere. Most kitchens only need two or three well-placed interventions to feel dramatically more functional.
The content on this site is for informational purposes only and is not a substitute for professional advice. Always consult a qualified professional for guidance specific to your situation.