

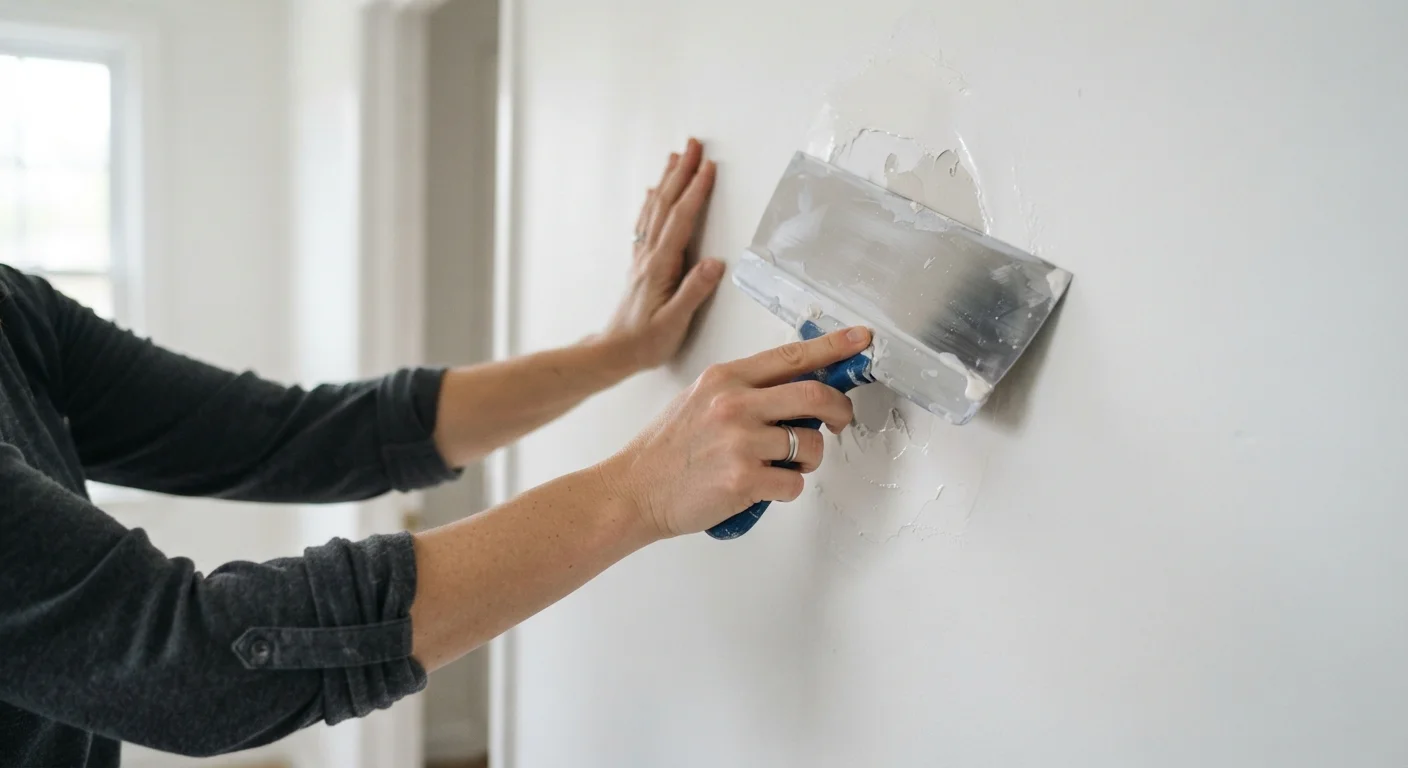
Why Damage Type Determines Your Repair Approach
Drywall damage is not one-size-fits-all, and neither are the repairs. Grabbing spackle and a putty knife is the right call for a nail hole - but that same approach applied to a stress crack or a water-damaged panel will fail within months. Before you open a single container of joint compound, accurately diagnosing the damage pays off in time, materials, and a finish that actually holds.
If you're new to working with gypsum board, brush up on the basics before diving into repairs - understanding how the material behaves makes every technique make more sense.
The sections below walk through each major damage category, what causes it, and the method that matches it.
Nail Pops and Screw Dimples
Nail pops appear as small circular bumps or cracks radiating from a fastener. They happen when framing lumber dries and shrinks after installation, pushing fasteners outward through the drywall face. They are extremely common in homes less than five years old or in rooms with high humidity swings.
The fix: Drive a drywall screw about two inches above and below the popped nail to pull the panel back tight against the stud. Then drive the original nail or screw slightly below the surface - don't remove it. Apply two or three thin coats of lightweight joint compound over each dimple, feathering the edges. Sand smooth when dry.
After driving your new screws to pull drywall back against the stud, check that each screw head sits just slightly below the surface - a small dimple you can feel with your fingernail. If the screw tears through the paper face, it has no holding power; drive another one an inch away.
A screw that breaks the paper face cannot grip the gypsum core effectively, which means the panel won't be pulled tight and the nail pop repair will fail under the compound.
When mixing your own joint compound to a workable consistency, aim for a texture similar to smooth peanut butter - not runny, not stiff. Compound that's too wet shrinks excessively; compound that's too thick drags and tears the tape.
Compound consistency directly controls how well it bonds and how much it shrinks during drying, both of which affect whether the final repair holds and looks flat.
Hold a work light at a low, raking angle across the wall surface after each sanding pass to spot ridges and depressions that look invisible under normal overhead lighting.
Raking light reveals surface imperfections that flat or overhead lighting conceals, allowing you to catch problems before primer and paint make them permanent.
Dimples from over-driven screws follow the same finishing steps, but require no re-fastening - the panel is already secure. Just fill, feather, and sand.
Hairline Cracks and Stress Fractures
Hairline cracks typically run along tape seams, corners, or diagonally from door and window corners. They signal movement - seasonal wood expansion, minor settling, or thermal cycling - rather than structural failure. A simple skim coat over a hairline crack without reinforcement will crack again.
The fix: For seam cracks, carefully cut away any bubbled or separated tape. Embed new paper tape in a thin layer of all-purpose compound, then apply two additional feathered coats. For corner cracks, flexible mesh tape followed by compound provides better durability than paper alone. Diagonal cracks from window corners often recur if movement hasn't stopped - monitor them for a season before finalizing the repair.
To understand what goes wrong when these steps are skipped, see common drywall repair mistakes and their causes.
Small Holes: Dents, Anchors, and Doorknob Dings
Holes up to roughly three inches in diameter - left by wall anchors, small screws, or doorknob impacts - are the most common repair scenario. The drywall panel itself is still structurally sound, so no backer is needed.
The fix: For holes up to about half an inch, lightweight spackling compound pressed in with a flexible putty knife and sanded flush is sufficient. For holes between half an inch and three inches, a self-adhesive mesh patch panel provides enough support for the compound. Apply compound in thin coats (two to three passes), allowing full drying between each. Do not try to fill in one heavy application - compound shrinks as it dries, and thick coats crack and pull away.
Mid-Size Holes: The Patch Zone
Holes roughly three to six inches across - from doorknobs punching through thin drywall, plumbing access cuts, or accidental damage - are too large for mesh patch kits alone but don't necessarily require cutting back to studs.
The fix: The California patch method is well-suited here. A piece of drywall slightly larger than the hole is scored so that the paper face extends beyond the gypsum core on all sides. The backing piece fits into the hole while the paper flanges bond to the surrounding wall surface with compound, creating a backer-free repair that feathers cleanly. For a detailed walkthrough of this technique, see the California patch method explained step by step.
Alternatively, a hat patch - where a piece of drywall is screwed to a wooden backer board inserted through the hole - works well for irregular shapes that don't suit the California approach.
Large Holes and Structural Damage
Holes wider than about six inches, or damage that spans a wall section between studs, require cutting back to the nearest studs on each side and installing a new drywall panel secured to framing. There is no reliable shortcut for holes this size.
The fix: Use a drywall saw or oscillating tool to cut a clean rectangle with edges landing on stud centers. Cut a patch from matching-thickness drywall (most interior walls use ½-inch; ceilings and some older homes use ⅝-inch). Fasten with drywall screws every 8 inches along studs and blocking. Tape all seams with paper tape embedded in compound, then apply finish coats. If you're working alone, practical strategies for solo drywall work can make panel positioning manageable without a helper.
Check for Utilities Before Cutting
Before cutting into any wall section, use a stud finder with AC detection or a non-contact voltage tester to check for electrical wiring, and consult your home's plumbing layout to avoid pipes. Cutting blindly into a wall risks contact with live wiring or pressurized water lines - both serious hazards. If you're uncertain, a brief consultation with a licensed electrician or plumber can save significant damage and injury.
Moisture-Related Drywall Damage
Staining, soft or crumbling gypsum, bubbling paint, and mold growth on the surface are all signs of moisture intrusion. Patching over moisture-damaged drywall without fixing the source is the single most common - and costly - drywall mistake homeowners make.
The fix sequence: First, locate and eliminate the moisture source - a leaking pipe, roof penetration, or condensation issue. Allow the area to dry completely, which may take several days or longer. If mold is present beyond a small surface area, consult a professional before proceeding. Once dry, any softened or crumbling drywall must be cut out and replaced; it cannot be patched. Use moisture-resistant drywall (often called greenboard or cement board in wet areas) for replacements in bathrooms or other humid spaces.
For a thorough guide to identifying hidden moisture problems before they spread, see recognising moisture damage behind drywall.
Finishing and Painting for a Seamless Result
The difference between a repair that disappears and one that telegraphs its location under every light angle comes down to finishing technique. Joint compound must be fully dry - not just surface-dry - before sanding. In humid conditions, allow an extra 24 hours beyond when the compound appears white throughout.
Sand with 120-grit paper, then finish with 150-grit. Feather compound edges well beyond the repair boundary so there's no abrupt ridge. After sanding, apply a coat of drywall primer - PVA-based primer is well-suited for this - before painting. Skipping primer causes the repaired area to absorb paint differently than the surrounding wall, creating a dull patch called flashing that's visible after the paint dries.
Before finishing any repair, it's worth reviewing common drywall myths that cause rework - misconceptions around sanding and primer alone account for a significant share of repairs that need to be redone.
This article is for informational purposes only. Always verify local building codes, permit requirements, and safety precautions for your specific situation. When in doubt about structural integrity, hidden utilities, or the extent of moisture damage, consult a licensed professional.
The content on this site is for informational purposes only and is not a substitute for professional advice. Always consult a qualified professional for guidance specific to your situation.