

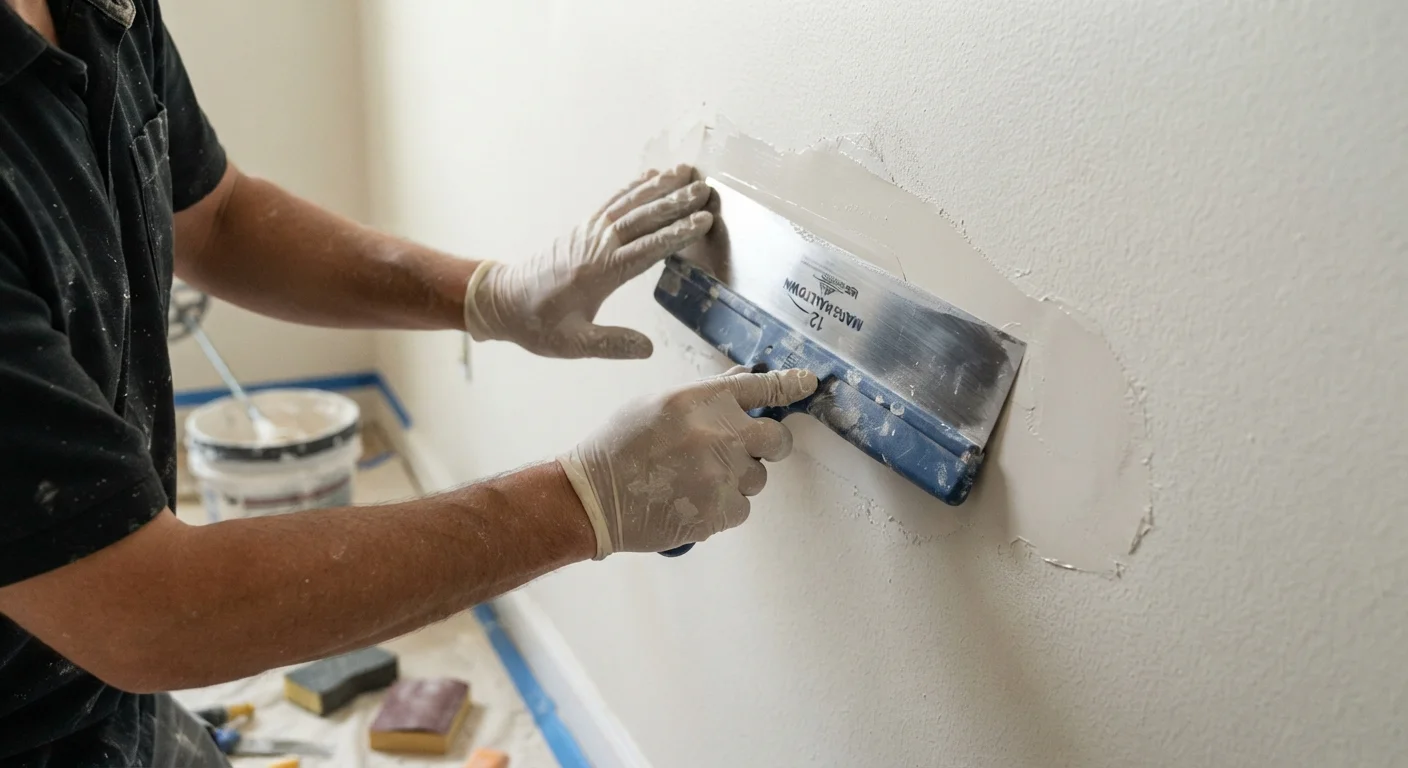
What Feathering Actually Means
Feathering is the process of thinning the edges of joint compound so gradually that the transition from patch to wall becomes imperceptible. Many DIYers apply compound with a small knife, build up the center of the repair, and then stop. The result is a visible hump or ridge that catches light and shows clearly under paint - even after sanding.
The goal isn't to make the patched area level with the wall. The goal is to taper the compound outward in all directions, so that the thickness changes so gradually the eye can't detect where the patch ends and the original drywall begins. Think of it like blending the edge of a watercolor wash into dry paper - the transition should have no hard line.
Properly feathered compound typically extends four to six inches beyond the actual repair site, and on larger patches, the final coat may extend a foot or more from the damage center. That wide footprint is what makes repairs invisible.
The Right Tools for a Seamless Blend
Successful feathering depends more on knife selection than on raw skill. Using a 4-inch or 6-inch knife for all three coats is one of the most common beginner mistakes - the blade is simply too short to create a gradual enough taper.
- First coat: A 6-inch knife works well for filling the repair and establishing the initial surface.
- Second coat: Switch to a 10-inch or 12-inch knife. The longer blade bridges more wall surface, forcing you to spread compound thinner as it nears the edges.
- Third (finish) coat: A 12-inch or wider finishing knife gives you the smoothest, broadest feather. Some finishers prefer a 14-inch blade for large repairs.
Wider knives work because they naturally span from the thicker center of the compound to the surrounding wall in a single stroke, creating a consistent taper without conscious effort. They also flex slightly under hand pressure, which helps the blade conform to subtle variations in the existing wall surface.
For compound consistency, premixed all-purpose joint compound thinned slightly with water (to a peanut butter-like texture) spreads and feathers more easily than straight-from-the-bucket compound, which can drag and leave ridges.
Coat by Coat: Building Toward Invisible
Each coat of compound serves a distinct purpose. Combining all those purposes into a single thick coat is why patches stay visible.
First coat - fill and set tape: Apply enough compound to fill the repair and embed any tape or mesh. Don't attempt to feather aggressively here; focus on even coverage. Allow to dry completely - typically 24 hours, depending on humidity and coat thickness. Shrinkage is normal and expected.
Second coat - build and begin blending: Apply a thinner coat with your wider knife. This is where feathering starts in earnest. Hold the knife at a low angle (roughly 15-20 degrees to the wall), use light pressure at the outer edge, and stroke outward from the center of the repair. The trailing edge of the knife should barely be touching the wall surface at the outermost point of the stroke.
Third coat - finish and refine: This coat should be thin enough that you can almost see through it. Extend edges even further than the previous coat. If your second coat was feathered six inches out, your third coat should reach eight to ten inches. Let dry completely before any sanding.
If you notice visible ridges after the second coat dries, don't reach for sandpaper immediately. Instead, apply a third coat over the problem area and feather it out further. Sanding a ridge often creates a depression that then needs to be filled anyway.
Before moving to paint, consult the pre-paint checklist to confirm your repair is truly ready.
Sanding: Refine, Don't Rescue
If feathering is done well, sanding is a light finishing step - not a corrective one. The goal is to knock down any slight texture or tool marks left by the knife, not to sand away visible ridges or level the compound.
Use 120-grit drywall sanding sponge or sandpaper for the main surface, switching to 150-grit for the feathered edges. Sand in circular motions over the patch center, then transition to long, light strokes as you move toward the outer edges. The pressure at the outer feathered edge should be minimal - barely grazing the surface.
Check your work with a raking light. Hold a work light or flashlight at a sharp angle to the wall surface so shadows reveal any ridges or depressions. This is the most reliable way to spot imperfections before paint goes on, because paint and primer will amplify what raking light reveals.
Always Prime Before You Paint
Bare joint compound is highly porous and absorbs paint unevenly, causing the patched area to appear dull or slightly different in sheen from the surrounding wall - a phenomenon called flashing. Applying a coat of drywall primer (sometimes called PVA primer) over the sanded repair seals the compound and ensures the topcoat adheres evenly. Skipping this step is one of the most common reasons a DIY repair looks obvious even when the feathering itself was done correctly.
If sanding reveals low spots or uneven areas, apply another thin skim coat, feather it out, let it dry, and sand again. Rushing this cycle is one of the most common paths to a patched wall that remains visible. For a deeper look at what goes wrong in drywall repairs and why, see our guide on common drywall repair mistakes.
When working on textured walls, feathering compound is only the beginning - you'll also need to recreate the surrounding surface texture. Our article on matching existing wall textures walks through that process. And if your wall has broader damage, you may want to explore skim coating as an alternative approach to achieving a smooth, even surface.
The content on this site is for informational purposes only and is not a substitute for professional advice. Always consult a qualified professional for guidance specific to your situation.