

Start here
What Skim Coating Actually Is
Next
When Skim Coating Makes Sense
Gather your supplies
Tools and Materials You'll Need
Do the work
How to Skim Coat a Wall Step by Step
Troubleshoot
Common Mistakes and How to Avoid Them
What Skim Coating Actually Is
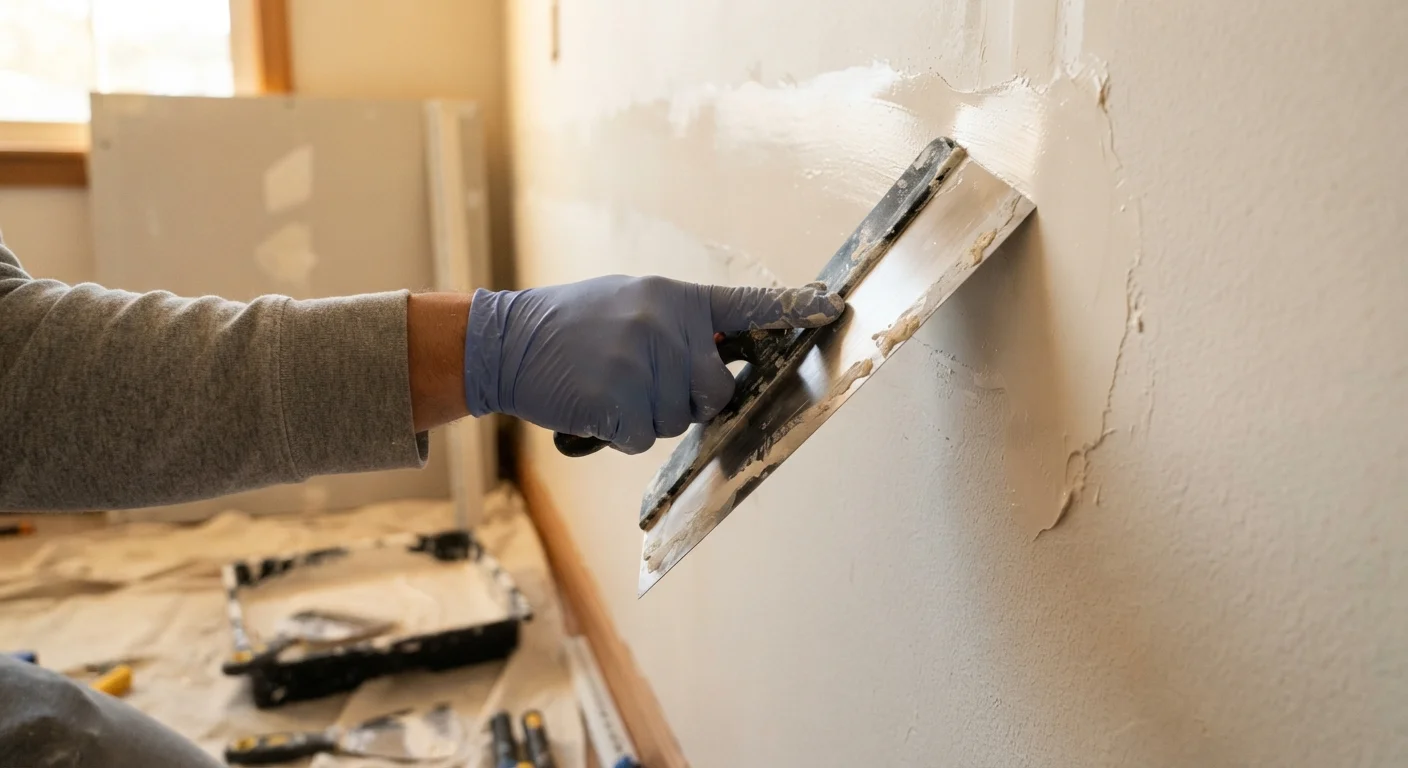
Skim coating is the process of spreading a very thin layer - typically 1/16 to 1/8 inch - of joint compound (drywall mud) over a wall surface to create a uniformly smooth finish. Unlike patching, which targets one hole or crack, skim coating treats the wall as a whole. The goal is to eliminate texture, hide widespread imperfections, and leave a surface that's ready for primer and paint.
The technique is common in situations where a wall has been stripped of wallpaper, repeatedly patched, or simply never received a final finishing coat during construction. It's also used when a textured wall needs to be smoothed before a new decorative finish is applied.
Joint compound is the material of choice for most DIY skim coats. All-purpose compound is widely available and forgiving for beginners, while lightweight compound dries a bit faster and sands more easily. Either works for skim coating - the application skill matters far more than which type you choose.
Joint compound
A pre-mixed paste used to finish drywall seams, fill imperfections, and apply skim coats. Often called drywall mud. It dries by evaporation and can be sanded once fully cured.
Skim coat
A very thin, even layer of joint compound spread across a wall surface to create a smooth, uniform finish ready for primer and paint.
PVA primer
A polyvinyl acetate-based primer designed for use on bare or repaired drywall. It seals the porous surface so compound and paint bond evenly without being absorbed unevenly.
Feathering
The technique of gradually thinning the edge of applied compound so it blends smoothly into the surrounding surface with no visible ridge or line.
Raking light
A light source held at a sharp angle to a wall surface to reveal surface imperfections - bumps, dips, or ridges - that are invisible under normal lighting.
Mud pan
A long, narrow rectangular tray used to hold joint compound while working. It lets you load a taping knife cleanly and keep the compound accessible without opening the full bucket repeatedly.
When Skim Coating Makes Sense
Not every wall problem calls for a full skim coat. Small isolated holes or cracks are better handled with targeted patching and careful feathering technique to blend the repair into surrounding drywall.
Skim coating becomes the logical choice when:
- Wallpaper has been removed and left the surface torn, gouged, or coated in adhesive residue that resists simple sanding.
- Textured walls need smoothing - for example, a heavily stippled or orange-peel surface you want to modernize before painting. Keep in mind that if your goal is to match existing texture rather than remove it, the approach is different. See the guide to matching textured wall finishes for that scenario.
- Multiple old repairs have left the wall visually inconsistent - spots at different sheen levels, slightly raised patches, or visible tape lines throughout.
- New drywall was installed without a proper finish coat, leaving a rough or only partially finished surface.
If any of these situations describe your wall, skim coating is almost certainly the most efficient path to a clean result.
Tools and Materials You'll Need
Having the right tools before you start saves significant frustration. Here's what to gather:
- Joint compound - all-purpose or lightweight; pre-mixed buckets are easiest for beginners
- Wide taping knives - a 10-inch and a 12-inch knife give you control for different areas
- Corner knife or corner bead - for clean inside corners
- Mud pan or hawk - to hold compound while you work
- Drywall primer (PVA type) - essential before the first coat
- Fine-grit sandpaper (120-150 grit) - for sanding between coats
- Sanding sponge - useful near corners and trim
- Drop cloths and painter's tape - to protect floors, trim, and outlets
- Bucket and clean water - for thinning compound slightly if needed
Joint compound from the bucket is often a bit stiff for skim coating. Stir it thoroughly and add water a tablespoon at a time until it reaches a consistency similar to thick yogurt - spreadable but not runny.
How to Skim Coat a Wall Step by Step
Use a Raking Light to Check Your Work
Before applying each new coat, set a work light at a sharp angle to the wall and scan the surface. Imperfections that are invisible under normal lighting become obvious under raking light. Catching high spots and depressions while the previous coat is still sandable saves you from chasing problems after the final coat.
Follow these steps in order and resist the urge to rush drying times - that's where most skim coat projects go wrong.
- Prep the surface. Remove outlet covers, fill deep holes or gouges with compound and let them dry fully, then sand down any sharp ridges or high spots. Scrape off any loose paint or wallpaper adhesive.
- Prime the wall. Apply a coat of PVA drywall primer and allow it to dry completely. This seals porous surfaces and gives the compound something to grip.
- Load your knife and apply the first coat. Scoop compound onto your mud pan, load the taping knife, and apply the compound using long, sweeping strokes held at a low angle to the wall - roughly 15 to 30 degrees. Work in manageable sections, about 3 to 4 feet wide. The layer should be thin enough that you can barely see through it.
- Flatten and feather the edges. As you go, increase the knife angle slightly to scrape off excess and flatten the surface. Feather the wet edges so there are no ridges where passes overlap. This is the skill that separates smooth results from visible lines - the same principle covered in detail for patch repairs.
- Let it dry fully before sanding. Once the first coat is a uniform light color (no dark wet patches), lightly sand with 120-grit paper, wiping away dust with a barely damp sponge. Don't sand aggressively - you're just knocking down ridges.
- Apply a second (and third if needed) coat. Repeat the application process, working perpendicular to your first coat strokes. Each layer fills small imperfections left by the previous one. Two coats is often enough; a third is worth it if low-angle light reveals remaining unevenness.
- Final sand and inspect. Once fully dry, sand with 150-grit paper in circular motions. Use a raking light (a work light held at a sharp angle to the wall) to spot any remaining high spots or depressions.
- Prime before painting. Never skip a final primer coat after skim coating. Compound is porous and will absorb paint unevenly without it, a step covered in the pre-paint checklist for repaired walls.
Common Mistakes and How to Avoid Them
Skim coating is forgiving once you understand what can go wrong. Most problems trace back to a handful of recurring missteps:
- Applying too thick a coat
- Thick coats shrink as they dry, leading to cracking and a longer wait between layers. Keep each pass thin - if it looks like you've done enough, you probably have.
- Skipping primer
- Unprimed drywall or bare compound will pull moisture out of your fresh coat before it has time to bond properly, causing cracking or poor adhesion. Always prime first.
- Sanding before the coat is fully dry
- Compound that looks dry on the surface may still be damp underneath. Sanding wet compound drags and pills rather than abrading cleanly, and it can tear the surface.
- Ignoring the corners
- Inside corners are easy to overload with compound. Use a corner knife or carefully fold your taping knife to each side separately, letting one side dry before addressing the other.
For a broader look at what can go wrong on drywall projects and why, the guide to common drywall repair failures covers the root causes of bubbling tape, shrinkage, and cracking in detail.
Once your skim-coated wall is primed and smooth, it becomes a clean canvas - whether your plan is a fresh coat of paint or something more decorative like an accent wall treatment to transform the space.
Frequently Asked Questions
Patching fills a specific damaged area, while skim coating applies a thin layer of compound across an entire wall surface. Skim coating is used when damage or texture is widespread enough that spot repairs would look inconsistent or patchy.
Most walls need two to three thin coats for a smooth, even finish. Applying multiple thin coats rather than one thick coat reduces cracking and shrinkage, and each layer helps fill small imperfections left by the previous one.
Yes. Bare or repaired drywall should be primed with a PVA drywall primer before skim coating. Without primer, the dry drywall paper absorbs moisture too quickly from the compound, causing it to crack or pull away.
Yes, but the surface must be clean, dull, and free of loose paint. Glossy or slick surfaces benefit from a light scuff sanding so the compound bonds properly. Heavily peeling paint should be removed first.
Drying time depends on humidity and room temperature, but a thin coat typically dries in two to four hours under normal indoor conditions. The compound should shift from dark gray to a uniform light color before you apply the next coat.
They are related but not identical. Traditional plastering uses a lime- or gypsum-based plaster applied in multiple layers to create a hard, durable finish. Skim coating in modern US construction typically uses joint compound over drywall as a lighter, easier-to-apply alternative.
The content on this site is for informational purposes only and is not a substitute for professional advice. Always consult a qualified professional for guidance specific to your situation.